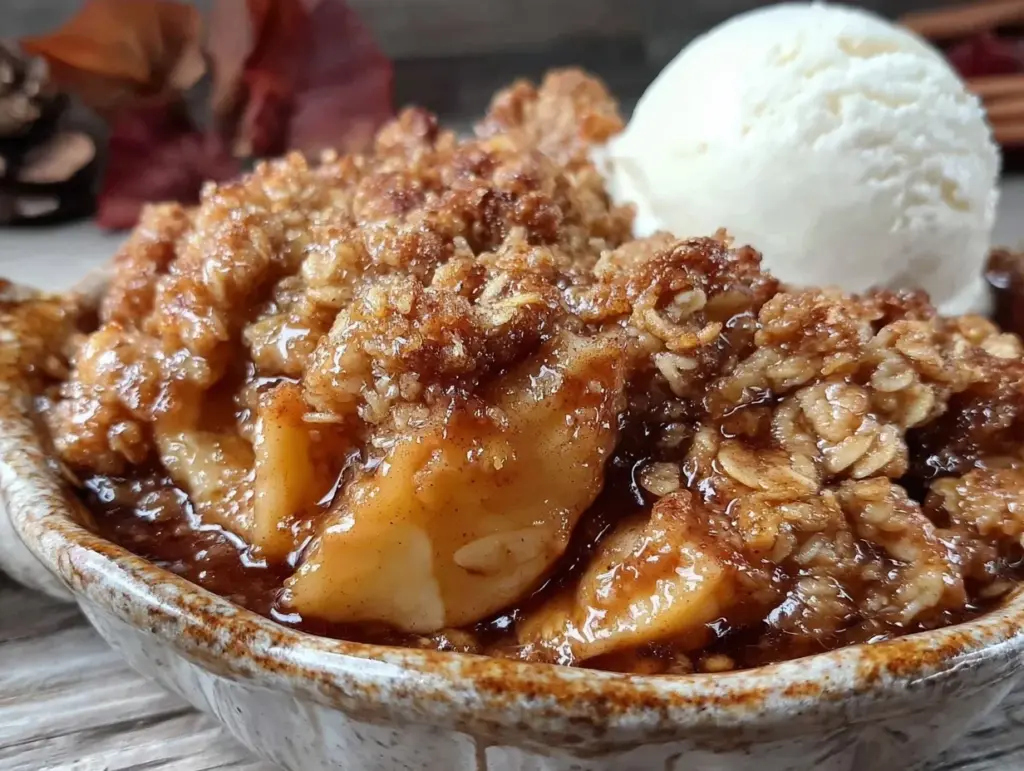
It was late October last year, the kind of afternoon where the air smells like woodsmoke and damp leaves, and I was standing in my kitchen wondering what to do with a bag of apples that were starting to look a little tired. They weren’t rotten, but they weren’t perfect either. The Honeycrisps had lost their snap, and the Gala ones were softening at the edges. Usually, I’d toss them or try to force them into a salad, but something stopped me. I remembered my grandmother’s kitchen on a Sunday afternoon, the smell of cinnamon and baked fruit drifting through the hallway, calling everyone to the table. I didn’t have her recipe card, but I had my gut feeling and a few pantry staples.
I threw those apples into a dish, sprinkled them with brown sugar and a heavy hand of cinnamon, and topped them with oats, flour, butter, and more sugar. I baked it until the kitchen smelled like a bakery and the topping turned golden and crunchy. When I took the first bite, warm and soft with a little salt melting on my tongue, I knew I had found my new fall ritual. This isn’t just dessert; it’s the taste of the season condensed into one bowl. This easy fall cinnamon apple crisp with crunchy oats has become my go-to whenever I need comfort, when guests show up unexpectedly, or simply when I want to prove to myself that baking doesn’t have to be complicated.
Real talk: most people think baking requires precision, scales, and a degree in chemistry. But this recipe is different. It’s forgiving. It’s messy in the best way. You can use any apple you have. You can mess up the topping and it still tastes good. I’ve made this recipe dozens of times, tweaking the ratio of oats to flour until it hit that perfect sweet-spot between chewy and crisp. If you’re looking for a beginner dessert that delivers restaurant-quality warmth without the stress, you’ve found it. Let’s get into why this simple dish works so well and how you can make it yours.
Why You’ll Love This Cinnamon Apple Crisp
There’s a reason this recipe sticks in your memory. It’s not just about the taste; it’s about the experience of making it and eating it. Here’s what makes this specific version of apple crisp worth your time:
- Minimal Ingredients — You only need about eight common ingredients. No exotic spices you’ll use once a year. No fancy flours. Just apples, oats, flour, butter, sugar, and cinnamon. If you can make Biscoff cookie butter blondies, you can make this.
- Forgiving Texture — The oat topping is the star. It’s designed to be crunchy, but even if it’s a bit softer, it’s still delicious. I’ve accidentally over-mixed the topping a few times, and it turned out more like a crumble cake, which was actually my favorite. You really can’t mess this up.
- Any Apple Works — This is my favorite part. You don’t need to buy specific “baking apples.” Use whatever is on sale. Use the ones getting soft in your fridge. The long bake time breaks them down perfectly regardless of the variety.
- One-Bowl Simplicity — You mix the filling in one bowl and the topping in another (or the same one if you’re lazy). There’s no creaming butter, no whipping egg whites, no delicate tempering. It’s straightforward mixing and baking.
- Leftover Gold — Apple crisp tastes even better the next day. The flavors meld, the oats soften slightly but stay crunchy, and it reheats beautifully. It’s the ultimate meal-prep dessert for the week.
This is my go-to when I want something sweet but not overly heavy. It’s rustic, honest, and deeply satisfying. Once you make this, you’ll understand why it’s become a staple in my rotation.
Key Ingredients for Perfect Crisp
Let’s talk about what goes into this bowl. I’ve tested this recipe with various brands and types, and here’s what actually makes a difference. I keep it simple because simplicity lets the apples shine.
Fuji or Honeycrisp Apples
(6 large apples, peeled and sliced / approx. 2.5 kg)
I prefer Fuji or Honeycrisp for this recipe because they hold their shape well while still becoming tender. Granny Smith is too tart on its own unless you add more sugar, and Red Delicious turns to mush too quickly. I buy about six large apples. Peel them? Yes. I peel them. Some people leave the skins on for fiber, but I find the skins get leathery and tough in a crisp. Peel them, core them, and slice them into quarter-inch wedges. Uniform slices ensure even cooking.
Old-Fashioned Rolled Oats
(1 cup / 90g)
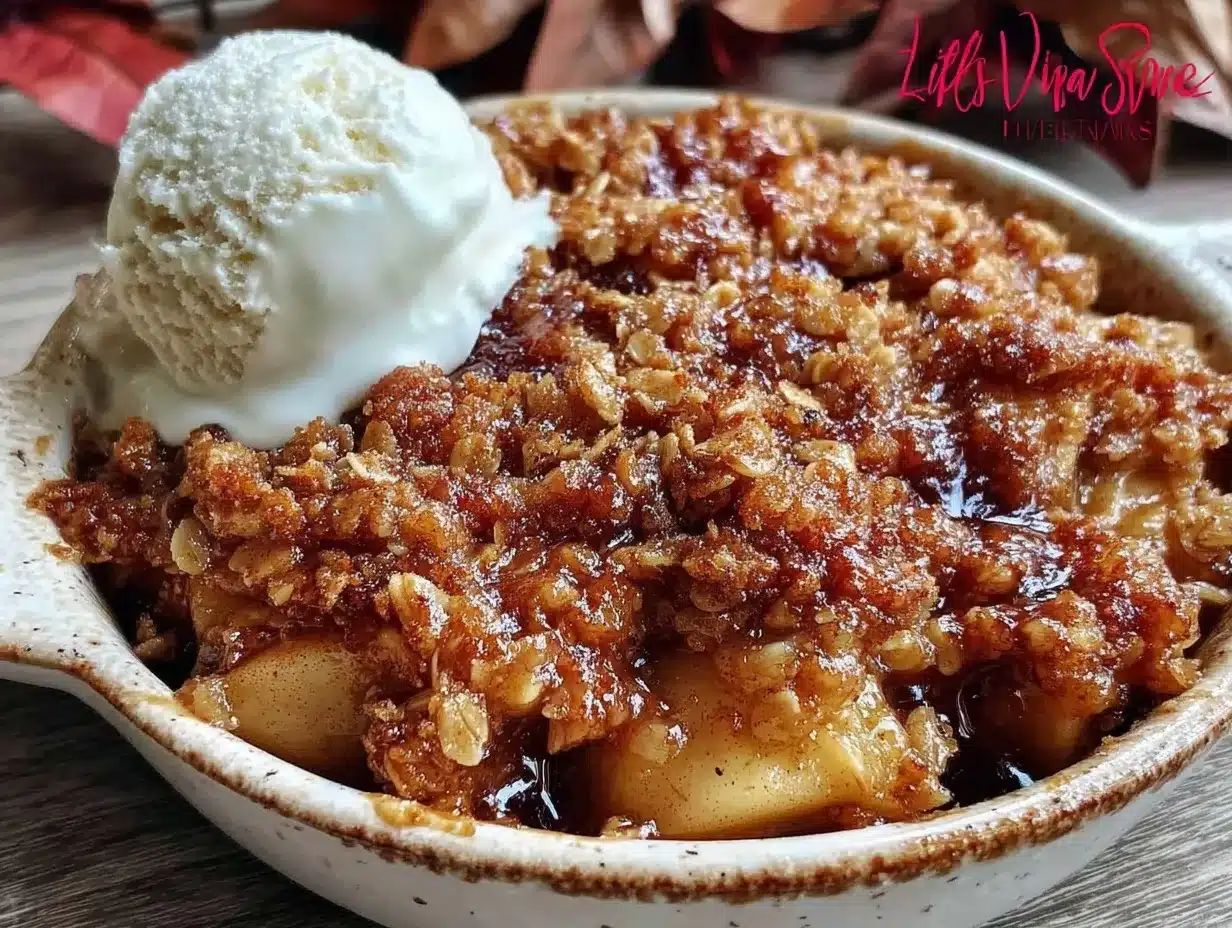
This is non-negotiable for the “crunchy” part of the title. Do not use instant oats or steel-cut oats. Instant oats turn to paste. Steel-cut oats stay too hard. Old-fashioned rolled oats give you that substantial, chewy crunch that contrasts with the soft fruit. If you want a gluten-free version, look for certified gluten-free oats, but standard rolled oats are cheaper and easier to find.
All-Purpose Flour
(1/2 cup / 60g)
Flour binds the oats and butter together so you get actual clusters instead of just greasy oats. I use standard all-purpose flour. Cake flour is too light; bread flour is too tough. Just the standard white stuff from your pantry. It creates that shortbread-like texture on top.
Unsalted Butter
(1/2 cup, melted / 113g)
Butter is the glue. I melt it because it’s faster and easier to mix evenly into the dry topping. If you use cold butter, you have to cut it in with a pastry cutter or your fingers, which takes extra time and cleanup. Melted butter creates a richer, more cookie-like topping. Use real butter, not margarine. The flavor difference is huge.
Dark Brown Sugar
(3/4 cup, packed / 150g)
Brown sugar adds moisture and a deep molasses flavor that white sugar can’t match. I use dark brown sugar because it’s more robust and pairs better with cinnamon. If you only have light brown sugar, it works, but the flavor will be slightly less complex. Pack it tightly into the measuring cup for accuracy.
Cinnamon
(2 teaspoons / 4g)
Cinnamon is the soul of this dessert. I use ground cinnamon, freshly bought if possible. Old cinnamon loses its punch. I like a generous amount because the spice needs to stand up to the apples. If you want a hint of warmth, add 1/4 teaspoon of nutmeg, but cinnamon alone is classic and sufficient.
Salt
(1/4 teaspoon / 1.5g)
Salt is crucial. It cuts through the sweetness and enhances the apple flavor. Don’t skip it. It’s easy to overlook, but without it, the crisp tastes one-dimensional.
Tools Needed
You don’t need fancy equipment. Here’s what I use, and what you can substitute if you’re working with limited space.
8×8 Inch Baking Dish — I use a glass Pyrex dish. Glass heats evenly and lets you see the bubbling edges. A metal pan works too, but it might brown the top faster, so watch it closely. A 9×9 dish will work, but the layers will be thinner, and the topping might burn before the apples cook through.
Mixing Bowls — Two medium bowls. One for the apples and one for the topping. I usually wash the first bowl while the second mixes, so cleanup is minimal.
Peeler and Knife — A Y-peeler is faster than a paring knife for apples, but either works. For the knife, I prefer a chef’s knife for slicing the apples into even wedges.
Spatula — A rubber spatula is best for scraping the melted butter into the dry topping and for spreading the apple mixture evenly in the dish.
Fork — I use a fork to mix the topping. It helps break up the butter clumps and create those nice craggy bits.
Step-by-Step Instructions
Here is exactly how I make this, step by step. Pay attention to the sensory cues—I’ll tell you what it should look and smell like so you know when it’s done.
Step 1: Prep the Apples (10 minutes)
Preheat your oven to 375°F (190°C). This temperature is key. It’s hot enough to caramelize the sugars and crisp the topping, but low enough to cook the apples through without burning the top. While the oven heats, peel, core, and slice your apples. Slice them into uniform quarter-inch wedges. If they’re too thick, the centers stay raw. If they’re too thin, they turn to sauce. Aim for consistency. Toss the sliced apples in a large bowl with 1 tablespoon of flour (optional, helps thicken juices) and set aside.
Step 2: Make the Topping (5 minutes)
In a medium bowl, combine the rolled oats, all-purpose flour, dark brown sugar, salt, and cinnamon. Mix these dry ingredients with a fork until evenly distributed. Pour in the melted butter. Stir vigorously with the fork until the mixture looks like wet sand with some larger clumps. It should look shaggy and moist. Don’t overmix it into a paste. Those clumps are what create the crunchy texture. If it looks too dry, add another tablespoon of melted butter. If it looks like soup, add a tablespoon of flour.
Step 3: Assemble (2 minutes)
Spread the sliced apples evenly into your prepared 8×8 baking dish. You want them in a single, even layer. If you pile them too high, the bottom won’t cook. Pour the topping mixture over the apples. Spread it out to cover the fruit completely. Don’t worry if it’s not perfectly smooth; rustic is good. Press down lightly on the topping with your hands or a spatula so it adheres to the apples. This prevents the topping from floating off when you scoop.
Step 4: Bake (45-50 minutes)
Place the dish in the center of the preheated oven. Bake for 45 to 50 minutes. Here’s what to watch for: around the 40-minute mark, peek inside. The topping should be golden brown. The apples should be tender when pierced with a fork, and you should see bubbles of juice escaping from the edges of the dish. If the topping is browning too fast but the apples aren’t soft yet, loosely tent the top with aluminum foil for the last 10 minutes. This prevents burning while allowing the fruit to finish cooking.
Step 5: Cool and Serve (15 minutes)
Remove the crisp from the oven and let it cool for at least 15 minutes. This step is hard, but necessary. The filling is incredibly hot and liquidy right out of the oven. Cooling allows the juices to thicken slightly, so you get a proper scoop instead of a soup. Serve warm. I like it plain, but vanilla ice cream or whipped cream is a classic pairing.
Total Time Breakdown: Prep: 15 minutes | Bake: 50 minutes | Cool: 15 minutes | Total: ~1 hour 20 minutes.
Expert Tips for Success
Here’s everything I learned from making this too many times, including the mistakes I made so you don’t have to.
The Game-Changers
Don’t Skip the Cooling Time
This is the #1 mistake. I used to dig in immediately, and I’d end up with a burnt tongue and a bowl of apple soup. The pectin in the apples needs time to set. Wait those 15 minutes. It makes a huge difference in texture.
Use Real Butter
I tried margarine once to save money. The topping spread out like a grease stain instead of forming clumps. Real butter has the right water-to-fat ratio for creating that crumbly texture. It’s worth the extra dollar.
Apple Variety Matters
While I said any apple works, mixing two types is best. I like to use half Fuji (for sweetness) and half Granny Smith (for structure and tartness). This balance prevents the dessert from being cloyingly sweet and ensures you get both soft and slightly firm bites.
Common Problems & Solutions
Problem: Topping is soggy.
Solution: You likely didn’t use enough butter or you overcrowded the pan. Ensure your topping looks like wet sand. Also, make sure your apples aren’t releasing too much water. If your apples are very juicy, toss them with an extra tablespoon of flour before baking.
Problem: Apples are undercooked.
Solution: Your slices were too thick, or your oven runs cold. Use an oven thermometer to check your actual temperature. Slice apples to a consistent 1/4 inch thickness.
Problem: Topping burned before apples cooked.
Solution: Your oven is too hot, or you didn’t use a glass dish (dark metal pans brown faster). Tent with foil earlier, at the 30-minute mark, if you see dark browning.
Recipe Variations
Once you’ve nailed the basic version, here’s how to mix it up. These variations keep the recipe fresh without complicating it.
Maple Pecan Apple Crisp
Replace the brown sugar with pure maple syrup (reduce butter by 1 tablespoon). Add 1/2 cup of chopped pecans to the topping. The nuttiness pairs beautifully with the maple. This feels more sophisticated but is just as easy.
Lemon Ginger Crisp
Add the zest of one lemon and 1 teaspoon of ground ginger to the topping. The citrus cuts the sweetness, and ginger adds a spicy kick. Great for winter colds.
Gluten-Free Option
Simply swap the all-purpose flour for a 1:1 gluten-free baking blend. Ensure your oats are certified gluten-free. The texture will be slightly more tender, but still delicious.
Dairy-Free Version
Use a high-quality plant-based butter stick (not tub margarine) instead of dairy butter. Coconut oil works too, but it adds a slight coconut flavor. The topping will still crisp up nicely.
Double Batch
This recipe doubles easily in a 9×13 dish. Increase bake time by 10-15 minutes. Perfect for potlucks or holiday gatherings. It pairs wonderfully with other dishes, much like how I serve pumpkin spice cake during the holidays.
Serving & Storage
Serving
I serve this warm, straight from the dish. It looks rustic and inviting. For a special occasion, top with a scoop of vanilla bean ice cream or a dollop of whipped cream. It’s also fantastic with a slice of sharp cheddar cheese on the side—a classic New England pairing that adds a savory contrast.
Storage
Room Temperature: Do not leave this out. Cover with plastic wrap or foil and store at room temp for up to 4 hours. After that, refrigerate.
Refrigerator: Store in an airtight container or covered tightly with foil for up to 5 days. The topping will soften in the fridge, which is normal.
Freezer: This freezes well! Wrap the entire baked dish (cooled completely) in plastic wrap and then foil. Freeze for up to 3 months. Thaw overnight in the fridge and reheat at 350°F for 20 minutes. Alternatively, freeze individual portions in containers.
Reheating: Microwave individual portions for 1-2 minutes. For the whole dish, cover with foil and bake at 350°F for 20-25 minutes until warm throughout.
Nutrition Information
I’m not a nutritionist, but here’s the breakdown per serving (assuming 8 servings). Note that this is a dessert, so it’s indulgent.
| Nutrient | Amount per Serving |
|---|---|
| Calories | 280 kcal |
| Protein | 2g |
| Carbohydrates | 48g |
| Fiber | 4g |
| Sugar | 32g |
| Fat | 10g |
| Sodium | 120mg |
My Take: This is comfort food with butter and sugar. Not diet food. But it’s better than takeout and I know what’s in it. The apples provide fiber and vitamin C, which is a nice bonus. Enjoy it as a treat, not a health food.
Final Thoughts
This easy fall cinnamon apple crisp with crunchy oats is proof that you don’t need to be a pro baker to make something amazing. It’s simple, forgiving, and deeply satisfying. Whether you’re using up bruised apples or just craving something warm, this recipe will deliver. I love that it smells like home and brings people together. If you make this, drop a comment! I love hearing how it turns out in your kitchen. Try adding a pinch of nutmeg or swapping the apples for pears if you’re feeling adventurous. Happy cooking!
FAQs
Can I use canned apples for this recipe?
Yes, but you need to drain them very well. Canned apples are softer and wetter than fresh ones. If you use canned, reduce the bake time by 10 minutes and add an extra tablespoon of flour to the topping to absorb excess moisture. Fresh apples are still preferred for texture.
Why did my apple crisp turn out soupy?
This usually happens if the apples were too juicy and weren’t cooked long enough, or if the topping was too thin. Next time, toss apples with flour and ensure your topping has enough butter to form clumps. Also, let it cool for at least 15 minutes before serving to allow the juices to thicken.
Can I make this ahead of time?
Absolutely. You can assemble the crisp the night before and keep it covered in the fridge. Just add 10-15 minutes to the bake time since you’re starting with a cold dish. This is great for holiday meal prep.
What kind of oats should I use?
Use old-fashioned rolled oats. Do not use instant oats (they turn to mush) or steel-cut oats (they stay hard). Rolled oats provide the perfect chewy crunch.
Can I substitute brown sugar with white sugar?
You can, but the flavor won’t be as deep. Brown sugar adds molasses notes that pair beautifully with cinnamon and apples. If you use white sugar, add an extra teaspoon of cinnamon and a tablespoon of butter to compensate for the moisture difference.
How do I store leftovers?
Store in an airtight container in the refrigerator for up to 5 days. Reheat in the microwave or oven to restore the crispiness of the topping.
Is this recipe gluten-free?
Not as written, because it contains flour. To make it gluten-free, use a 1:1 gluten-free flour blend and ensure your oats are certified gluten-free. The texture will be slightly different but still delicious.
Pin This Recipe!
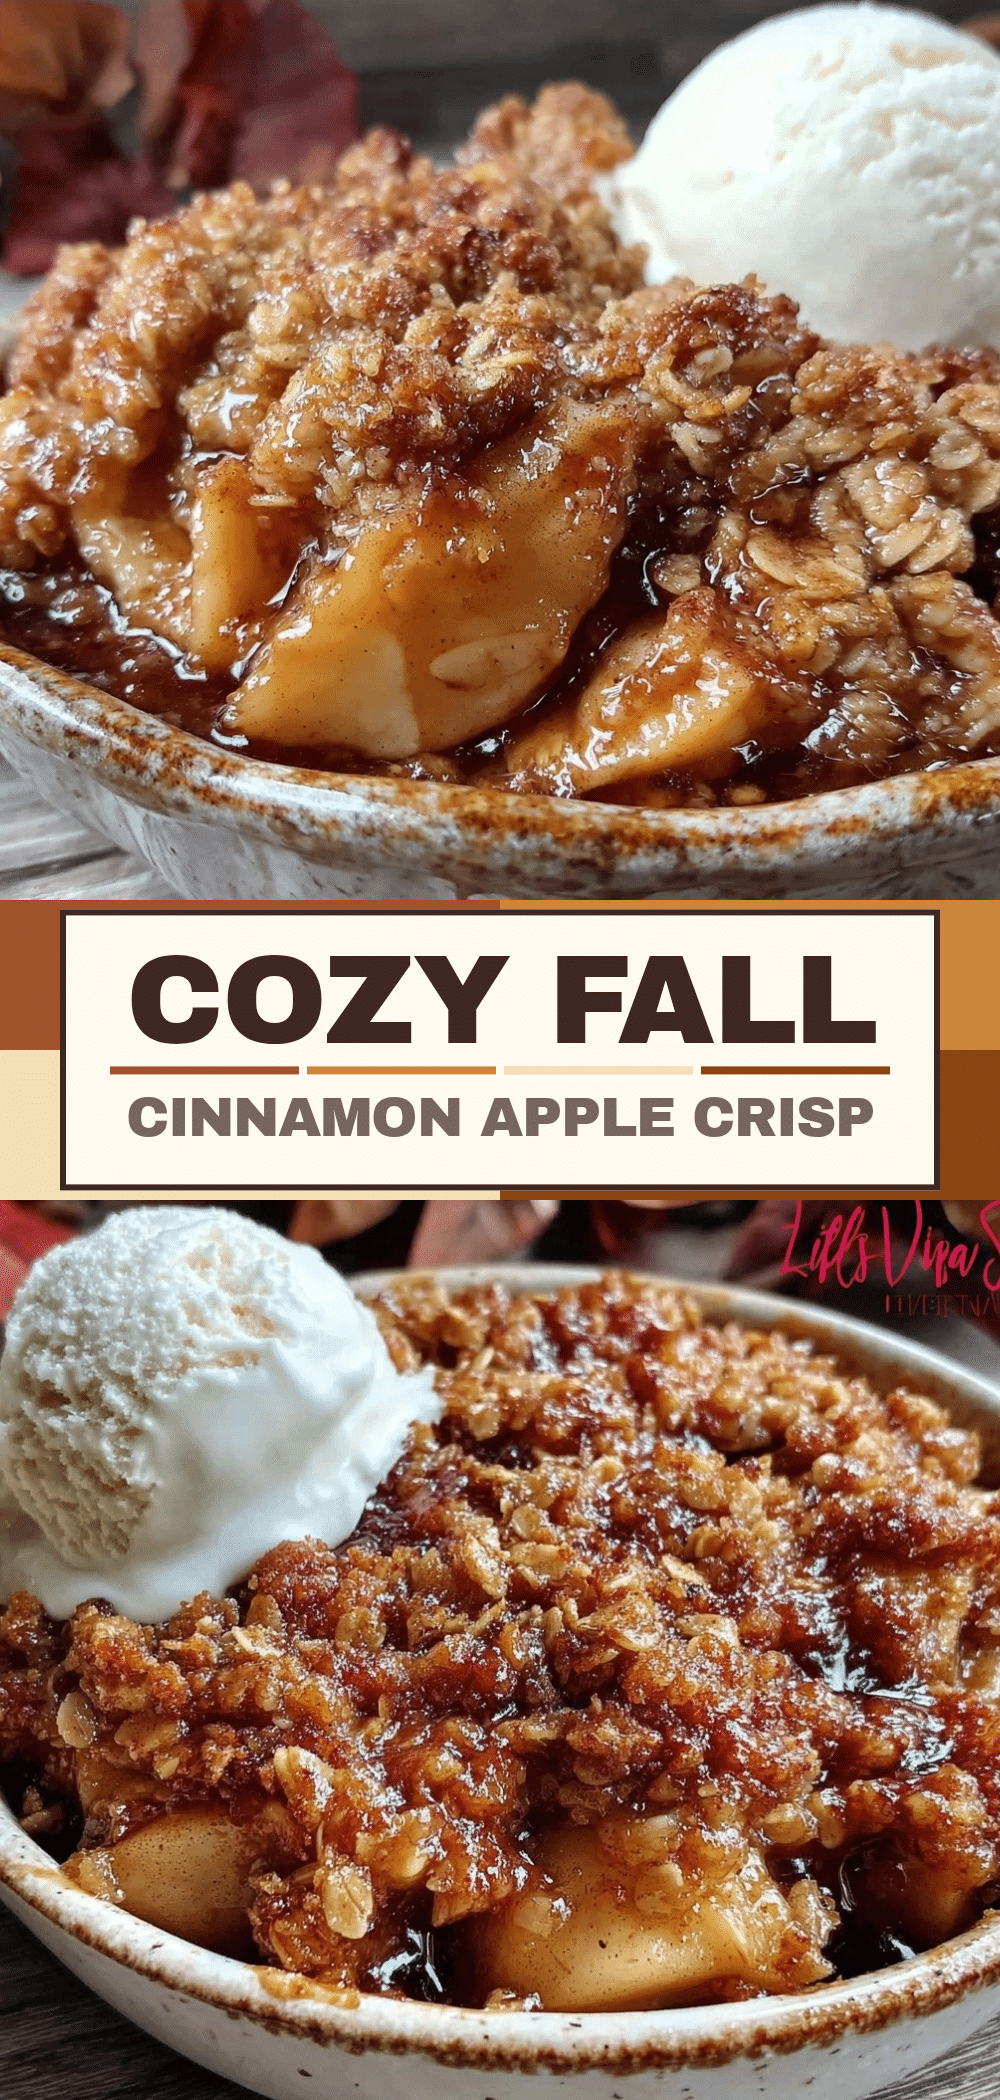

Easy Fall Cinnamon Apple Crisp: Perfect Beginner Dessert
- Total Time: 1 hour 20 minutes
- Yield: 8 servings 1x
Description
A forgiving, rustic dessert made with simple pantry staples. This easy cinnamon apple crisp features tender apples topped with a crunchy oat and brown sugar mixture, perfect for beginners and fall gatherings.
Ingredients
- 6 large Fuji or Honeycrisp apples, peeled, cored, and sliced into quarter-inch wedges
- 1 cup old-fashioned rolled oats
- 1/2 cup all-purpose flour
- 1/2 cup unsalted butter, melted
- 3/4 cup dark brown sugar, packed
- 2 teaspoons ground cinnamon
- 1/4 teaspoon salt
- 1 tablespoon flour (optional, for thickening apple juices)
Instructions
- Preheat oven to 375°F (190°C).
- Peel, core, and slice apples into uniform quarter-inch wedges. Toss with optional tablespoon of flour and set aside in a large bowl.
- In a medium bowl, combine rolled oats, 1/2 cup flour, brown sugar, salt, and cinnamon. Mix with a fork.
- Pour melted butter into the dry ingredients and stir vigorously until the mixture resembles wet sand with some larger clumps.
- Spread sliced apples evenly into an 8×8 inch baking dish.
- Pour topping over apples, spreading to cover completely. Press down lightly to adhere.
- Bake for 45-50 minutes until topping is golden brown and apples are tender.
- If topping browns too quickly, tent with foil for the last 10 minutes.
- Cool for at least 15 minutes before serving to allow juices to thicken.
- Serve warm with vanilla ice cream or whipped cream if desired.
Notes
Use real butter for the best texture. Do not skip the cooling time as it allows the filling to set. For a gluten-free version, use certified gluten-free oats and a 1:1 gluten-free flour blend. For a dairy-free version, use plant-based butter. Mixing two types of apples (e.g., Fuji and Granny Smith) provides a balance of sweetness and structure.
- Prep Time: 15 minutes
- Cook Time: 50 minutes
- Category: Dessert
- Cuisine: American
Nutrition
- Serving Size: 1/8 of the dish
- Calories: 280
- Sugar: 32
- Sodium: 120
- Fat: 10
- Saturated Fat: 6
- Carbohydrates: 48
- Fiber: 4
- Protein: 2
Keywords: apple crisp, fall dessert, cinnamon apples, easy baking, beginner dessert, oat topping, comfort food


