Last July, I stood in line at my local farmers market holding a paper bag that weighed more than it looked. Inside were eight green chiles, lumpy and knobby, with skins that looked like they’d been through a minor earthquake. The vendor, a woman named Rosa who has been selling Hatch chiles from New Mexico since I was in high school, saw me staring at them and said, “You’re going to burn these. You’re going to burn them all.”
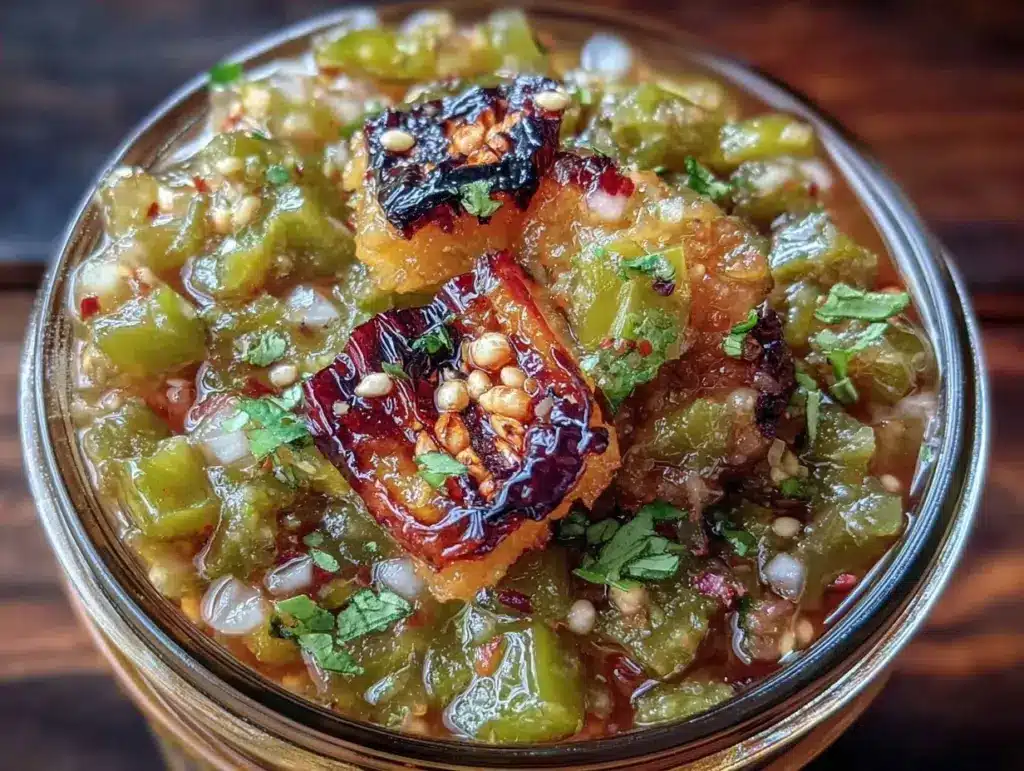
I laughed. I thought burning chiles was just a matter of setting off the smoke detector. I didn’t know then that burning them was the *only* way to get the flavor right. That mistake led me to my porch, sweating, peeling charred skins off a pile of green chiles, and realizing I had stumbled onto something magical. That first batch of Seasonal Charred Hatch Salsa Verde was messy, chunky, and intensely green. It tasted like smoke and sunshine and summer itself.
Since then, I’ve made this Seasonal Charred Hatch Salsa Verde every single year the chiles are in season. It’s not just a condiment; it’s a time capsule. When I open a jar of this small batch salsa in November, I’m back on that porch. I’m back in July. It’s tangy, smoky, and has just enough heat to make you sit up straighter in your chair.
Most salsa recipes call for tomatillos and jalapeños year-round. But this Seasonal Charred Hatch Salsa Verde is different. It’s strictly seasonal. It’s about capturing that brief window when Hatch chiles are at their peak—fleshy, sweet, and complex. If you wait too long, they get tough. If you buy them in January, they’re just sad, dry sticks. But right now? It’s the perfect time. This small batch recipe is designed for the home cook who wants maximum flavor without processing fifty pounds of chiles. It’s about making while it’s at its best, before the season ends.
Why You’ll Love This Small Batch Salsa
There are a dozen reasons to make this Seasonal Charred Hatch Salsa Verde, but let’s be real: it’s the flavor that keeps you coming back. Here’s why this specific version has taken up permanent residence in my fridge:
- The Smoke Factor — Charred chiles bring a depth that roasting in an oven simply cannot match. The open flame (or grill) creates those blackened blistered spots that translate to a rich, campfire-like taste without any actual fire needed.
- Small Batch Efficiency — I don’t have the counter space for giant pots of boiling salsa. This recipe makes about 1.5 cups. That’s enough for a week of dinners or a couple of parties. It’s perfect for testing if you’re new to green salsa.
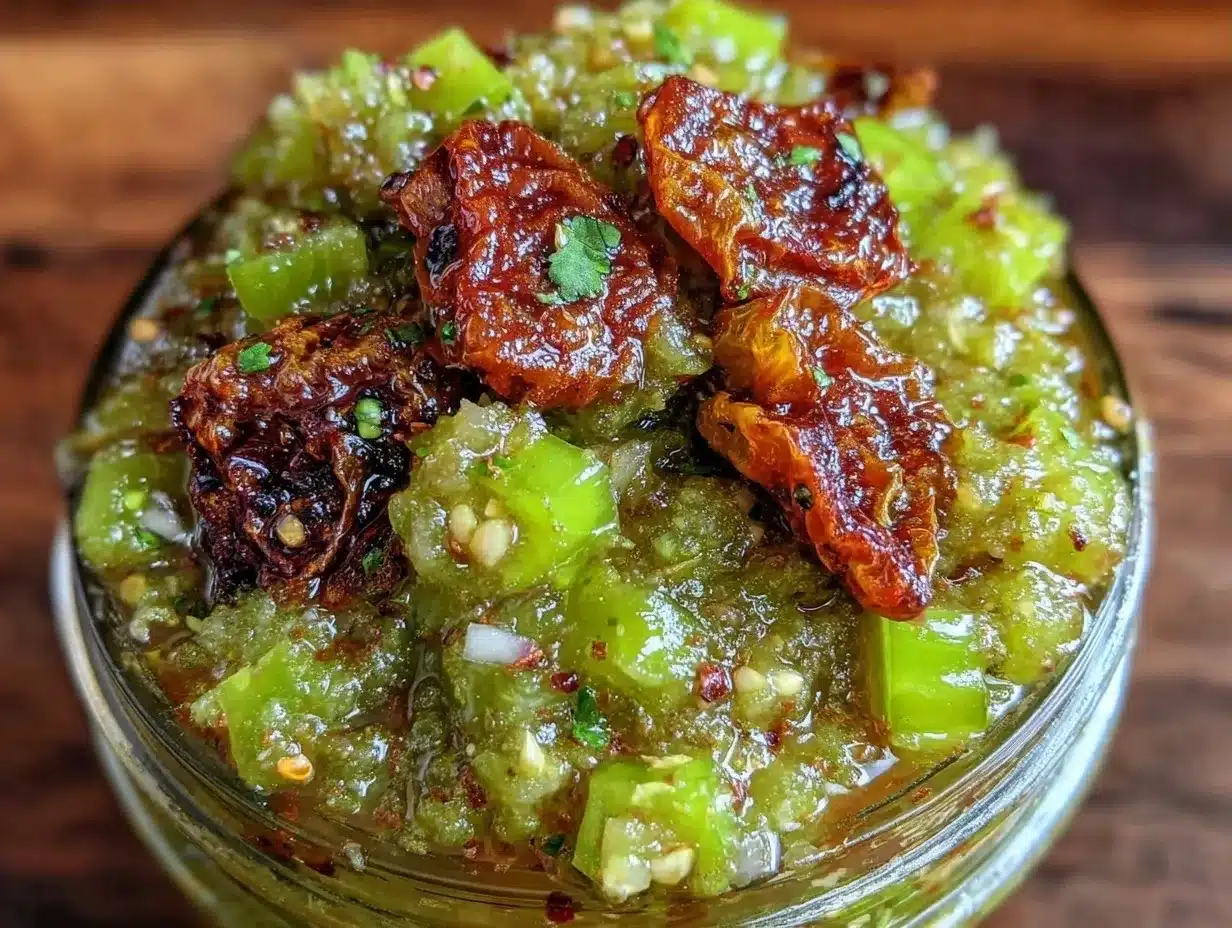
- Texture Control — Unlike store-bought versions that are pureed into a uniform sludge, this Seasonal Charred Hatch Salsa Verde has character. It’s chunky. You get bits of chile, you get bits of tomatillo. It holds up on tacos without turning your tortilla into a soggy mess.
- Speed — From char to jar, this takes about 45 minutes. That’s less time than it takes to wait for a delivery driver. I’ve made this after getting home from work, and it was ready before my pasta water boiled.
- Versatility — It’s not just for chips. I put this on eggs, I swirl it into soups, and I use it to deglaze pans. It’s a flavor bomb that works in sweet, savory, and spicy contexts.
This is my go-to when I want to taste the season. It’s vibrant, it’s fresh, and it tastes like hard work paid off.
Key Ingredients for Seasonal Charred Hatch Salsa Verde
When you’re working with seasonal produce, the quality of your ingredients is non-negotiable. You can’t hide bad chiles with too much vinegar or sugar. Here’s what you need, and why it matters.
Hatch Green Chiles
(1.5 lbs, approx. 12-15 large chiles) — This is the star. Look for chiles that are firm, glossy, and have a mix of sizes. Some should be thick and meaty, others slightly thinner. Avoid any with soft spots or shriveled skins. The key here is freshness. If they’re sitting in your fridge for a week, the flavor dulls. Buy them the day you plan to char them. If you can’t find Hatch chiles specifically, Anaheim or New Mexico green chiles are acceptable substitutes, but the flavor profile will shift slightly. Hatch chiles have that unique sweet-heat balance that defines this salsa.
Tomatillos
(1 lb, husked and rinsed) — Tomatillos provide the acidity and the fruity tang that balances the earthiness of the chiles. Look for husks that are dry and papery, with firm, bright green fruit underneath. If the tomatillos are yellow or sticky, they’re overripe and will make the salsa sweet instead of tart. Rinse them thoroughly after removing the husks to remove the natural sticky resin. This resin can be bitter if not washed off.
White Onion
(1/2 medium onion, roughly chopped) — I use white onion for its sharp, clean bite. Yellow onion works, but it can be a bit sweeter and heavier. Red onion will turn the salsa pinkish, which isn’t the vibrant green we’re going for. Chop it roughly; it will char along with the chiles, so you want those edges to blacken slightly for extra flavor.
Garlic
(3 cloves, peeled) — Fresh garlic only. Jarred garlic has a metallic aftertaste that clashes with the delicate smoke of the chiles. Three cloves is the sweet spot. If you’re a garlic lover, you can bump it to four, but don’t go over five, or the salsa will overpower the chiles.
Cilantro
(1/2 cup, packed, chopped) — Fresh cilantro adds brightness and herbal notes. Use the stems too—they’re flavorful. If you hate cilantro (genetic taste aversion is real!), you can substitute with fresh parsley, but it won’t have the same authentic zing. Add it at the end, not during the charring, so it stays bright green.
Lime Juice
(2 tbsp, fresh squeezed) — Bottled lime juice tastes like cleaning products. Squeeze two limes right before you blend. This adds the final layer of acidity to brighten the heavy roasted flavors.
Sea Salt
(1 tsp, plus more to taste) — Kosher salt or sea salt works best. Table salt can be too harsh. Start with 1 teaspoon and adjust after blending. You can always add more, but you can’t take it out.
Tools Needed
You don’t need fancy equipment. Here’s what I use to make this Seasonal Charred Hatch Salsa Verde efficiently.
Gas Stove or Grill — This is essential. You need an open flame to char the chiles properly. An electric stove won’t work well for this. If you don’t have gas, you can use a broiler, but you’ll need to watch them closely, as they burn faster under a broiler. A charcoal or gas grill is ideal if you’re making a larger batch.
Heavy-Bottomed Bowl with Lid or Plate — After charring, you need to steam the chiles to make peeling easier. A bowl covered with a plate traps the heat and moisture, loosening the skins. I use a medium-sized glass bowl for this.
Food Processor — A standard 11-cup food processor works perfectly. I’ve tried using a blender, but it tends to puree too much and make the salsa watery. The food processor keeps the texture chunky and pleasant. If you don’t have one, a mortar and pestle works, but it requires serious arm strength and time.
Peeling Bowl (Optional) — I keep a small bowl just for peeling skins. It makes cleanup easier than scraping charred bits off my counter.
How to Make Seasonal Charred Hatch Salsa Verde
Let’s walk through the process. It’s simple, but it requires attention. Don’t walk away from the stove.
Step 1: Char the Vegetables (10-15 minutes)
Turn your gas burner to high. Place the whole Hatch chiles, tomatillos, onion wedges, and garlic cloves directly on the grate. You want them to blacken and blister. This takes about 2-3 minutes per side. Rotate them frequently. You’re looking for charred black spots, not just browning. The skins should be cracked and blistered. The tomatillos will soften and turn a darker green. The onion will start to collapse. The garlic will get soft and aromatic. Don’t rush this step. The smoke flavor comes from the char, not the cooking.
Step 2: Steam and Peel (5 minutes)
Immediately transfer the hot, charred vegetables into your heavy-bottomed bowl. Cover it tightly with a plate or lid. Let it sit for 5-10 minutes. The steam will loosen the skins. After 5 minutes, uncover. The chile skins should peel off easily with your fingers. If they’re stubborn, let it steam for another 2 minutes. Remove the blackened skin from the chiles and onion. You don’t need to peel the tomatillos or garlic; just scrape off any large charred bits. The tomatillo skins are thin and edible once cooked. The garlic cloves should slip out of their skins easily.
Step 3: Blend the Base (2 minutes)
Add the peeled chiles, tomatillos, onion, and garlic to your food processor. Pulse a few times to chop everything into rough pieces. This ensures an even blend. Then, add the lime juice and salt. Pulse again until you reach your desired consistency. For a chunky salsa, pulse 10-15 times. For a smoother salsa, blend for 30 seconds. Be careful not to over-process, or the salsa will become watery and lose its texture.
Step 4: Add Freshness (1 minute)
Transfer the blended mixture to a bowl. Stir in the chopped cilantro. Taste it. This is the most important step. Does it need more salt? More lime? Add it now. The flavors will meld and intensify over the next few hours, so taste it with that in mind. If it tastes perfect now, it might be too sharp later. Aim for slightly under-seasoned at this stage.
Total Time: 45 minutes (15 min char + 10 min steam + 5 min peel + 10 min blend + 5 min season).
Expert Tips for Perfect Salsa
Here’s everything I learned from making this too many times, so you don’t have to make the same mistakes.
Don’t Skip the Steam
The #1 mistake I see people make is trying to peel the chiles immediately after charring. It’s hot, it’s slippery, and the skins won’t budge. The steam step is non-negotiable. It’s what makes peeling easy and preserves the flesh. If you skip it, you’ll lose half your chile flesh trying to get the skin off.
Handle the Heat
Wear gloves when peeling the chiles. Even though they’re cooked, the oils are still potent. If you touch your eyes or nose after peeling, you’ll regret it. I learned this the hard way after burning my fingertips and then rubbing my eye. Gloves save you from tears, literally.
Balance is Key
Hatch chiles vary in heat. Some are mild, some are fiery. Taste a small piece of the raw chile before you char it. If it’s mild, you might want to add a small piece of jalapeño for extra kick. If it’s hot, stick to the recipe. The tomatillos provide acidity, so don’t be afraid to add more lime if the salsa tastes flat.
Let it Rest
This Seasonal Charred Hatch Salsa Verde tastes good immediately, but it tastes *great* after sitting in the fridge for 24 hours. The flavors meld, the smoke deepens, and the acidity softens. If you can wait, wait. It’s worth the anticipation.
Recipe Variations
Once you’ve nailed the basic version, here’s how to mix it up.
Spicy Kick
Add one serrano pepper or a small jalapeño to the char. This bumps up the heat level significantly. Great for those who like a punch.
Herbaceous Twist
Add fresh epazote or oregano leaves during the blending stage. Epazote has a unique, earthy flavor that pairs beautifully with chiles. Oregano is more subtle but adds a nice Mediterranean touch.
Sweet and Smoky
Add a tablespoon of honey or agave syrup. This balances the acidity of the tomatillos and highlights the sweetness of the Hatch chiles. Great for grilled meats.
Dairy-Free Option
This recipe is naturally dairy-free. If you want a creamy version, stir in a tablespoon of sour cream or Greek yogurt right before serving. It adds richness without overpowering the green flavor.
Serving & Storage
Serving: Serve this Seasonal Charred Hatch Salsa Verde with tortilla chips, obviously. But don’t stop there. Spoon it over fried eggs, mix it into scrambled tofu, or use it as a topping for grilled fish. It’s also fantastic as a dip for fresh vegetables like cucumber and jicama. Pair it with cajun shrimp and grits for a fusion twist that works surprisingly well.
Storage: This salsa keeps well in the refrigerator for up to 5 days. Store it in an airtight glass jar. The acidity from the tomatillos and lime acts as a natural preservative. It does not freeze well because the texture of the fresh chiles and cilantro changes upon thawing. It becomes watery and loses its vibrancy. So, make only what you’ll use in a week. If you have leftovers, consider using them in a soup or stew within two days.
Nutrition Information
I’m not a nutritionist, but here’s the breakdown per 2-tablespoon serving (approx. 30g):
| Nutrient | Amount |
|---|---|
| Calories | 15 kcal |
| Protein | 0.5 g |
| Carbs | 3 g |
| Fiber | 1 g |
| Fat | 0 g |
| Sodium | 100 mg |
My Take: This is low-calorie, low-fat, and packed with vitamins from the chiles and tomatillos. It’s a healthy way to add flavor to your meals without adding extra calories. It’s not a diet food in the sense that it’s boring; it’s vibrant and exciting. Just be mindful of the sodium if you’re watching your salt intake.
Final Thoughts
Making Seasonal Charred Hatch Salsa Verde is a ritual. It’s messy, it’s smoky, and it’s deeply satisfying. It reminds me that some things are only worth the effort if they happen at the right time. This salsa is a celebration of summer, of fresh produce, and of the joy of cooking with your hands. I hope you make this while it’s at its best. If you do, drop a comment! I love hearing how it turns out in your kitchen. Happy cooking!
FAQs
Can I use roasted Hatch chiles from a can?
You can, but the flavor won’t be the same. Canned chiles are often softer and lack the fresh, bright note of newly charred chiles. If you use canned, drain them well and add a bit more lime juice to compensate for the lack of fresh acidity. But for the best Seasonal Charred Hatch Salsa Verde, fresh is always better.
How spicy is this salsa?
Hatch chiles range from mild to hot. This recipe uses about 12-15 chiles, which results in a medium heat level. If you want it milder, remove the seeds and veins from the chiles before charring. If you want it hotter, leave the seeds in or add a serrano pepper.
Can I make this salsa ahead of time?
Yes, this is actually better the next day. The flavors meld and deepen. You can make it up to 24 hours in advance. Just store it in the fridge and bring it to room temperature before serving for the best flavor.
What if I don’t have a gas stove?
You can use your oven’s broiler. Place the chiles and tomatillos on a baking sheet lined with foil. Broil on high, turning every 2-3 minutes, until charred on all sides. It takes longer and doesn’t get as smoky, but it works. Just be careful not to burn them to a crisp.
Why is my salsa too watery?
This usually happens if the tomatillos are overripe or if you blend too long. Make sure your tomatillos are firm and green. Also, pulse the food processor instead of letting it run continuously. This keeps the texture chunky and prevents the release of too much water.
Pin This Recipe!
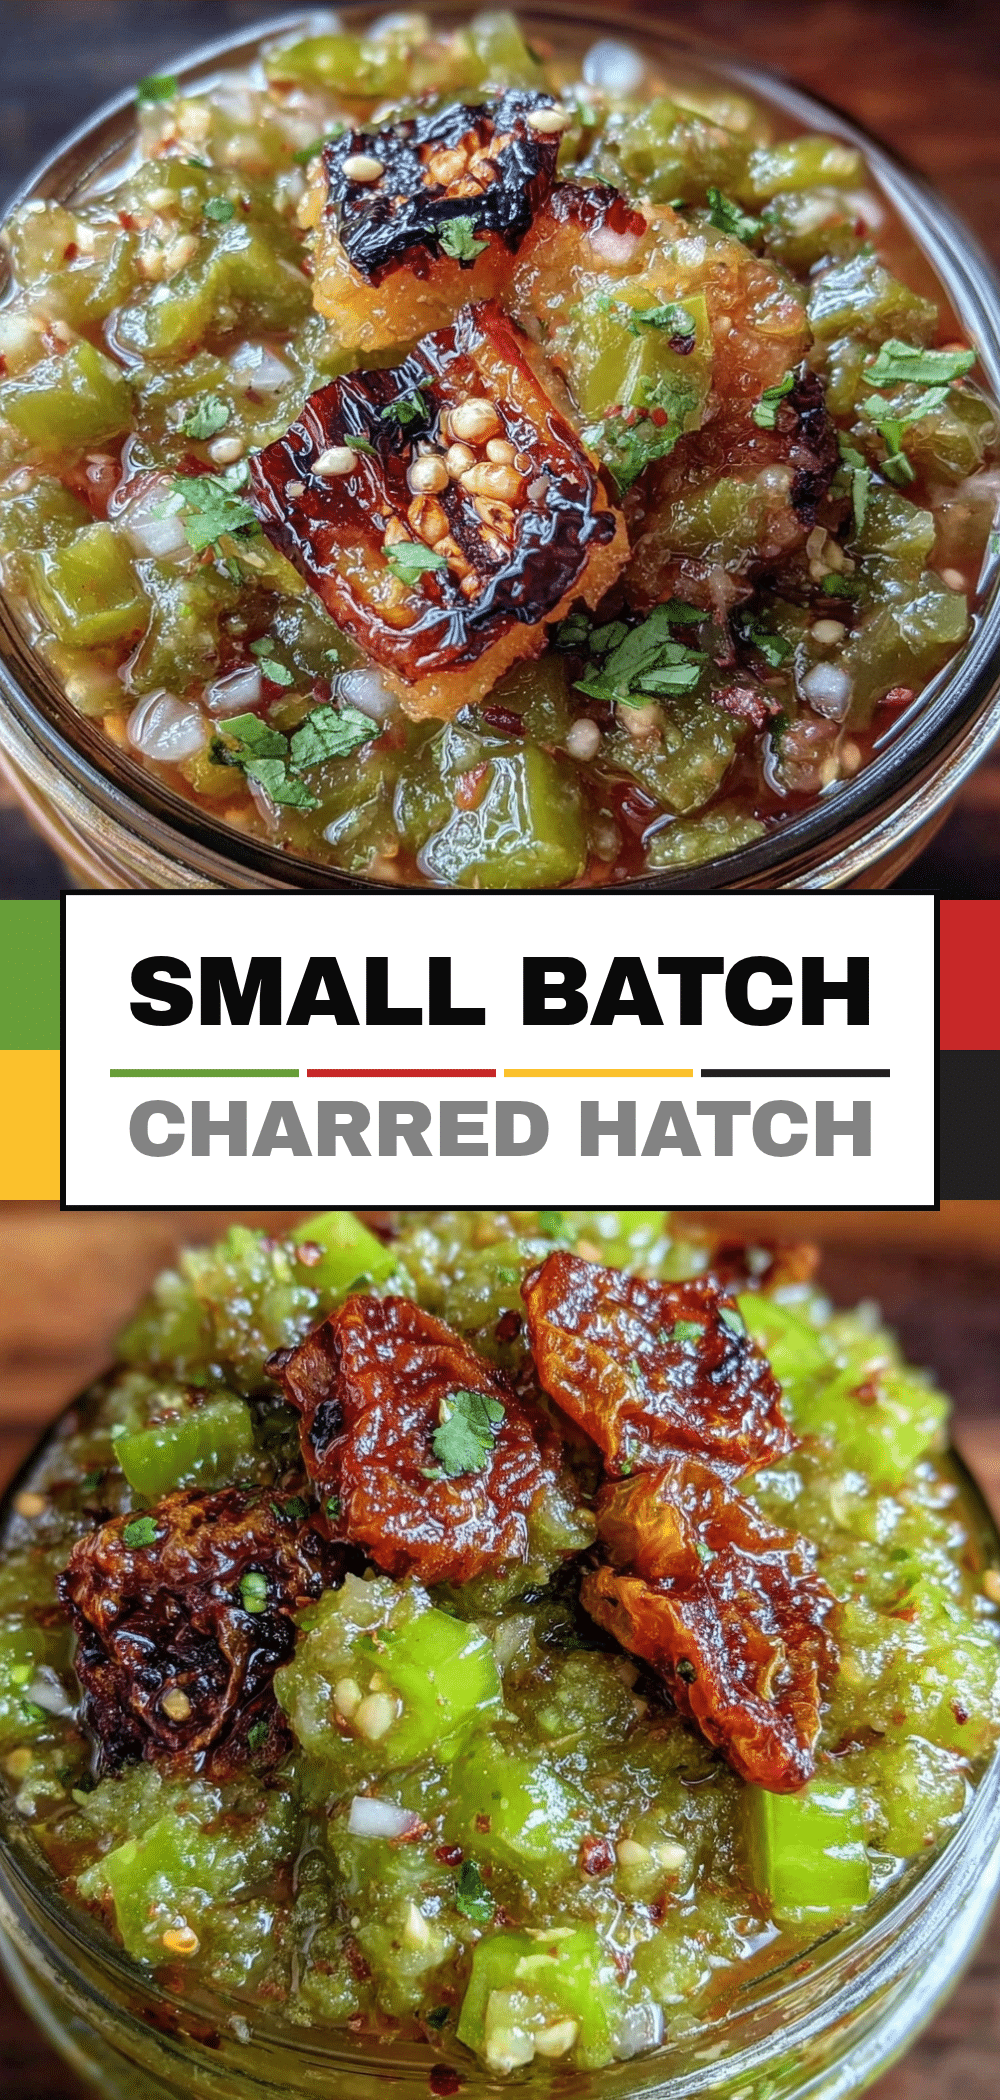

Seasonal Charred Hatch Salsa Verde: Best Small Batch Recipe
- Total Time: 45 minutes
- Yield: 1.5 cups 1x
Description
A small batch, chunky salsa made with charred Hatch green chiles, tomatillos, and fresh herbs. This recipe captures the smoky, tangy flavor of summer in just 45 minutes.
Ingredients
- 1.5 lbs Hatch green chiles (approx. 12–15 large chiles)
- 1 lb tomatillos, husked and rinsed
- 1/2 medium white onion, roughly chopped
- 3 cloves garlic, peeled
- 1/2 cup fresh cilantro, packed and chopped
- 2 tbsp fresh lime juice
- 1 tsp sea salt, plus more to taste
Instructions
- Char the vegetables: Place Hatch chiles, tomatillos, onion wedges, and garlic cloves directly on a high-heat gas burner or grill grate. Blacken and blister on all sides, rotating frequently, for about 2-3 minutes per side.
- Steam and peel: Immediately transfer the hot, charred vegetables into a heavy-bottomed bowl. Cover tightly with a plate or lid and let sit for 5-10 minutes to steam. Peel off the charred skins from the chiles and onion. Scrape large charred bits off the tomatillos and garlic, but do not peel the tomatillo skins.
- Blend the base: Add the peeled chiles, tomatillos, onion, and garlic to a food processor. Pulse to chop into rough pieces. Add lime juice and salt. Pulse 10-15 times for a chunky consistency or blend for 30 seconds for a smoother texture.
- Add freshness: Transfer the mixture to a bowl and stir in the chopped cilantro. Taste and adjust seasoning with more salt or lime if needed.
- Rest: Let the salsa sit in the refrigerator for at least a few hours or up to 24 hours to allow flavors to meld before serving.
Notes
Wear gloves when peeling charred chiles to avoid skin irritation. The salsa tastes best after resting in the fridge for 24 hours. Do not freeze as the texture will become watery. If you cannot find Hatch chiles, Anaheim or New Mexico green chiles can be used as substitutes.
- Prep Time: 15 minutes
- Cook Time: 30 minutes
- Category: Condiment
- Cuisine: Mexican
Nutrition
- Serving Size: 2 tablespoons
- Calories: 15
- Sodium: 100
- Carbohydrates: 3
- Fiber: 1
- Protein: 0.5
Keywords: Hatch chiles, salsa verde, green salsa, small batch recipe, charred chiles, summer recipes, Mexican condiment, fresh salsa


