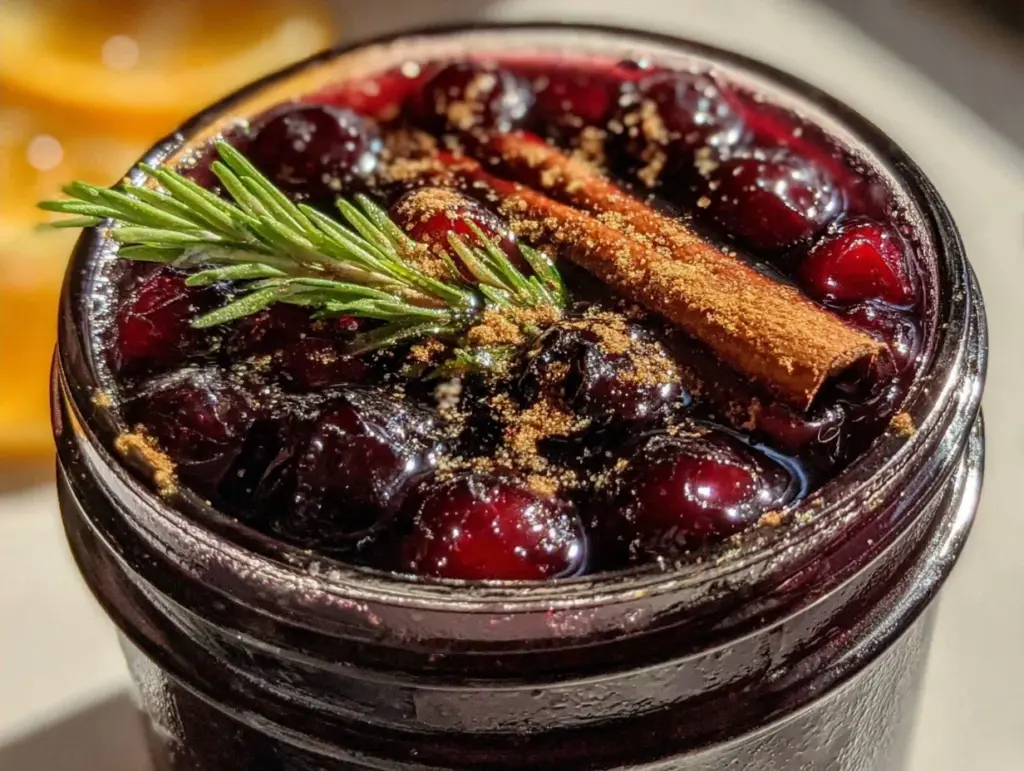
Three winters ago, I woke up feeling like someone had taken a cheese grater to my throat. It was January, the darkest part of the year, and my immune system had clearly decided to take a vacation. I spent two days wrapped in blankets, sipping lukewarm tea that tasted like wet cardboard, and wishing for a miracle. My neighbor, Mrs. Gable, knocked on my door with a small amber glass bottle and a knowing smile. “Drink this before bed,” she said. “It’s not magic, but it’s better than medicine.”
That bottle of elderberry syrup became my lifeline. Within days, the scratchy pain in my chest vanished, and I was back to making fluffy buttermilk pancakes for my hungry kids. Since then, I’ve been obsessed with the idea of homemade immunity boosters. There is something deeply comforting about holding a bottle of dark, rich syrup that you made yourself, knowing exactly what went into it. No preservatives, no weird chemicals—just fruit, spice, and time.
I’ve tested this elderberry syrup recipe more times than I care to admit. I’ve tried different sweeteners, different spice blends, and even experimented with adding ginger for extra kick. What I’ve landed on is a simple, three-ingredient powerhouse that tastes like a hug in a jar. It’s tart, it’s sweet, and it smells like Christmas spices without the effort of baking a pie. Whether you’re nursing a cold, trying to prevent one, or just want a natural syrup for your morning oatmeal, this cozy immunity-boosting elderberry syrup is the answer. It’s become my favorite winter ritual, and honestly, it makes the best gift for friends who are always running on empty.
Why You’ll Love This Homemade Syrup
Let’s be real: store-bought immunity shots are tiny, expensive, and taste like concentrated dirt. This syrup is different. It’s generous, flavorful, and actually enjoyable to drink. Here’s why this recipe has earned a permanent spot in my kitchen:
Three Ingredients, Zero Guesswork — You only need dried elderberries, water, and honey. That’s it. No complex pantry raids. I keep dried elderberries in my spice cabinet right next to my cinnamon sticks. If I have those, I can make this syrup on a whim.
Tastes Like Dessert, Works Like Medicine — The tartness of the berries balances perfectly with the floral sweetness of the honey. It doesn’t taste like “health food.” It tastes like a sophisticated berry reduction. My kids ask for it on their cereal, not because they want to be healthy, but because they love the flavor.
Gift-Ready Charm — There is nothing quite as thoughtful as a homemade gift. I bottle this up in vintage-looking jars with twine and a sprig of dried orange peel. It looks beautiful on a counter or as a hostess gift. It says, “I made this for you,” which matters more than any store-bought item.
Shelf-Stable Simplicity — Once it’s in the fridge, it lasts for months. I made a big batch in November, and we’re still sipping it in February. It’s a “set it and forget it” recipe that saves you from scrambling when the first sniffle hits.
Natural Antioxidant Powerhouse — Elderberries are packed with antioxidants and vitamins C and E. While I’m not a doctor, I trust that feeding my family nutrient-dense, whole foods is better than relying on synthetic supplements. This syrup is a delicious way to do that.
This is my go-to when I want to feel prepared for the winter months. It’s simple, effective, and tastes incredible.
Key Ingredients for the Best Syrup
The beauty of this recipe is its simplicity, but the quality of your ingredients matters. Here is what you need to get that perfect, rich flavor profile.
Dried Elderberries (2 oz / 56g) — This is the star. Do not use fresh elderberries unless you know exactly how to process them, as they can be toxic if not cooked properly. Dried elderberries are concentrated and safe. I buy mine in bulk from a local herbalist, but online suppliers work fine too. Look for deep purple, shriveled berries. Avoid any that look moldy or dusty.
Raw Honey (1 cup / 340g) — Raw honey is crucial here. It has its own immune-boosting properties and adds a lovely floral note. I prefer wildflower honey for its complex flavor, but clover or orange blossom honey works beautifully too. Do not use processed, clear corn syrup honey; it lacks the medicinal depth we want. Note: If you need a vegan version, substitute with maple syrup, but the flavor profile will shift slightly.
Water (2 cups / 480ml) — Just good, clean filtered water. You want the flavor of the berries to shine, not the taste of tap chlorine. If your water smells like a pool, your syrup will too.
Cinnamon Stick (1 large stick / 3 inches) — I added this as a “bonus” fourth ingredient because it changes everything. It adds warmth and depth. If you don’t have it, you can skip it, but I highly recommend keeping one in your jar. It infuses the syrup with that cozy, holiday spice aroma.
Optional: Star Anise or Cloves — For a deeper, more complex spice profile, add one star anise pod or two cloves. It makes the syrup taste like a sophisticated mulled wine base. I usually keep these in the fridge specifically for syrup making.
Tools Needed
You don’t need fancy equipment. I’m not using a high-speed blender or a specialized juicer. Here’s what I use, and what you can swap:
Medium Saucepan — I use a 3-quart saucepan. It needs to be deep enough to hold the water and berries without boiling over, but not so wide that the liquid evaporates too quickly. A heavy-bottomed pan is best to prevent scorching.
Mesh Strainer or Cheesecloth — This is the most important tool. Elderberries have tiny seeds and skins that you want removed. A fine-mesh sieve works perfectly. If you want an ultra-smooth syrup, line the sieve with cheesecloth. It takes a little longer to strain, but the texture is silky.
Mushling Tool or Wooden Spoon — To get every drop of juice out of the cooked berries, you need to press them. A potato masher works, but a specialized citrus masher or the back of a wooden spoon is better for pushing through the mesh without tearing it.
Glass Jars with Lids — Amber glass is best for storage to protect the syrup from light, but clear glass is fine if you keep it in the fridge. Make sure your jars are sterilized. I just run them through the dishwasher on the hot cycle and let them air dry.
How to Make Cozy Immunity-Boosting Elderberry Syrup
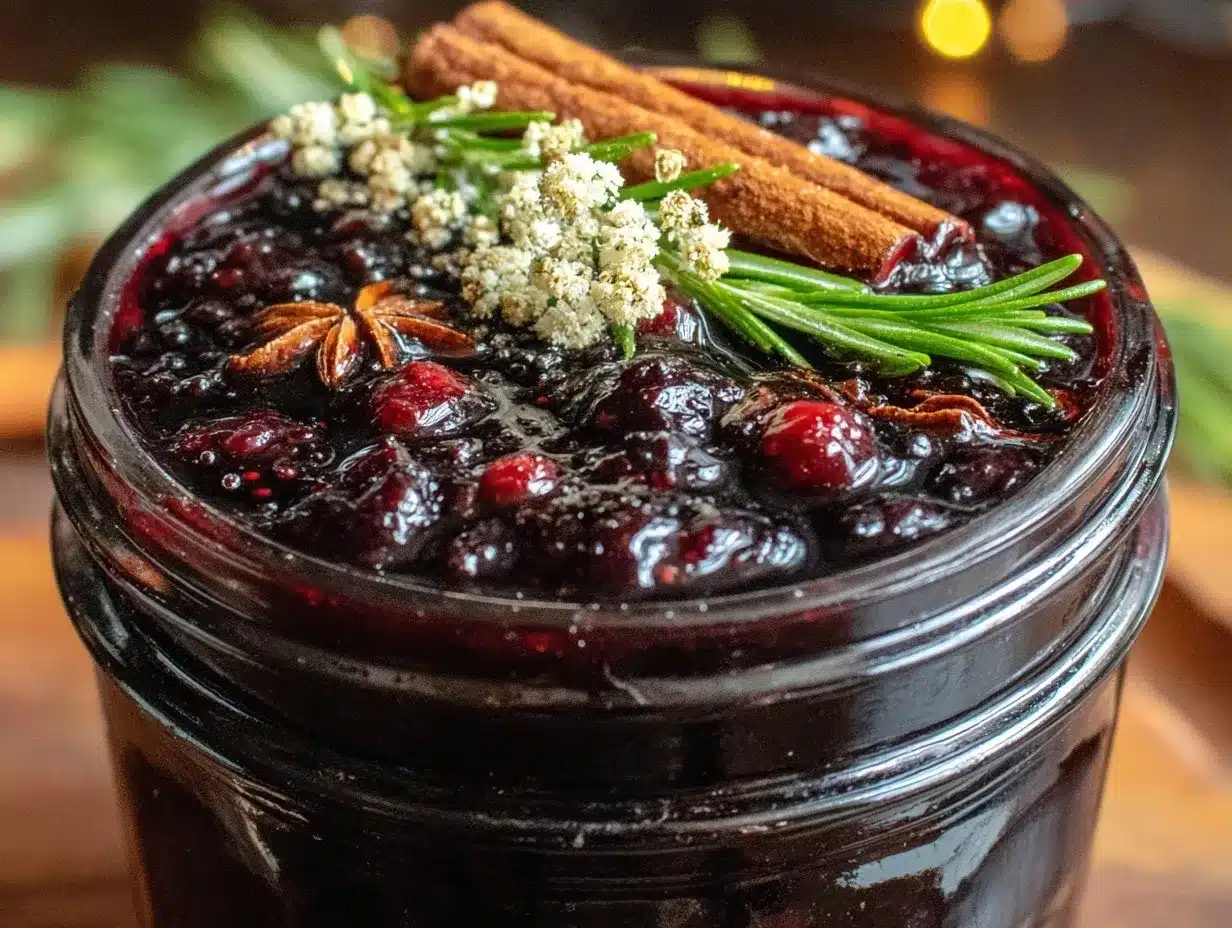
Let’s get into the kitchen. This process is mostly passive cooking, which means you can clean up the kitchen or fold laundry while it simmers.
Step 1: Combine and Simmer (20 minutes)
Start by adding the dried elderberries and the cinnamon stick to your saucepan. Pour in the water. Stir it gently to submerge the berries. Turn the heat to medium-high and bring the mixture to a boil. Once it hits a rolling boil, reduce the heat to low. You want a gentle simmer, not a violent boil. Cover the pot with a lid, but leave it slightly ajar to let some steam escape. Let it simmer for 20 minutes. You’ll notice the water turning a deep, dark purple. The berries will swell and burst. This is good. It means the nutrients are releasing into the water.
Step 2: Cool and Steep (30 minutes)
Turn off the heat. Leave the lid off and let the mixture cool to room temperature. This step is critical. If you strain it while it’s hot, you lose a lot of the potent compounds and the flavor isn’t as extracted. Letting it sit allows the berries to fully rehydrate and infuse the liquid. While it cools, the kitchen will smell amazing—like spiced fruit. If you’re impatient, you can speed this up by placing the pot in the fridge, but room temperature is best for extraction.
Step 3: Strain the Berries (10 minutes)
Place your mesh strainer over a large bowl. Pour the cooled berry mixture into the strainer. Now comes the work. Use the back of your spoon or a masher to press down on the berries. You want to squeeze every bit of purple juice out. The skins and seeds will remain in the strainer. Discard these solids. If you used cheesecloth, you’ll need to gather the edges and squeeze the bundle tightly to get the last drops. Trust me, those last drops are the most potent.
Step 4: Sweeten and Store (5 minutes)
Once you have your dark, rich liquid, let it cool completely. Do not add honey to hot liquid. High heat can destroy the beneficial enzymes in raw honey. Once the syrup is cool to the touch, stir in the honey until it is fully dissolved. It should be thick and glossy. Pour the syrup into your sterilized glass jars. Seal them tightly.
Total time: About 1 hour, mostly passive. You’ll end up with roughly 1.5 cups of syrup, which is plenty for daily use.
Expert Tips from My Kitchen
I’ve made this syrup enough times to know where people go wrong. Here’s how to avoid the common pitfalls.
Don’t Rush the Simmer
I learned this the hard way. The first time I made this, I boiled it for only 5 minutes to save time. The result was watery and weak-tasting. Elderberries need time to break down. Give them the full 20 minutes. If you want a stronger concentrate, you can simmer for up to 30 minutes, but watch the water level so it doesn’t evaporate completely.
Cool Before Adding Honey
This is non-negotiable. If you add honey to hot syrup, you kill the probiotics and enzymes that make raw honey special. It’s still sweet, but you lose the health benefits. Let the syrup reach room temperature or chill it in the fridge first.
Strain Twice for Clarity
If you hate bits and pieces in your syrup, strain it twice. Pour the strained liquid through the mesh again. It takes an extra minute, but the result is a smooth, professional-looking syrup that looks stunning in a bottle.
Label Your Jars
It sounds silly, but I once drank a jar of elderberry syrup thinking it was grape juice and was disappointed by the tartness. Label it with the date and contents. It keeps you organized, especially when you’re gifting them.
Recipe Variations
Once you’ve mastered the basic version, here’s how to mix it up based on your taste or health goals.
Spicy Ginger Version
Add 1 tablespoon of fresh grated ginger to the simmering water. Ginger adds a warming kick that’s great for sore throats. It pairs beautifully with the elderberries. I add this when I feel a cold coming on.
Vegan Maple Version
Swap the honey for pure maple syrup. Use Grade B maple syrup for a deeper, more robust flavor. The syrup will be slightly thinner, but the taste is fantastic. It’s perfect for drizzling over the classic beef stroganoff or just mixing into tea.
Echinacea Boost
Add 1 teaspoon of dried echinacea flowers to the simmering water. Echinacea is another immune-supportive herb. It adds a slightly earthy, bitter note, so you might want to increase the honey slightly to balance it.
Lemon Zest Infusion
Add the zest of one organic lemon to the simmering water. Remove the zest before straining. The citrus brightens the flavor and adds a bit of vitamin C. It makes the syrup taste fresher and less “herbal.”
Serving & Storage
Serving Suggestions:
I take 1-2 teaspoons daily as a preventative measure. When I feel a tickle in my throat, I up the dose to 1 tablespoon three times a day. You can stir it into warm water with lemon for a tea-like drink, mix it into yogurt, or drizzle it over chewy oatmeal raisin cookies for a healthy-ish treat. It’s also delicious in sparkling water for a festive, immune-boosting mocktail.
Storage:
This syrup must be refrigerated. It will last for up to 3 months in the fridge. Because it contains honey, it acts as a natural preservative, but the fresh fruit content means it needs the cold. If you notice any mold or off-smells, toss it. It should smell like tart berries and spice. If you want to keep it longer, you can freeze it in ice cube trays. Once frozen, pop the cubes into a bag. Use them straight from the freezer in tea or smoothies.
Nutrition Information
I’m not a nutritionist, but here’s the breakdown per 1 tablespoon serving:
| Nutrient | Amount |
|---|---|
| Calories | 60 |
| Carbohydrates | 16g |
| Sugar | 15g |
| Protein | 0g |
| Fat | 0g |
My Take: This is sweet, so don’t treat it like water. But it’s natural sugar from honey, not refined syrup. It’s a wholesome indulgence. I use it to add flavor to healthy meals, not to replace vegetables.
Final Thoughts
Making this cozy immunity-boosting elderberry syrup feels like a small act of self-care. It’s a way to slow down in the busy winter months and do something good for your body. I hope you make a batch this season and share it with someone you love. It’s a simple recipe with a profound impact.
If you make this, I’d love to hear how you use it! Drop a comment below. Happy cooking!
FAQs
Can I use fresh elderberries instead of dried?
I strongly recommend against it unless you are experienced. Fresh elderberries contain cyanogenic glycosides, which can be toxic if not cooked properly. Dried elderberries are safe and concentrated. If you must use fresh, you need to boil them for much longer (at least 45 minutes) and ensure they are fully cooked. For safety and simplicity, stick to dried.
How do I know if the syrup has gone bad?
Trust your senses. If you see mold floating on top, smell anything sour or yeasty, or notice a change in color, throw it out. Properly stored syrup should remain dark purple and smell fruity. If it gets cloudy, it’s likely spoiled.
Can I give this to children?
Yes, but with a caveat. Never give honey to infants under 1 year old due to the risk of botulism. For children over 1, you can give them small amounts (1/2 teaspoon) diluted in water. It’s a great way to get them immune support without them realizing it’s “medicine.”
Can I make this in a slow cooker?
Absolutely. Place the berries, water, and cinnamon in the slow cooker. Cook on low for 4-6 hours. Then strain and add honey once cooled. It’s even easier than the stovetop method, though the flavor might be slightly less intense.
Why does my syrup taste bitter?
Over-extracting the seeds can sometimes add a bitter note. Make sure you don’t boil the syrup violently for too long. Also, ensure you are using raw, high-quality honey. Cheap, processed honey can taste metallic or bitter.
Can I freeze this syrup?
Yes! Freeze it in small portions, like in an ice cube tray or small jars. Leave some headspace for expansion. It will keep for up to 6 months frozen. Thaw in the fridge overnight before using.
Pin This Recipe!
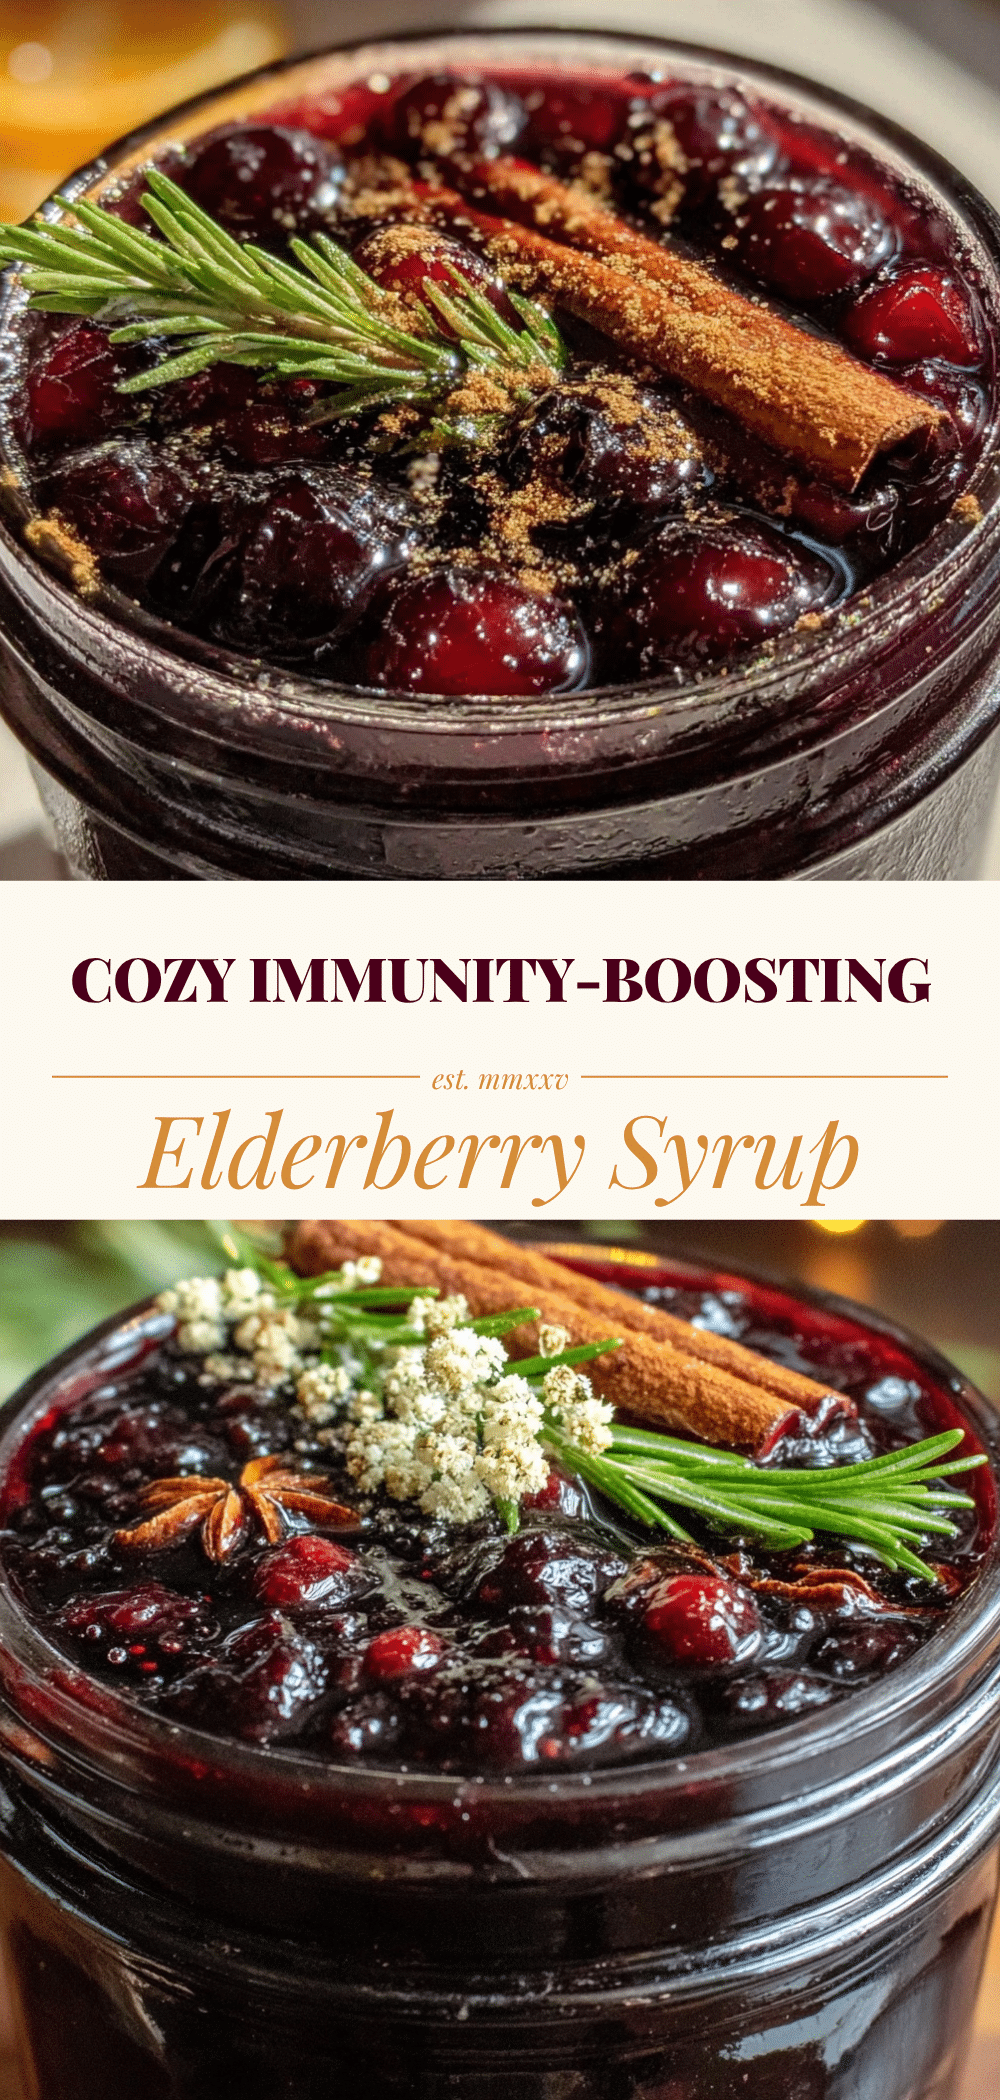
Cozy Immunity-Boosting Elderberry Syrup: 3-Ingredient Homemade Gift
- Total Time: 1 hour
- Yield: 1.5 cups 1x
Description
A simple, homemade elderberry syrup made with just dried elderberries, water, and honey. This natural immunity booster is tart, sweet, and perfect for winter wellness or as a thoughtful homemade gift.
Ingredients
- 2 oz (56g) dried elderberries
- 1 cup (340g) raw honey
- 2 cups (480ml) filtered water
- 1 large cinnamon stick (3 inches)
- Optional: 1 star anise pod or 2 cloves
- Optional: 1 tbsp fresh grated ginger
- Optional: 1 tsp dried echinacea flowers
- Optional: Zest of 1 organic lemon
Instructions
- Combine dried elderberries and cinnamon stick in a medium saucepan. Pour in water and stir to submerge berries.
- Bring mixture to a rolling boil over medium-high heat, then reduce heat to low to maintain a gentle simmer.
- Cover pot with lid slightly ajar and simmer for 20 minutes until water turns deep purple and berries burst.
- Remove from heat and let mixture cool to room temperature (about 30 minutes) to allow full extraction of flavors and nutrients.
- Place a mesh strainer (lined with cheesecloth for extra smoothness) over a large bowl. Pour cooled mixture into strainer.
- Press berries firmly with the back of a wooden spoon or masher to extract all juice. Discard solids.
- Ensure syrup is completely cool to the touch. Stir in raw honey until fully dissolved.
- Pour syrup into sterilized glass jars and seal tightly.
Notes
Do not add honey to hot liquid as high heat destroys beneficial enzymes. For a vegan version, substitute honey with maple syrup. Fresh elderberries can be toxic if not cooked properly; always use dried. Store in the refrigerator for up to 3 months or freeze in ice cube trays for longer storage.
- Prep Time: 10 minutes
- Cook Time: 20 minutes
- Category: Condiments
- Cuisine: American
Nutrition
- Serving Size: 1 tablespoon
- Calories: 60
- Sugar: 15
- Carbohydrates: 16
Keywords: elderberry syrup, immunity booster, homemade gift, natural remedy, winter wellness, honey syrup, antioxidant drink


