I still remember the humidity hanging over my backyard like a wet wool blanket. It was July, the kind of heat where the asphalt shimmers and the ice cream truck sounds like a distant dream. I had just finished grilling burgers for a group of friends who kept showing up, and my kitchen was a disaster zone. I was exhausted, my apron was stained with BBQ sauce, and I was staring at an empty plate of desserts I definitely hadn’t planned to make.
My husband looked at me, raised an eyebrow, and asked, “So, are we eating dry cookies for dessert?”
I panicked. I didn’t have time to bake. I didn’t have time to chill a cheesecake. But I did have a box of chocolate wafers, a jar of peanut butter, and a carton of heavy cream. So, I threw together what I thought would be a desperate, mediocre compromise. I layered the cookies and a quick cream mixture, shoved it in the fridge, and went to bed hoping nobody noticed.
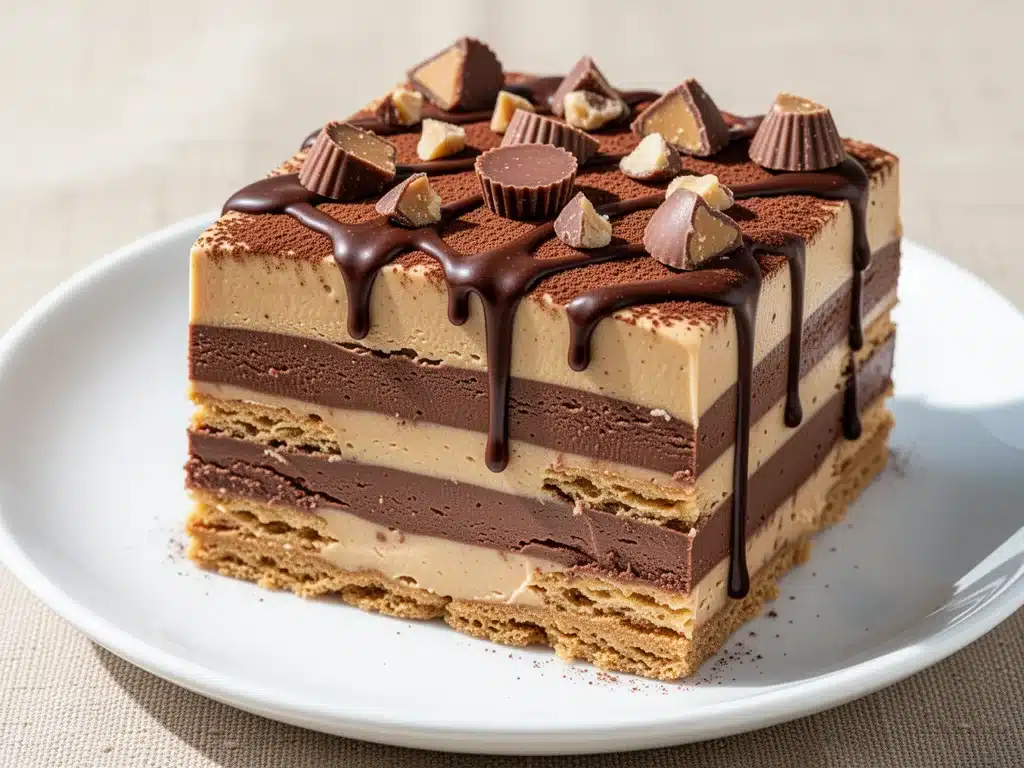
The next morning, I woke up to the smell of cold coffee and my kids tearing into the fridge. They pulled out a slice of this no-bake chocolate peanut butter icebox cake and took one bite. Then another. Then they asked if we could have it for breakfast.
That was five years ago. Since then, I’ve made this chocolate peanut butter icebox cake at least a dozen times. It’s become my secret weapon for summer parties, potlucks, and those nights when I want something that tastes like a decadent dessert but requires zero oven time. It’s not just easy; it’s the kind of dessert that makes people ask for your recipe before they’ve even finished chewing.
Here’s the thing about this cake: it’s basically magic. You stack cookies and cream, let them sit overnight, and suddenly you have a rich, fudgy, peanut-buttery masterpiece that looks like you spent hours in the kitchen. Spoiler alert: you didn’t. You just spent ten minutes prepping and eight hours waiting.
Why You’ll Obsess Over This No-Bake Dessert
I’m not usually one to hype up a recipe this much, but this one deserves the spotlight. I’ve tried every “easy” dessert out there, from mug cakes to fridge pies, and this no-bake chocolate peanut butter icebox cake is in a league of its own. It’s the only dessert I make with confidence because it’s almost impossible to mess up.
Here’s why this summer dessert has earned a permanent spot in my rotation:
- Zero Oven, Zero Stress — Seriously. If you can open a can of condensed milk and spread peanut butter, you can make this. I made this while watching a movie last weekend. No preheating, no timing, no burning the edges.
- Make-Ahead Magic — This is the ultimate stress-reliever. You assemble it the night before. You can even make it three days ahead. When you pull it out of the fridge, it’s already set. Perfect for those spontaneous summer gatherings.
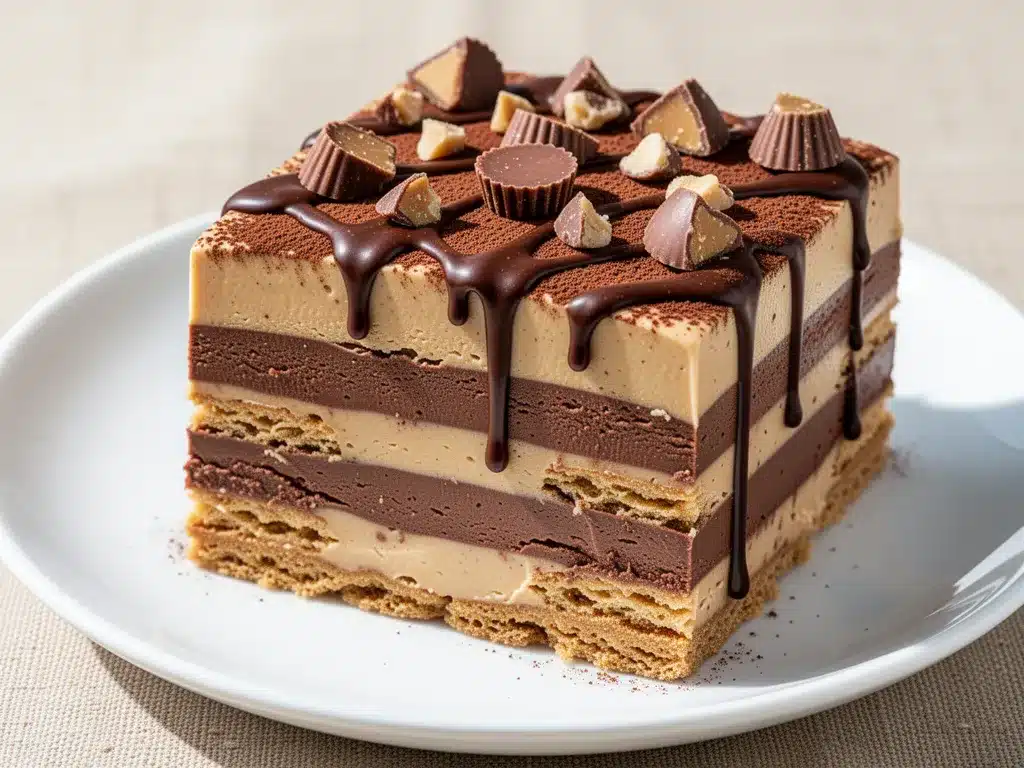
- Texture Transformation — I was skeptical about cold cookies in a cake. But the way the cream mixture softens the wafers into a fudgy, cake-like layer? It’s incredible. It’s like eating a trifle that turned into a cake. The contrast between the creamy filling and the slightly chewy, softened cookie is addictive.
- Flavor Bomb — Chocolate and peanut butter is a classic combo for a reason. But this recipe balances it perfectly. It’s sweet, but the salt in the peanut butter cuts through the richness. It’s not cloying. It’s just right.
- Crowd-Pleaser Status — I’ve served this to picky eaters, chocolate fiends, and peanut butter lovers. Everyone wins. Even the people who claim they “don’t like dessert” usually ask for a second slice.
- Budget-Friendly — You don’t need expensive ingredients. Just basic pantry staples. This feeds a crowd for less than the cost of ordering a fancy cake from a bakery.
This chocolate peanut butter icebox cake is my go-to when I need a win. It’s reliable, it’s delicious, and it makes me look like a culinary genius without the effort. Once you try it, you’ll understand why I keep making it.
What You’ll Need to Make This
One of the best parts about this no-bake chocolate peanut butter icebox cake is the simplicity of the ingredients. You probably have most of this already in your pantry. I’m not asking you to go out and buy specialty items. Just grab these basics:
For the Cookie Base
Chocolate Wafers (about 40-50 cookies) — I use Nabisco Nilla Wafers, but the chocolate version (like Nabisco Chocolate Wafers or similar generic brands) is key here. You need thin, crisp cookies that will soften up nicely. Do not use thick, crunchy cookies like biscotti. They won’t get soft enough. Look for a box that says “chocolate wafers” or “chocolate cookies.”
Dark Chocolate Chips (1 cup) — I like using semi-sweet or dark chocolate chips because they add a deeper flavor than milk chocolate. If you’re using milk chocolate, you might want to reduce the sugar in the cream slightly, but honestly, this recipe is sweet enough as is. Quality matters here—cheap chips can sometimes have a waxy texture when melted.
For the Creamy Peanut Butter Filling
Heavy Cream (2 cups / 480ml) — This is non-negotiable. You need heavy whipping cream to get those stiff peaks. Half-and-half won’t work; it won’t hold its shape. Cold cream whips better, so keep it in the fridge until the last second. If your kitchen is hot, chill your mixing bowl in the freezer for 10 minutes first.
Cream Cheese (8 ounces / 225g) — I use full-fat brick cream cheese, not the spreadable kind in a tub. The tub kind has too much air and moisture, which can make your filling runny. Let it come to room temperature before you mix it. It makes a huge difference in the smoothness.
Smooth Peanut Butter (½ cup / 120g) — I prefer creamy, natural peanut butter without added oil separation, or a standard brand like Skippy or Jif. If you use natural peanut butter, make sure it’s well-stirred and at room temperature. Chunky peanut butter works, but it changes the texture. I like the smooth, uniform layers for this cake. If you’re allergic, you can use sunflower seed butter, but the flavor will be different.
Concentrated Milk (1 can / 397g) — This is the secret ingredient. It adds sweetness, creaminess, and that distinct caramel-like flavor. Use a standard 14-ounce can. Do not use sweetened condensed milk (which is thinner and sweeter). This is the thick, caramel-colored stuff. If you can’t find it, you can make a substitute, but the original is best.
Vanilla Extract (1 teaspoon) — Just a splash to tie everything together. Pure vanilla is best. I don’t usually measure this, but a teaspoon is about right.
For the Chocolate Ganache Topping
Heavy Cream (½ cup / 120ml) — For the ganache, you need a smaller amount of cream.
Dark Chocolate Chips (1 cup / 170g) — Same as the filling, but this is for the topping. Use good quality chips for a glossy, professional-looking finish.
Pinch of Sea Salt — This is crucial. The salt cuts the sweetness and makes the chocolate flavor pop. Don’t skip it.
Optional: Crushed Peanuts — For garnish. It adds a nice crunch and makes it look fancy. I usually crush them in a bag with a rolling pin.
Tools You’ll Actually Need
You don’t need fancy equipment for this no-bake chocolate peanut butter icebox cake. Here’s what I actually use:
- 9×13 Inch Baking Dish — I use a glass Pyrex dish. It lets you see the layers, which is satisfying. A metal pan works too, but glass is easier to clean. Just make sure it’s deep enough to hold all the layers.
- Electric Mixer — Handheld or stand mixer. You need this to whip the cream to stiff peaks. Doing this by hand is possible, but it takes forever and your arms will hurt. I’m not ashamed to use the machine.
- Large Mixing Bowl — For the cream cheese and peanut butter mixture. Make sure it’s big enough to fold in the whipped cream without spilling.
- Spatula — A good rubber spatula is essential for folding. You want to keep the air in the whipped cream, so gentle folding is key.
- Saucepan — Small saucepan for melting the chocolate chips for the ganache. Or you can use a microwave-safe bowl if you’re in a hurry.
- Measuring Cups and Spoons — Standard stuff. Accuracy matters more here than in baking, but it’s still good to be precise.
Pro Tip: I keep a dedicated set of measuring spoons for this. Why? Because peanut butter sticks to everything. If you use the same spoons for salt or baking soda, you’ll get peanut butter in your savory dishes. Trust me on this.
How to Make It: Step-by-Step
Alright, let’s make this! I’m walking you through exactly how I do it, including the little tricks I’ve picked up over the years. This process is simple, but attention to detail makes the difference between good and great.
Step 1: Prep Your Cream and Cheese
First things first. Take your cream cheese out of the fridge and let it sit on the counter for about 30 minutes. It needs to be soft. If it’s cold and hard, it will be lumpy in your final mixture. While that’s happening, put your heavy cream in the fridge. Cold cream whips better. If you’re in a rush, put the bowl and beaters in the freezer for 10 minutes.
Step 2: Make the Peanut Butter Cream Mixture
In a large bowl, beat the softened cream cheese until it’s smooth and creamy. No lumps allowed. Add the peanut butter and the concentrated milk. Mix this on medium speed until it’s fully combined and smooth. This mixture will be thick and dense. Don’t worry, we’re about to lighten it up.
Now, pour in the vanilla extract and mix briefly. You have a big bowl of thick, sweet paste. It’s time to add the whipped cream.
Step 3: Whip the Heavy Cream
In a separate cold bowl, whip the heavy cream on high speed until you form stiff peaks. This means when you lift the beaters, the cream stands up straight and doesn’t droop. Be careful not to over-whip it into butter. You want it fluffy and stable. This usually takes 2-3 minutes with an electric mixer.
Step 4: Fold It All Together
This is the most important step. Add about one-third of the whipped cream to the peanut butter mixture and stir it in to lighten it up. Then, gently fold in the rest of the whipped cream using a spatula. Use a cutting motion, like you’re slicing through the cream and turning it over. Do not stir in circles, or you’ll deflate the air and end up with a dense, heavy filling. You want it light and airy. Set this aside.
Step 5: Build the Layers
Take your 9×13 dish. Dip each chocolate wafer quickly into the melted chocolate (if you’re doing a double layer) or just place them dry (if you’re doing a single layer). For this recipe, I usually dip them in melted chocolate for extra flavor, but you can skip this if you’re lazy. Actually, don’t skip it. It makes a huge difference. Melt the chocolate chips in the microwave in 30-second intervals, stirring in between, until smooth.
Line the bottom of the dish with a single layer of cookies. Don’t overlap them too much; they need room to expand. Spread half of the peanut butter cream mixture over the cookies. Use an offset spatula or the back of a spoon to get it even. Then, add another layer of cookies. Spread the rest of the cream mixture on top. Press down gently to smooth it out. It should look like a thick, creamy slab.
Step 6: The Chocolate Ganache
While the cake is chilling, make the ganache. Heat the ½ cup of heavy cream in a small saucepan until it just starts to simmer. Pour it over the 1 cup of chocolate chips in a bowl. Let it sit for 5 minutes. Then, stir gently from the center outwards until the chocolate is melted and the mixture is glossy and smooth. Add a pinch of sea salt.
Pour this ganache over the top of the cake. Use a spatula to spread it evenly to the edges. It will look beautiful and shiny. Sprinkle with crushed peanuts if you’re using them.
Step 7: Chill and Wait
This is the hardest part. Put the cake in the fridge for at least 8 hours, preferably overnight. The cookies need time to absorb the moisture from the cream and soften into a cake-like texture. If you rush this, you’ll have crunchy cookies in a creamy filling, and it won’t be the same. Patience pays off.
Once it’s set, slice it with a sharp knife. Clean the knife between cuts for clean slices. Serve cold. Enjoy.
Expert Tips for Success
I’ve made this cake so many times that I’ve learned a few things the hard way. Here’s everything I’ve learned to save you from my mistakes.
Use Cold Cream
I cannot stress this enough. Your heavy cream must be ice cold. If your kitchen is hot, chill your bowl and beaters. Warm cream won’t whip. It’s a chemistry thing. Cold fat structures trap air better. If your cream is warm, it’ll stay runny, and your cake will be a soup.
Don’t Overmix the Cream Cheese
When you beat the cream cheese, stop as soon as it’s smooth. Overbeating can incorporate too much air, which might cause the mixture to deflate later when you fold in the whipped cream. Just get the lumps out.
Use the Right Cookies
Thin chocolate wafers are key. Thick cookies like Oreos will make the cake too dense and chewy. You want something that dissolves into the cream. Nabisco Chocolate Wafers are the gold standard here. If you can’t find them, look for any thin, crisp chocolate cookie.
Let the Ganache Cool Slightly
Don’t pour hot ganache onto the cake. It will melt the cream layer underneath and make a mess. Let the ganache cool for about 10-15 minutes after stirring until it’s still pourable but not hot.
Store Properly
This cake should be stored in the fridge. It doesn’t freeze well because the texture of the cookies changes when thawed. They can get mushy. Keep it covered in the fridge for up to 3 days.
Variations and Substitutions
Once you’ve mastered the basic version, here’s how you can mix it up. I’ve tried all of these, and they all work.
Gluten-Free Version
Use gluten-free chocolate wafers. Many brands make them now. Just check the label to make sure they’re thin and crisp. The rest of the ingredients are naturally gluten-free.
Reduced Sugar
Use sugar-free concentrated milk and sugar-free chocolate chips. It’s not as sweet, but it still works. I’ve made this for friends who are watching their sugar intake, and they loved it.
Almond Butter Swap
Replace the peanut butter with almond butter. It’s slightly less sweet and has a nuttier flavor. It pairs beautifully with chocolate. Just make sure it’s smooth.
Cookie Butter Version
Use Biscoff cookies and spread Biscoff cookie butter in the cream mixture. It’s a different flavor profile, but it’s delicious. It tastes like a caramelized spice cake.
No Peanut Butter
If you’re allergic, you can skip the peanut butter entirely. The cake will still be good, just less rich. You can add a tablespoon of cocoa powder to the cream mixture to boost the chocolate flavor.
Serving and Storage
I usually serve this straight from the fridge. It’s best cold. The flavors meld together as it chills, so the longer it sits, the better it gets.
How to Serve
Slice it into squares. I like to serve it with a dollop of whipped cream on top and a few crushed peanuts for garnish. It looks elegant and professional. Pair it with a cup of coffee or a glass of cold milk.
Storage Instructions
Store in an airtight container in the fridge for up to 3 days. The cookies will continue to soften, so it might get softer over time. If you leave it out at room temperature for more than 2 hours, the cream can spoil. Always keep it chilled.
Freezing
I don’t recommend freezing this cake. The texture of the cookies changes, and the cream can separate. It’s best made fresh or stored in the fridge for a few days.
Nutrition Information
I’m not a nutritionist, but here’s the breakdown if you’re tracking. Keep in mind that this is a dessert, so it’s rich and calorie-dense.
| Nutrient | Per Serving (approx.) |
|---|---|
| Calories | 350 |
| Protein | 6g |
| Carbs | 45g |
| Fat | 18g |
| Sugar | 35g |
It’s high in sugar and fat, but it’s also satisfying. A small slice is enough. I usually eat one square and save the rest. It’s not a diet food, but it’s a treat worth having.
Final Thoughts
So that’s my no-bake chocolate peanut butter icebox cake! I’ve probably talked your ear off at this point, but when you make a recipe this often, you have a lot to say about it.
This cake has saved me more times than I can count. It’s my answer to “what’s for dessert?” when I’m tired, don’t want to bake, and still want something that tastes incredible. My kids are happy, my friends are happy, and I’m happy because I’m not stressed about cooking.
Make it yours! Try different toppings, swap in your favorite cookies, or adjust the sweetness. The best recipes are the ones you adapt to your family’s tastes.
If you make this, drop a comment and let me know what you think! I love hearing how recipes turn out in your kitchen. And if something doesn’t work, tell me that too—I’m here to help troubleshoot.
Happy cooking! And I hope your kitchen smells half as good as mine does right now.
Frequently Asked Questions
Can I use homemade whipped cream?
You can, but you need to make sure it’s whipped to stiff peaks. Homemade whipped cream can be less stable than store-bought if you don’t add stabilizers. For this cake, I recommend using heavy cream and whipping it yourself, as it’s fresher and tastes better. Just make sure it’s stiff.
Why did my cake turn out runny?
This usually happens if the cream wasn’t whipped enough, or if the cream cheese wasn’t fully softened and mixed. Make sure you whip the cream to stiff peaks and fold it gently. Also, ensure the concentrated milk is well incorporated. If the mixture is too soft, chill it for an hour before layering.
Can I make this ahead of time?
Yes! This is actually best made ahead. It needs at least 8 hours to set. You can make it up to 3 days in advance. Just keep it covered in the fridge.
What if I can’t find concentrated milk?
You can make a substitute by simmering sweetened condensed milk with a little cornstarch to thicken it, but it won’t be exactly the same. You can also use a mix of heavy cream and powdered sugar, but the flavor will be different. I recommend finding concentrated milk if possible.
Can I use chunky peanut butter?
You can, but it will change the texture. The chunks might make the layers uneven. I prefer smooth peanut butter for a uniform, creamy texture. If you use chunky, make sure to mix it well into the cream.
How do I store leftovers?
Store in an airtight container in the fridge for up to 3 days. Do not freeze. The cookies will continue to soften, so it might get softer over time.
Can I use a different type of cookie?
You can try other thin cookies, like chocolate chip cookies or shortbread, but they might not soften as well. Chocolate wafers are the best choice for this recipe. Avoid thick or crunchy cookies.
Pin This Recipe!
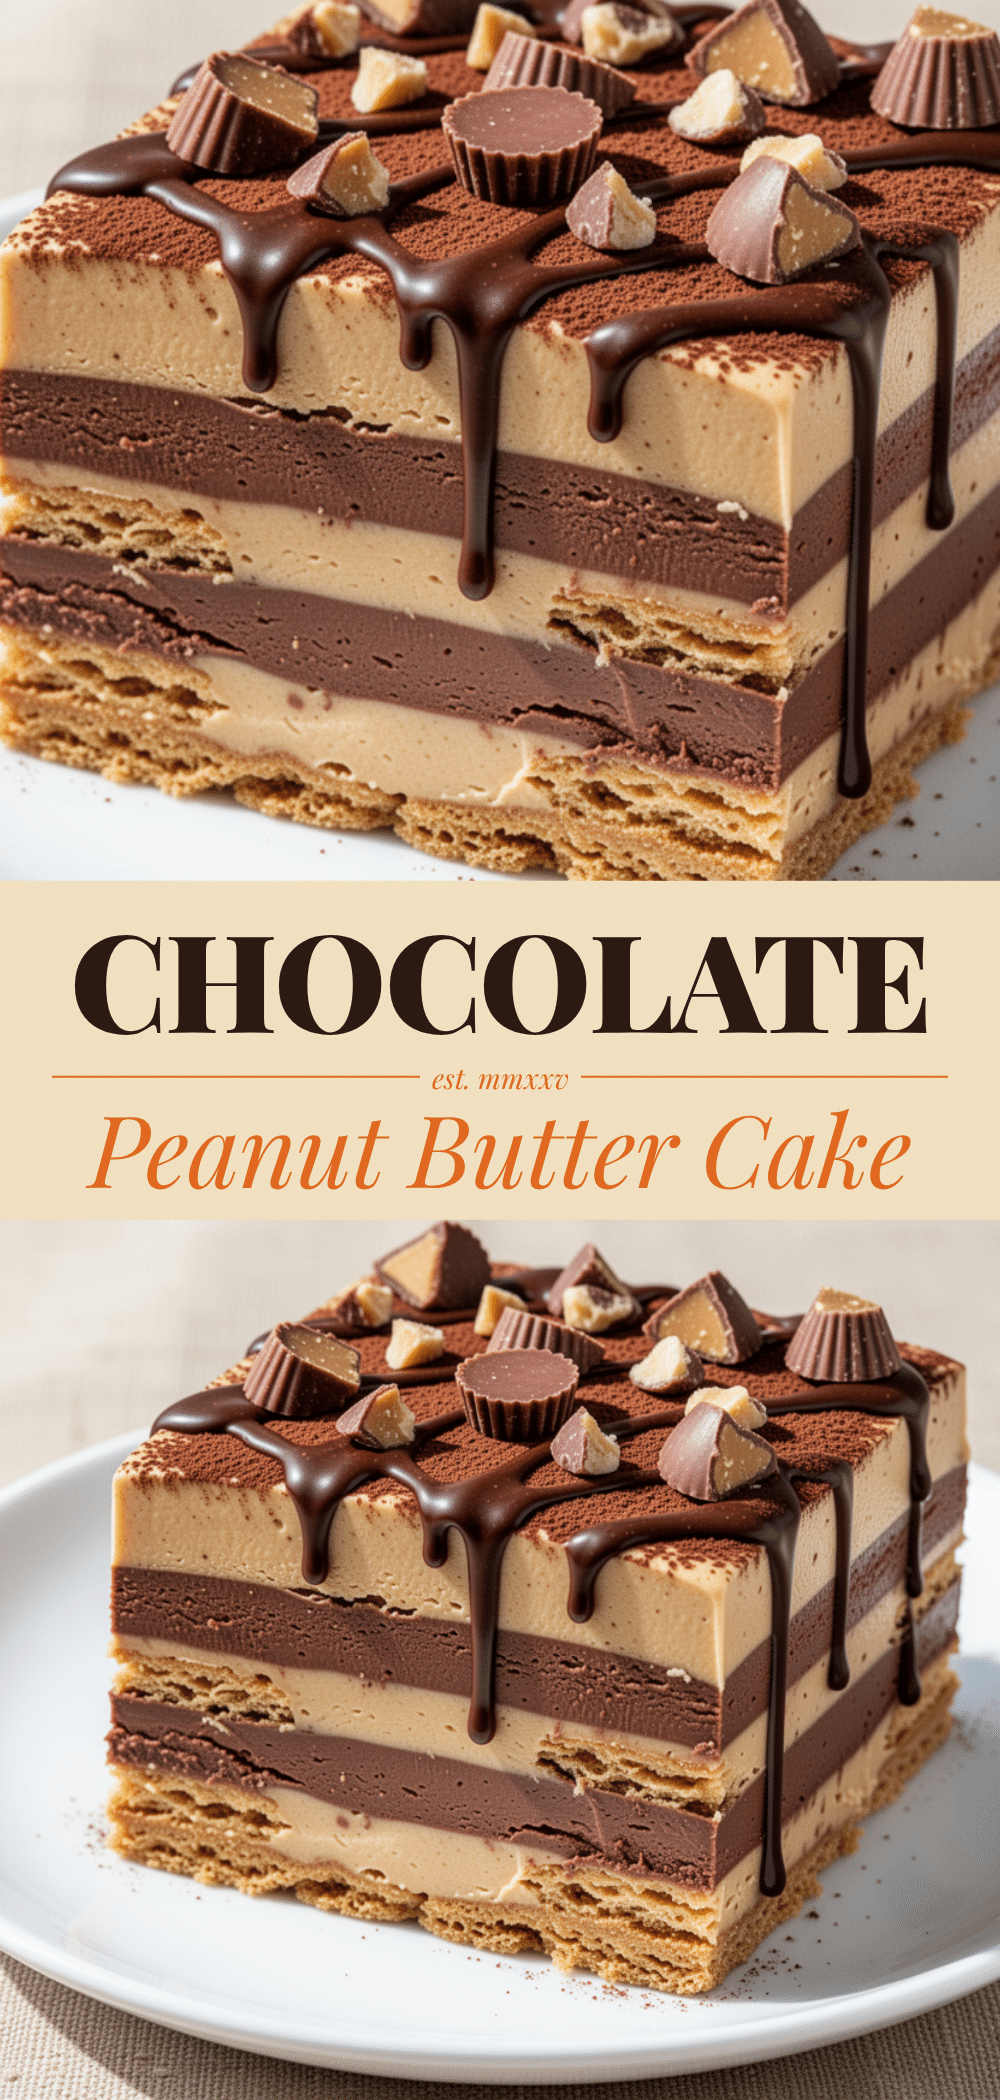
No-Bake Chocolate Peanut Butter Icebox Cake
- Total Time: 8 hours 10 minutes
- Yield: 12 servings 1x
Description
A rich, fudgy, and peanut-buttery no-bake dessert that requires zero oven time. This easy summer treat involves layering chocolate wafers with a creamy peanut butter filling and a chocolate ganache topping, then chilling overnight for a cake-like texture.
Ingredients
- 40–50 chocolate wafers (thin, crisp cookies like Nabisco Chocolate Wafers)
- 1 cup dark chocolate chips (for filling)
- 2 cups heavy whipping cream (cold)
- 8 ounces full-fat brick cream cheese (softened)
- 1/2 cup smooth peanut butter
- 1 can (14 oz / 397g) concentrated milk (sweetened condensed milk substitute, thick caramel-like consistency)
- 1 teaspoon vanilla extract
- 1/2 cup heavy cream (for ganache)
- 1 cup dark chocolate chips (for ganache)
- Pinch of sea salt
- Crushed peanuts (optional, for garnish)
Instructions
- Let cream cheese sit at room temperature for 30 minutes to soften. Chill heavy cream and mixing bowl if kitchen is warm.
- In a large bowl, beat softened cream cheese until smooth. Add peanut butter and concentrated milk; mix until fully combined and smooth.
- Add vanilla extract and mix briefly.
- In a separate cold bowl, whip heavy cream on high speed until stiff peaks form (about 2-3 minutes).
- Lighten the peanut butter mixture by stirring in one-third of the whipped cream. Gently fold in the remaining whipped cream using a spatula until light and airy. Do not overmix.
- Melt 1 cup of dark chocolate chips for dipping cookies (optional but recommended).
- Line the bottom of a 9×13 inch baking dish with a single layer of chocolate wafers (dipped in melted chocolate or dry).
- Spread half of the peanut butter cream mixture over the cookies.
- Add a second layer of chocolate wafers on top.
- Spread the remaining peanut butter cream mixture over the top layer of cookies. Press down gently to smooth.
- For the ganache, heat 1/2 cup heavy cream in a saucepan until it just starts to simmer. Pour over 1 cup of dark chocolate chips in a bowl.
- Let sit for 5 minutes, then stir gently from center outward until glossy and smooth. Add a pinch of sea salt.
- Let ganache cool for 10-15 minutes until pourable but not hot.
- Pour ganache over the cake and spread evenly to the edges. Sprinkle with crushed peanuts if desired.
- Refrigerate for at least 8 hours or overnight until cookies have softened and cake is set.
- Slice with a sharp knife and serve cold.
Notes
Ensure heavy cream is ice cold for proper whipping. Use thin chocolate wafers, not thick cookies like biscotti or Oreos, as they need to soften. Do not freeze this cake as the texture of the cookies will become mushy upon thawing. Store in the fridge for up to 3 days.
- Prep Time: 10 minutes
- Cook Time: 0 minutes
- Category: Dessert
- Cuisine: American
Nutrition
- Serving Size: 1 square slice
- Calories: 350
- Sugar: 35
- Sodium: 150
- Fat: 18
- Saturated Fat: 10
- Carbohydrates: 45
- Fiber: 2
- Protein: 6
Keywords: no-bake, chocolate peanut butter, icebox cake, summer dessert, easy dessert, make-ahead dessert, crowd-pleaser, gluten-free option


