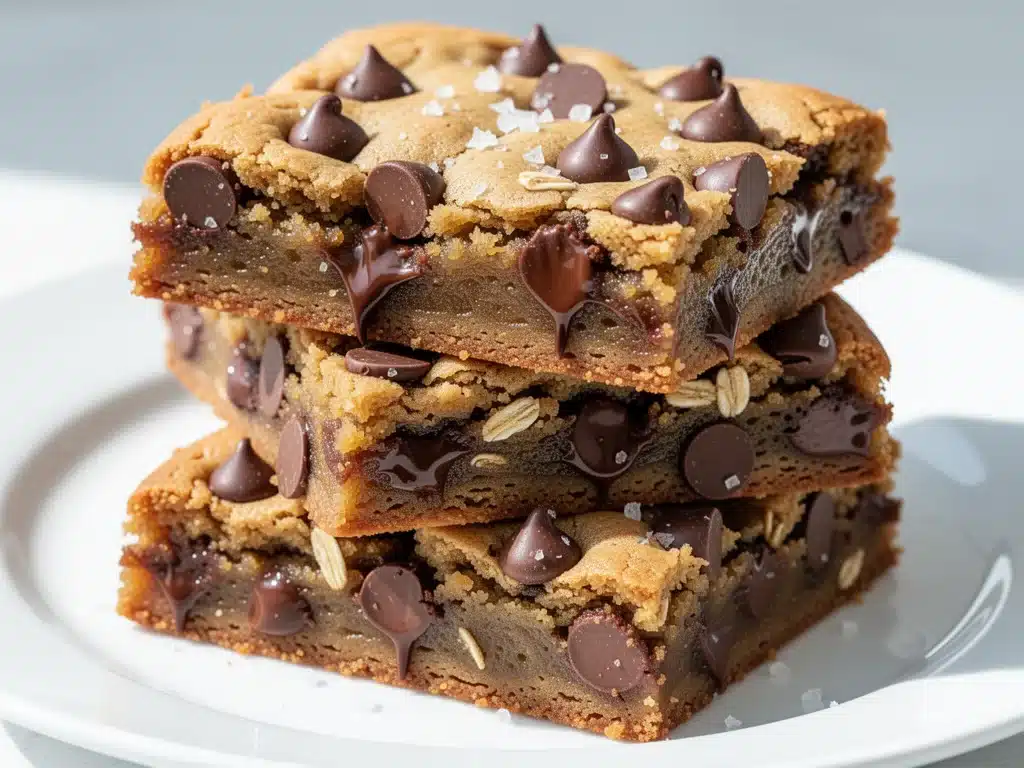
I’ve been making cookies since I was old enough to stand on a step stool without falling over. But let’s be real for a second: making individual cookies is a lot of work. You have to scoop, roll, space them out, wait for them to bake, clean the trays, and then do it all again if you want seconds. It’s tedious. And on a random Tuesday in November, when the house was cold, my kids were complaining about dinner, and I was exhausted, I didn’t have the energy for that.
I needed something fast. Something sweet. Something that didn’t involve rolling thirty individual balls of dough with sticky fingers.
So I opened the fridge, grabbed the butter (which was still a bit too cold, but I worked with it), and threw together what I thought would be a mediocre compromise. I just mixed the dough in one bowl and pressed it into a pan. I expected flat, cakey discs that might fall apart. Instead, what came out of the oven was golden, chewy, and absolutely addictive. My kids tore into the first pan before it even cooled, and my husband asked me to add it to our regular rotation. That’s when I knew I had stumbled onto something special.
That was three years ago. Since then, I’ve made these Chocolate Chip Cookie Bars at least a dozen times. I’ve tweaked the butter ratio, tested different flours, and figured out exactly how long to bake them so they’re soft in the middle but crisp at the edges. They’ve become my go-to for everything: last-minute dinner parties, school bake sales, and yes, Tuesday night comfort food. They are hands-down the easiest crowd-pleaser I know, and I’m sharing my perfected version with you today.
Why You’ll Love This Recipe
There are a million cookie recipes out there. So why make these bars? Here’s the honest truth about why this one keeps me coming back to the kitchen, even when I’m tired.
One Bowl, Zero Stress — Seriously, if you can stir, you can make this. No creaming butter and sugar for ten minutes. No chilling the dough for hours. You dump everything in one bowl, mix it up, and press it into a pan. I’ve walked my teenage son through it over FaceTime while he was at college, and he nailed it on the first try.
Lightning Fast — From start to finish, these take about 45 minutes. That includes baking time. I make these on weeknights when I get home at 7pm and need dessert on the table by 8. It’s faster than ordering delivery, cheaper, and tastes way better.
The Texture is Perfect — Most bar cookies are either too cakey or too hard. These hit the sweet spot: chewy in the center, slightly crisp around the edges, and loaded with melty chocolate. I’ve tested them with brown sugar, white sugar, and a mix, and the 50/50 split gives the best chew.
Crowd-Pleaser Status — I’ve served these to picky eaters, gluten-free neighbors (using a gluten-free flour blend), and my husband’s boss who claims to hate “sweet treats.” Everyone asks for the recipe. They’re universally loved because they taste like a hug.
Makes Amazing Leftovers — Actually, they taste better the next day. The flavors meld together overnight. I deliberately make a double batch on Sundays so I have dessert ready for the week. They keep well in the fridge, and my kids treat them like candy bars.
This is my answer to “what’s for dessert?” when I want something that just works. No fancy techniques, no weird ingredients, just reliable, delicious food that makes everyone happy.
Ingredients You’ll Need
Here’s the best part: you probably have most of this already in your pantry. This isn’t a recipe that requires a trip to the specialty store. It’s simple, honest ingredients that do the heavy lifting.
The Base
Unsalted Butter (1 cup / 226g) — Softened, not melted. This is crucial. If you melt the butter, the bars will be greasy and flat. I take it out of the fridge 30 minutes before I start. If I’m in a rush, I microwave it in 5-second bursts until it’s soft but still holds its shape.
Light Brown Sugar (1 cup / 200g) — Packed. This gives the bars their chew and that caramel-like depth. Dark brown sugar works too if you want a more molasses flavor, but light is classic.
Granulated White Sugar (1 cup / 200g) — This helps with the crisp edges. Don’t skip it. The combination of both sugars creates that perfect texture contrast.
Eggs (2 large) — Room temperature. Cold eggs can seize up the butter. If I forget, I soak them in warm water for 5 minutes. It makes a difference in how evenly the dough mixes.
Vanilla Extract (2 teaspoons) — Pure vanilla, please. The artificial stuff tastes harsh in these. It’s a small amount, but it carries the flavor.
The Dry Mix
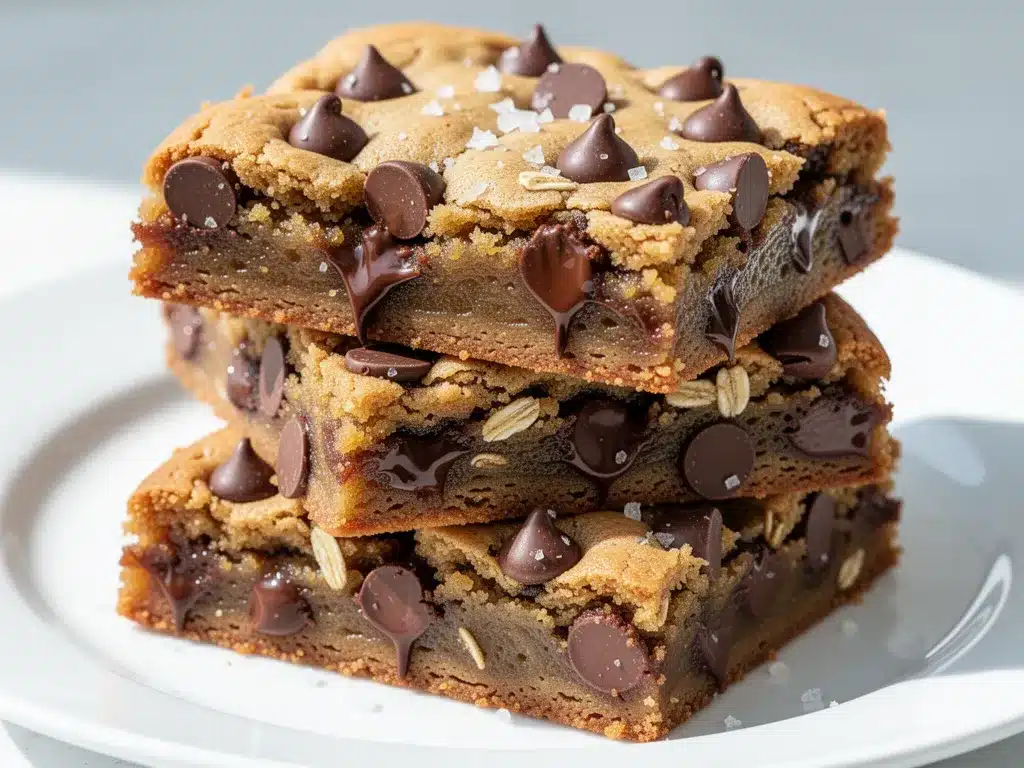
All-Purpose Flour (2 ¼ cups / 280g) — Don’t scoop and pack! Spoon it into the measuring cup and level it off. Packing the flour is the #1 reason cookie bars turn out dense and dry. I weigh mine if I have a scale, but volume works if you’re gentle.
Baking Soda (1 teaspoon) — Fresh! Check your expiration date. Old baking soda won’t make them rise properly, and you’ll end up with flat discs.
Salt (1 teaspoon) — Even though we’re using unsalted butter, you need the salt to balance the sweetness. It makes the chocolate taste more chocolatey.
The Stars of the Show
Chocolate Chips (2 cups / 340g) — I use a mix of semi-sweet and milk chocolate chips. Semi-sweet keeps it from being too sweet, while milk chocolate adds creaminess. I also chop up a few chocolate bars into chunks because irregular pieces melt differently and create pockets of goo.
Flaky Sea Salt (optional) — Sprinkle on top right after they come out of the oven. It sounds fancy, but it just adds that perfect salty-sweet finish that makes people go crazy.
Equipment Needed
You don’t need fancy gadgets for this. Here’s what I actually use in my kitchen.
9×13 Inch Baking Pan — This is the standard size. Grease it lightly with butter or spray. I prefer a glass pan because it bakes more evenly, but metal works fine too. If you use a dark metal pan, reduce the oven temperature by 25 degrees so the edges don’t burn before the middle is done.
Large Mixing Bowl — Something big enough to hold all the ingredients. A 5-quart bowl is perfect. I use a glass one because I can see everything clearly.
Electric Hand Mixer or Stand Mixer — You can do this by hand, but it takes arm strength. I use my hand mixer on medium speed. It takes about 2 minutes to get the butter and sugars creamy.
Spatula — A sturdy rubber spatula is essential for folding in the chocolate chips. You need to scrape the bottom of the bowl to get all the flour.
Wire Cooling Rack — I know, I know, you want to eat them now. But cooling them for at least 15 minutes makes them easier to cut and prevents them from crumbling. Patience is a virtue here.
Chef’s Knife or Bench Scraper — For cutting the bars. A bench scraper makes clean lines, but a sharp knife works too. Clean the blade between cuts if the chocolate starts sticking.
How to Make It: Step-by-Step
Alright, let’s make these! I’m walking you through exactly how I do it, including the little tricks I’ve picked up over the years.
Step 1: Prep Your Pan and Oven (5 minutes)
Preheat your oven to 350°F (175°C). This needs to be hot enough to set the cookies but not so hot that they burn. Grease your 9×13 pan. I use a little butter and a sprinkle of flour, or just non-stick spray. Make sure you get into the corners.
Step 2: Cream the Butter and Sugars (3 minutes)
In your large bowl, beat the softened butter, brown sugar, and granulated sugar together. Use your mixer on medium speed for about 2-3 minutes. You’re looking for a light, fluffy texture. It should look pale and creamy. This step incorporates air, which helps the bars rise slightly. Don’t rush this part.
Step 3: Add Eggs and Vanilla (2 minutes)
Add the eggs one at a time, mixing well after each addition. Scrape down the sides of the bowl with your spatula. Add the vanilla extract and mix until combined. The mixture might look slightly curdled—that’s okay. It will come together when you add the dry ingredients.
Step 4: Mix in the Dry Ingredients (2 minutes)
Reduce your mixer speed to low. Add the flour, baking soda, and salt. Mix just until the flour disappears. This is critical: do not overmix. Once you see no more streaks of white flour, stop. Overmixing develops gluten, which makes the bars tough instead of chewy. It takes less than a minute.
Step 5: Fold in the Chocolate (2 minutes)
Switch to your spatula. Dump in the chocolate chips (and chunks, if you’re using them). Gently fold them into the dough. You want them distributed evenly, but you don’t need to be perfect. Some clumps are good. That’s where the chocolate pools will be.
Step 6: Press into Pan and Bake (25-30 minutes)
Transfer the dough to your prepared pan. Use your hands (lightly greased) or a spatula to press it into an even layer. Don’t worry about making it perfectly smooth; little bumps add character. Bake for 25-30 minutes. You’re looking for golden brown edges and a center that is just set. If you press the center lightly, it should spring back slightly but not feel liquid.
Step 7: Cool and Serve (15+ minutes)
Remove from the oven. If you’re using flaky sea salt, sprinkle it on now while the chocolate is still melting. Let them cool in the pan for at least 15 minutes. Then cut into squares. I like 2-inch squares, which gives you about 16-20 bars depending on how precise you are.
Troubleshooting:
- Edges are too dark? Your oven runs hot. Tent the pan with foil for the last 10 minutes of baking.
- Center is gooey? You might need 2-3 more minutes. Every oven is different. Check at 25 minutes.
- Too flat? Your butter was too warm. Next time, chill the dough for 15 minutes before baking.
Expert Tips & Tricks
Here’s everything I’ve learned from making these dozens of times. These tips will save you from my mistakes.
Butter Temperature is Key
Softened butter is not melted butter. It should be soft enough to leave a fingerprint but not so warm that it’s oily. If it’s too warm, your bars will spread too much and become greasy. If it’s too cold, they’ll be dense. Aim for 65-68°F. If you’re in a hurry, cut the butter into cubes and let them sit out for 15 minutes.
Don’t Overbake
This is the biggest mistake people make. Cookie bars continue to cook on the hot pan after you take them out of the oven. If they look fully set in the pan, they’re probably overdone. Pull them when the edges are golden and the center looks just barely set. They will firm up as they cool.
Use High-Quality Chocolate
Since chocolate is 50% of the flavor, don’t skimp. I use Ghirardelli or Toll House premium chips. Chopping up a bar of good chocolate creates irregular pieces that melt into pockets of goo. It’s worth the extra minute.
Chill for Chewiness
If you have time, chill the dough in the pan for 30 minutes before baking. This solidifies the butter, which leads to a chewier texture. It’s not necessary, but it’s a pro move.
Storage Matters
Store in an airtight container at room temperature for up to 5 days. If your kitchen is hot, keep them in the fridge. They last longer in the fridge but taste best at room temp, so take them out 20 minutes before serving.
Variations & Substitutions
Once you’ve nailed the basic version, here’s how you can mix it up. I’ve tried all of these.
Double Chocolate
Add ½ cup cocoa powder to the dry ingredients. Use semi-sweet chips and add ½ cup chocolate chunks. It’s rich, fudgy, and intense.
White Chocolate Macadamia
Skip the chocolate chips and use 2 cups white chocolate chips and 1 cup chopped macadamia nuts. It’s tropical and sweet. Add a teaspoon of lime zest for brightness.
Peanut Butter Swirl
After pressing the dough into the pan, dollop ½ cup peanut butter on top. Use a knife to swirl it into the dough. It creates beautiful marbling and adds protein.
Gluten-Free
Use a 1:1 gluten-free flour blend (like Bob’s Red Mill or King Arthur). Add ½ teaspoon xanthan gum if your blend doesn’t include it. They bake slightly differently but taste great.
Dairy-Free
Use a high-quality vegan butter stick (like Miyoko’s) and dairy-free chocolate chips. The texture is very similar to the original.
Vegan
Replace eggs with 2 flax eggs (2 tbsp ground flax + 6 tbsp water, rested 10 minutes). Use vegan butter and chocolate. They’re denser but still delicious.
Serving & Storage
How to serve these so they look as good as they taste.
How to Serve
I usually serve these straight from the pan at the dinner table—it looks rustic and stays warm. But for parties, I cut them into smaller squares and arrange them on a platter with a dusting of powdered sugar. They’re perfect alongside a scoop of vanilla ice cream or a glass of cold milk.
Side Dishes
These are dessert, so keep it simple. A cup of coffee, tea, or milk is all you need. If you’re making a meal, serve them after a light dinner like grilled chicken or salad.
Storage Instructions
Refrigerator: Store in an airtight container for up to 5 days. Layer them with parchment paper if they’re soft to prevent sticking.
Freezer: Yes, you can freeze these! Cut them into bars, wrap them tightly in plastic wrap, and place in a freezer bag for up to 3 months. Thaw at room temperature for 30 minutes. They taste fresh out of the freezer.
Reheating: Microwave a bar for 15-20 seconds to warm it up and melt the chocolate. It’s like a warm cookie straight from the oven.
Nutrition Information
I’m not a nutritionist, but here’s the breakdown if you’re tracking. Keep in mind this is an estimate based on standard ingredients.
Per Serving (based on 16 bars):
- Calories: 320
- Protein: 4g
- Carbs: 42g
- Fiber: 1g
- Sugar: 28g
- Fat: 16g
- Saturated Fat: 9g
- Cholesterol: 35mg
- Sodium: 220mg
What’s Good: It’s a treat, so don’t expect it to be healthy. But it’s better than store-bought bars because you control the sugar and quality of ingredients.
What to Know: Higher in calories and sugar from the butter and chocolate. Use dark chocolate to reduce sugar slightly.
Final Thoughts
So that’s my go-to Chocolate Chip Cookie Bars! I’ve probably talked your ear off at this point, but when you make a recipe this often, you have a lot to say about it.
This has saved dessert nights more times than I can count. It’s my answer to “what’s for dessert?” when I’m tired, don’t want to bake individual cookies, and still want something that tastes really good. My kids are happy, my husband’s happy, and I’m happy because I’m not stressed about cooking.
Make it yours! Try different chocolate chips, add nuts, or swirl in peanut butter. The best recipes are the ones you adapt to your family’s tastes.
If you make this, drop a comment and let me know what you think! I love hearing how recipes turn out in your kitchen. And if something doesn’t work, tell me that too—I’m here to help troubleshoot.
Happy baking! And I hope your kitchen smells half as good as mine does right now.
Frequently Asked Questions
Can I use margarine instead of butter?
You can, but the flavor and texture won’t be as good. Butter has a higher fat content and lower water content than most margarines, which affects how the cookies spread and crisp. If you must use margarine, use a stick margarine, not a spread in a tub. Stick margarine has less water. But honestly, butter is worth it for the taste.
Why did my cookie bars turn out flat?
This usually happens if the butter was too warm or melted. If the butter is too soft, it spreads too quickly before the structure sets. Next time, make sure your butter is softened but still firm. Also, check your baking soda—if it’s old, it won’t provide enough lift.
Can I double this recipe?
Absolutely! Double everything and use a 9×13 pan, or use two 8×8 pans. The baking time might increase by 2-3 minutes. I do this when I’m feeding a crowd. Just make sure you have enough chocolate chips!
How do I store leftovers?
Store in an airtight container at room temperature for up to 5 days. If your kitchen is hot, keep them in the fridge. They last longer in the fridge but taste best at room temp, so take them out 20 minutes before serving. You can also freeze them for up to 3 months.
Can I make these ahead of time?
Yes! You can make the dough ahead and refrigerate it for up to 3 days. Just press it into the pan, cover tightly, and bake when you’re ready. Or, bake them ahead and freeze them. They reheat beautifully.
Why did my bars crumble when I cut them?
They weren’t cool enough. Cookie bars continue to set as they cool. If you cut them while they’re hot, they’ll fall apart. Wait at least 15-20 minutes, and use a sharp knife or bench scraper for clean cuts.
Can I use chocolate chunks instead of chips?
Yes! I actually prefer chunks because they melt into irregular pockets. Chop up a bar of chocolate into bite-sized pieces. You might need slightly more by volume because chunks are less dense than chips.
Pin This Recipe!
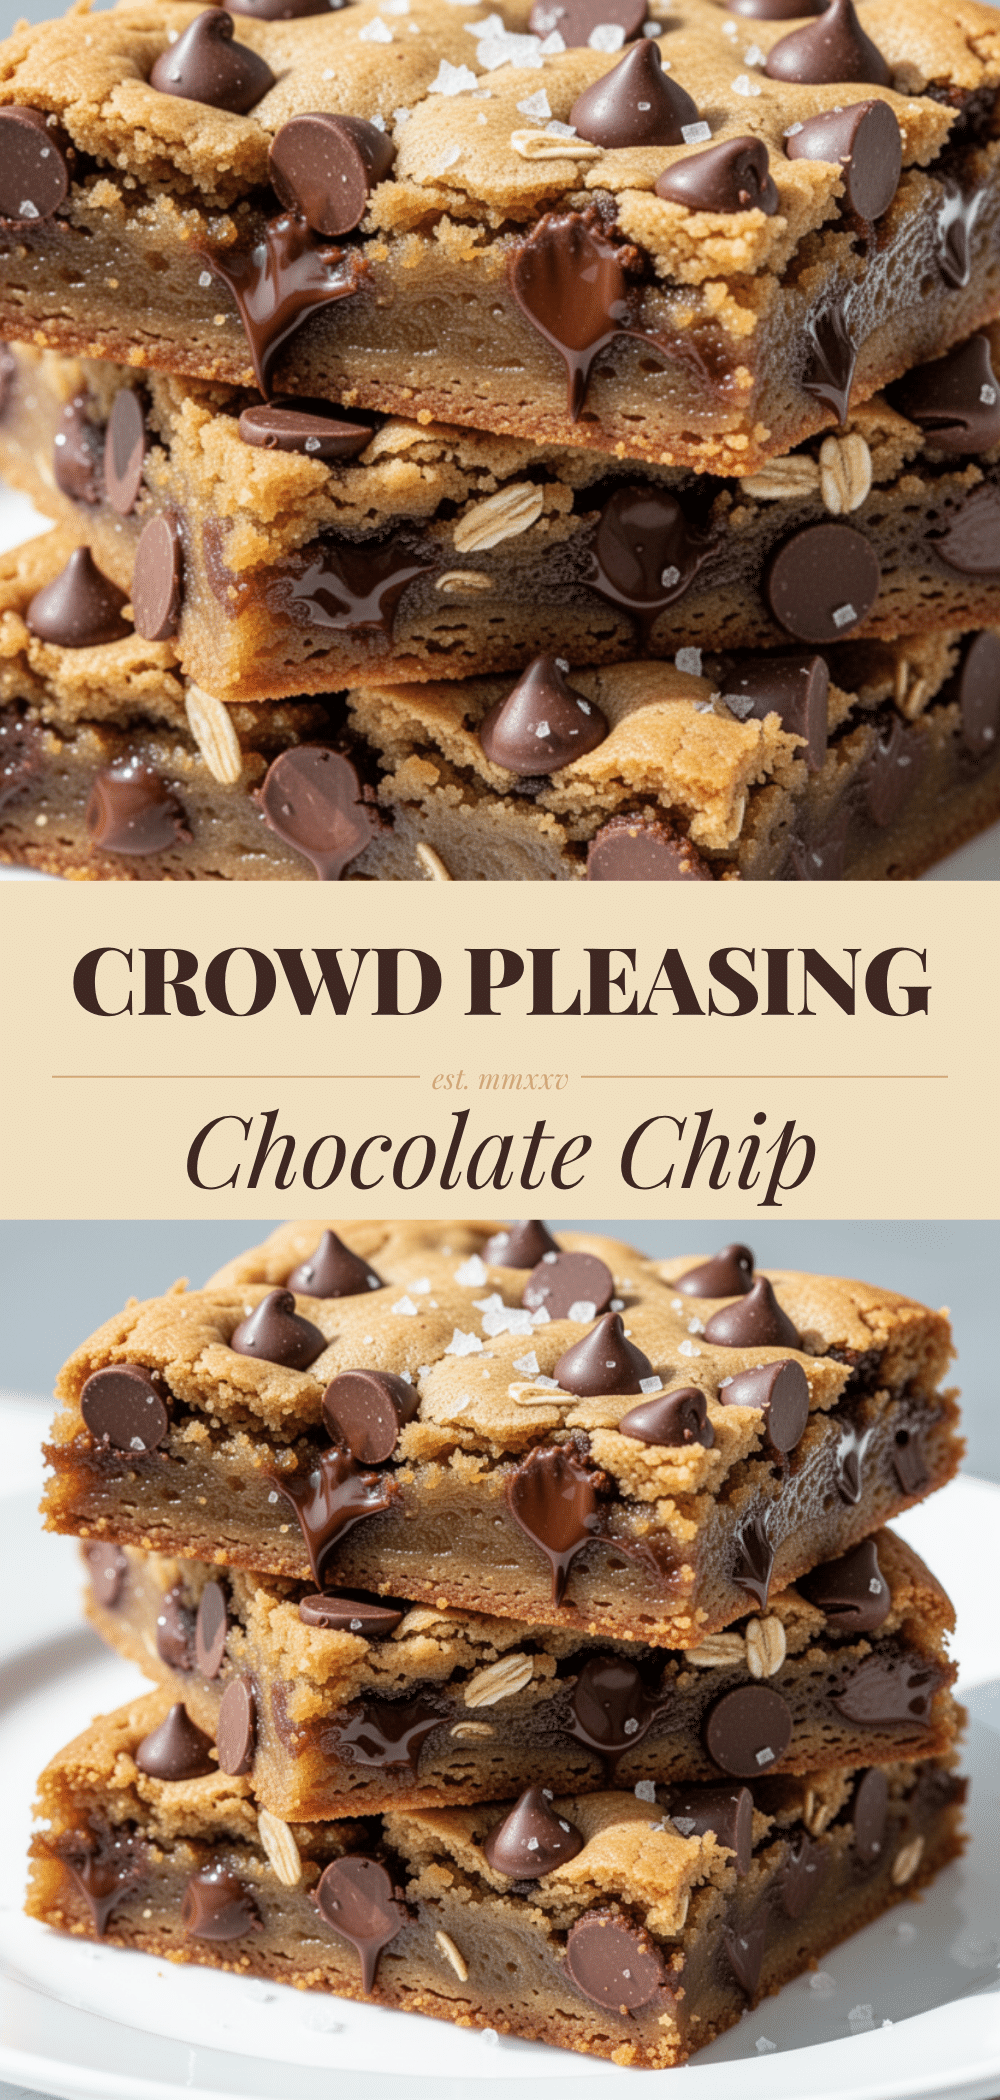
Chocolate Chip Cookie Bars: 5-Step Easy Crowd Pleaser
- Total Time: 45 minutes
- Yield: 16-20 servings 1x
Description
These easy chocolate chip cookie bars are a one-bowl, no-chill dessert that yields golden, chewy bars with crisp edges. Perfect for busy weeknights and crowd-pleasing gatherings.
Ingredients
- 1 cup (226g) unsalted butter, softened
- 1 cup (200g) light brown sugar, packed
- 1 cup (200g) granulated white sugar
- 2 large eggs, room temperature
- 2 teaspoons pure vanilla extract
- 2 ¼ cups (280g) all-purpose flour
- 1 teaspoon baking soda
- 1 teaspoon salt
- 2 cups (340g) chocolate chips (mix of semi-sweet and milk)
- Flaky sea salt, optional for topping
Instructions
- Preheat oven to 350°F (175°C) and grease a 9×13 inch baking pan.
- In a large bowl, beat the softened butter, brown sugar, and granulated sugar together on medium speed for 2-3 minutes until light and fluffy.
- Add eggs one at a time, mixing well after each addition. Scrape down the sides of the bowl. Add vanilla extract and mix until combined.
- Reduce mixer speed to low. Add flour, baking soda, and salt. Mix just until the flour disappears, being careful not to overmix.
- Switch to a spatula and gently fold in the chocolate chips until evenly distributed.
- Press the dough into the prepared pan in an even layer.
- Bake for 25-30 minutes, or until edges are golden brown and the center is just set.
- Remove from oven and sprinkle with flaky sea salt if desired.
- Let cool in the pan for at least 15 minutes before cutting into squares.
Notes
Ensure butter is softened but not melted to prevent greasy bars. Do not overmix the dough to maintain chewiness. Bars continue to cook on the hot pan after removal, so pull them when the center looks just barely set. For best texture, chill dough for 30 minutes before baking if time permits.
- Prep Time: 10 minutes
- Cook Time: 30 minutes
- Category: Dessert
- Cuisine: American
Nutrition
- Serving Size: 1 bar (approx. 2-inc
- Calories: 320
- Sugar: 28
- Sodium: 220
- Fat: 16
- Saturated Fat: 9
- Carbohydrates: 42
- Fiber: 1
- Protein: 4
Keywords: chocolate chip cookie bars, easy dessert, one bowl recipe, crowd pleaser, chewy cookies, weeknight dessert


