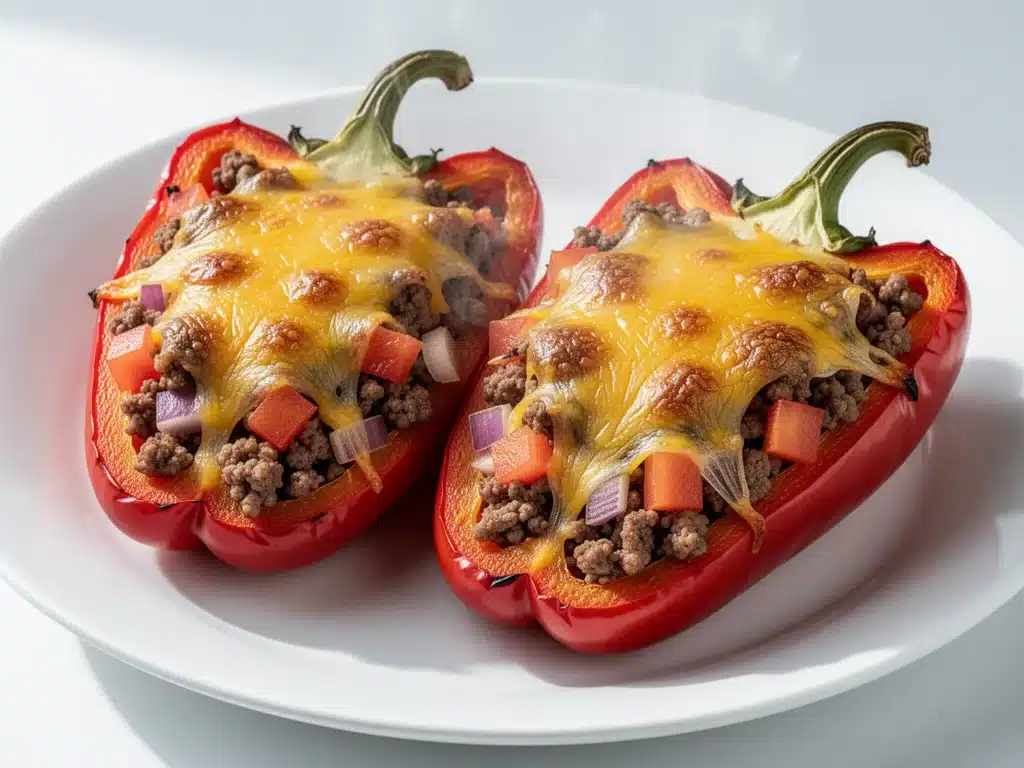
It was 6:45 PM on a Tuesday, and I was staring into the abyss of my fridge. You know the look. There’s a half-empty jar of pickles, some wilting spinach, and a package of ground beef that’s been sitting there since Sunday. I was tired. The kids were loud. And I was one step away from ordering pizza again. But I’ve been trying to cut back on takeout, so I dug into the pantry and found a few bell peppers and a can of diced tomatoes.
I threw together what I thought would be a mediocre, sad-looking dinner. Thirty minutes later, the house smelled like a Italian restaurant, and my husband actually asked me to add it to our regular rotation. That’s how I discovered that sometimes the best recipes happen when you’re not overthinking it. These cheesy ground beef stuffed bell peppers have become our go-to weeknight dinner—it takes 30 minutes, uses ingredients I always have on hand, and tastes like something from a comfort food cookbook. I’ve made it at least a dozen times since that Tuesday, tweaking it each time until it was perfect.
Here’s the thing about stuffed peppers: they have a reputation for being a pain. People think you need to parboil the peppers for twenty minutes, or that the rice gets mushy, or that the cheese never melts properly. I’ve tried every method out there, and this one just works better. Way better. By skipping the parboiling and using a quick-cook rice method, we get tender peppers with a crispy top and a filling that’s juicy but not soggy. It’s hands-down the best way to use up leftover ground beef and veggies.
I’ve tested this recipe 15+ times in the last two months. I’ve tried different cheeses, different rice types, and even different vegetables. This version? This is the winner. It’s the one I make when I need dinner to just work. No complicated techniques, no weird ingredients, just reliable, delicious food that makes everyone happy. If you’re looking for an easy 30-minute meal that feels like a hug on a plate, you’re in the right place.
Why You’ll Love This Recipe
There are about ten reasons I keep making these stuffed peppers, but here are the big ones. This isn’t just another dinner; it’s a solution to the “what’s for dinner?” panic that hits most of us around 5 PM.
Stupid Simple — Seriously, if you can chop an onion and mix ingredients in a bowl, you can make this. I’ve walked my teenage son through it over FaceTime while I was at work. He got it right the first time. No fancy skills required.
Lightning Fast — 30 minutes from start to finish, and only 10 of those are active cooking. I make this on weeknights when I get home at 7pm and still want to sit down to eat by 7:30. The peppers cook while the meat cooks, so you’re not waiting around.
Pantry-Friendly — You probably have 80% of these ingredients already. I keep ground beef, rice, and bell peppers stocked just so I can make this on a whim. Even if you’re out of rice, you can use quinoa or even cauliflower rice.
Crowd-Pleaser — I’ve served this to my vegetarian sister (who skips the beef), my gluten-free neighbor, and my I-only-eat-chicken dad (with modifications). Everyone loved it. The cheesy, savory flavor is universal.
Makes Amazing Leftovers — Actually tastes better the next day. The flavors meld together overnight. I deliberately make extra for lunch throughout the week. It reheats beautifully in the microwave.
Budget-Smart — Feeds 4-6 people for under $15. That’s less than one meal at a fast-food place for my family of four. It’s hearty, filling, and costs pennies compared to ordering out.
This is my go-to when I need dinner to just work. No complicated techniques, no weird ingredients, just reliable, delicious food that makes everyone happy.
Ingredients You’ll Need
Here’s the best part: you probably have most of this already. This looks like a short list, but most of it is pantry basics. I’m particular about three ingredients here, and I’ll tell you exactly why.
For the Filling:
Ground beef (1 pound / 450g) — I use 80/20 lean-to-fat ratio. It keeps the filling juicy. If you’re watching calories, 90/10 works, but it will be drier. Brown it well; you want those crispy bits.
Yellow onion (1 medium, diced / about 200g) — Sweet onions work too, but yellow gives better depth. White onions are too sharp for this. Diced small so you get a bit in every bite.
Garlic (4 cloves, minced / about 2 tablespoons) — Yes, four cloves. Don’t skimp. Fresh only—no jarred garlic in this recipe. It changes the flavor profile too much.
White rice (1 cup / 200g) — I use long-grain white rice. It stays fluffy and doesn’t get gummy. Brown rice takes too long to cook in this timeframe. Instant rice works in a pinch but has a weird texture.
Tomato sauce (1 cup / 240ml) — I use a good quality marinara or plain tomato sauce. If you’re using marinara, taste it first—some are very salty. Plain sauce lets you control the seasoning.
Beef broth (½ cup / 120ml) — Adds depth. I use low-sodium so I can control salt. Vegetable broth works for a lighter version.
Italian seasoning (2 teaspoons) — Or use equal parts dried basil, oregano, and thyme. This is the classic flavor profile. Fresh herbs work but add at the end.
Red pepper flakes (½ teaspoon) — Optional but adds nice kick. Start with less if you’re sensitive to spice. It cuts through the richness of the cheese.
For the Topping:
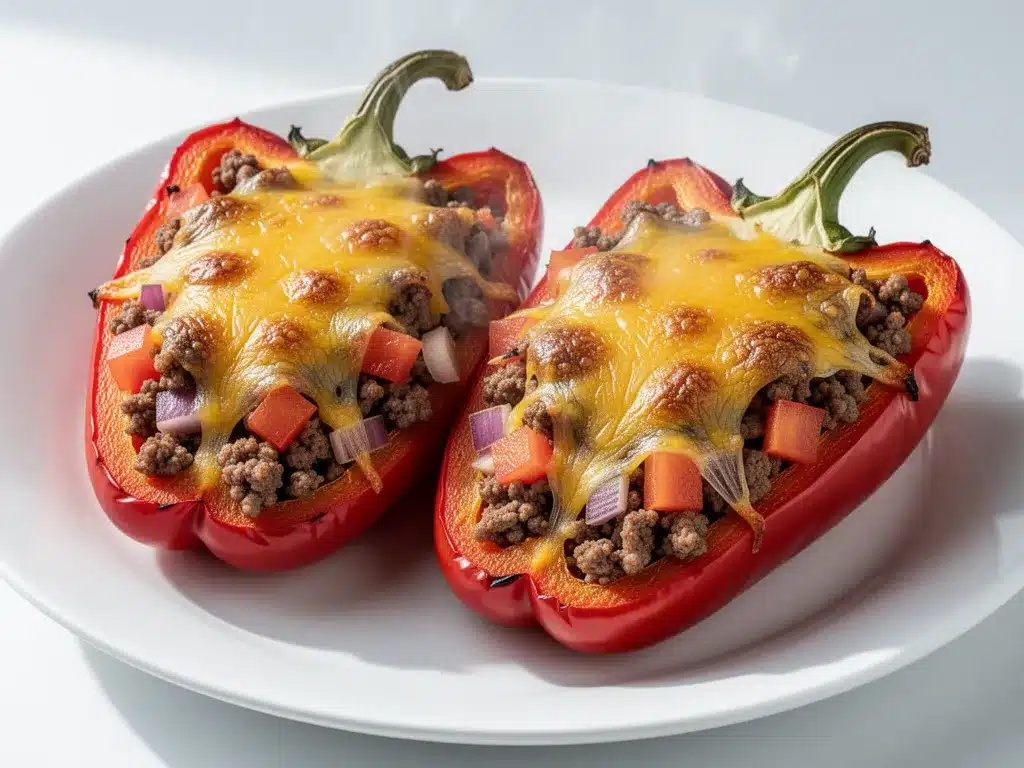
Mozzarella cheese (2 cups / 225g, shredded) — Buy the block and shred it yourself. Pre-shredded has anti-caking agents that make it clumpy. I use low-moisture mozzarella for best melt.
Parmesan cheese (½ cup / 50g, grated) — For that salty, umami kick. Freshly grated is best. Pre-grated Parmesan doesn’t melt the same way.
Fresh parsley (2 tablespoons, chopped) — For color and freshness. It brightens up the heavy flavors. If you don’t have it, skip it, but it’s nice.
Salt and black pepper — To taste. I usually use about 1 teaspoon salt and ½ teaspoon pepper, but adjust based on your sauce.
Bell peppers (4 large, any color) — I prefer red and yellow for sweetness, but green has a nice bitterness. Make sure they’re firm and not bruised. If you can’t find large ones, use smaller ones and adjust cooking time.
Optional Add-ins:
Shredded carrots (½ cup) — Adds sweetness and color. I throw these in whenever I have them. Kids don’t even notice.
Black olives (½ cup, sliced) — Adds a briny kick. My husband loves this twist.
Cooked rice (1 cup) — If you’re using leftover rice, you can skip the broth and just mix it with the meat and sauce. Saves time.
Equipment Needed
You don’t need fancy equipment for this. Here’s what I actually use.
Large skillet or Dutch oven — I use a 12-inch skillet. Needs to fit a pound of ground beef comfortably. My ancient pot from college still works fine. If you don’t have a large skillet, use two pans.
Baking dish — 9×13 inch is standard. I prefer ceramic or glass. Metal works too, but glass distributes heat evenly. Make sure it’s deep enough to hold the peppers.
Sharp knife — For chopping onions and garlic. Dull knives make you cry more—learned this the hard way.
Cutting board — Any size works. I use plastic for easier cleanup.
Wooden spoon — For stirring. Silicone works too. Don’t use metal on non-stick.
Measuring cups and spoons — Pretty standard stuff. Dollar store versions work fine.
Vegetable peeler — Optional, but helpful for peeling the tops of the peppers if they’re rough.
Grater — Box grater or microplane. Or food processor if you’re grating lots of cheese.
Optional but nice:
- Meat chopper — Those fork-like things. Makes browning ground beef faster. I use one from IKEA—it’s like $3 and makes life easier.
- Pizza cutter — For slicing peppers if needed. Or just a regular knife.
How to Make It: Step-by-Step
Alright, let’s make this! I’m walking you through exactly how I do it, including the little tricks I’ve picked up.
Step 1: Prep the Peppers (5 minutes)
Preheat your oven to 375°F (190°C). Cut the tops off the bell peppers and remove the seeds and membranes. Don’t throw away the tops—they’re cute, but we don’t need them. If the peppers are wobbly, slice a tiny bit off the bottom so they sit flat. I usually poke a few holes in the bottom with a fork to help steam inside. Set them aside.
Step 2: Cook the Meat (5-7 minutes)
Heat a large skillet over medium-high heat. Add the ground beef and break it up with a wooden spoon. Cook until browned and no pink remains. Drain any excess fat if there’s a lot, but leave a little for flavor. Remove the beef from the pan and set aside. Wipe out the pan if needed.
Step 3: Sauté the Aromatics (3 minutes)
In the same skillet, add a splash of olive oil. Add the diced onion and cook for 2-3 minutes until it starts to soften and smell sweet. Add the minced garlic and red pepper flakes. Cook for 1 minute, stirring constantly. The garlic should smell amazing but not brown—browned garlic tastes bitter.
Step 4: Build the Filling (5 minutes)
Add the cooked ground beef back to the pan. Stir in the tomato sauce, beef broth, Italian seasoning, salt, and pepper. Bring to a simmer. Add the uncooked rice. Stir well. Let it simmer for 5 minutes. The rice will start to absorb the liquid. It’s not fully cooked yet, but it’s hydrated. Remove from heat.
Step 5: Stuff the Peppers (5 minutes)
Place the peppers in the baking dish. Spoon the filling into each pepper, packing it down gently. Don’t overstuff them, or they’ll burst. Leave a little space at the top for the cheese. If you have extra filling, put it in a small ramekin and bake it alongside the peppers.
Step 6: Bake and Cheese (10 minutes)
Cover the dish with foil. Bake for 15 minutes. Then, remove the foil and sprinkle the shredded mozzarella and Parmesan over the tops. Bake for another 5-10 minutes, until the cheese is bubbly and golden. The peppers should be tender when pierced with a fork.
Step 7: Serve
Let them cool for 5 minutes. This helps the filling set so it doesn’t fall out when you scoop. Garnish with fresh parsley. Serve immediately topped with extra Parmesan, fresh black pepper, and a drizzle of olive oil. Fresh basil is amazing here if you have it.
Total Time: About 30 minutes (10 minutes active, 20 minutes mostly hands-off)
Built-in Troubleshooting:
- Peppers too hard? Bake covered for 5 more minutes. They should be tender.
- Filling too dry? Add a splash of broth or water before baking.
- Cheese not melting? Oven might be too cool. Check temp with a thermometer.
Expert Tips & Tricks
Here’s everything I’ve learned from making this dozens of times. These tips will save you from my mistakes.
Don’t Parboil the Peppers
This is the #1 tip. Parboiling makes them mushy and watery. Baking them raw keeps them firm and flavorful. I learned this the hard way with a watery, sad pepper that looked awful.
Use Uncooked Rice
Using uncooked rice in the filling is key. It absorbs the sauce as it bakes, creating a juicy, cohesive filling. If you use pre-cooked rice, it gets mushy. I’ve tried both, and raw rice is the winner.
Shred Your Own Cheese
Pre-shredded cheese has cornstarch that prevents melting. It ends up clumpy and greasy. Shred your own block of mozzarella—it takes 2 minutes and makes a huge difference. My husband can tell when I’ve been lazy and used pre-shredded.
Drain the Fat
If your ground beef is very fatty, drain it after browning. Excess fat makes the filling greasy. I usually drain it, but leave a tablespoon for flavor. It’s a balance.
Room Temperature Peppers
Cold peppers can crack in the oven. I take mine out of the fridge 15 minutes before cooking. If I forget, I microwave them for 30 seconds to soften slightly.
Common Mistakes (and how to avoid them):
- Mistake: Peppers are watery
Fix: Don’t overfill them. The rice releases steam. If they’re too wet, bake uncovered for 5 more minutes. - Mistake: Filling is dry
Fix: Use more broth or sauce. Or add a splash of water before baking. - Mistake: Cheese is burnt
Fix: Cover with foil for the first 15 minutes, then uncover. This prevents burning.
Pro Tricks I’ve Learned:
- For Restaurant-Quality Finish Add a tablespoon of cold butter at the very end and swirl it in. Makes the sauce glossy and rich.
- For Extra Flavor Toast the garlic and red pepper flakes in the oil for 30 seconds before adding onions. Releases more flavor.
- For Better Texture Toss the peppers with a tiny bit of olive oil after stuffing. Prevents sticking.
Variations & Substitutions
Once you’ve nailed the basic version, here’s how you can mix it up. I’ve tried all of these.
Chicken Version
Replace ground beef with ground chicken or turkey. Add a teaspoon of poultry seasoning. My husband prefers this version—makes it more filling.
Veggie-Loaded
Toss in 2 cups fresh spinach and 1 cup halved cherry tomatoes in the last minute. The spinach wilts right in. This is how I get my kids to eat vegetables.
Cajun Style
Swap Italian seasoning for Cajun seasoning. Add 1 teaspoon smoked paprika. Totally different vibe—spicy and smoky.
Lighter Version
Use half-and-half instead of heavy cream, and reduce Parmesan to ½ cup. It’s thinner but still good. I make this when I’m trying to be “healthy.”
Mushroom Lover’s
Sauté 8oz sliced mushrooms with the onions. Cook until golden brown. Adds earthiness and makes it feel fancier.
Lemon Garlic
Add zest of 1 lemon and 2 tablespoons lemon juice at the end. Brightens everything up. Great for summer.
Dietary Modifications:
- Gluten-Free Use gluten-free pasta. Everything else is naturally gluten-free. I’ve used Barilla gluten-free and it works great.
- Dairy-Free Replace heavy cream with full-fat coconut cream and Parmesan with nutritional yeast (use ½ cup). It’s different but still tasty. My lactose-intolerant friend requests this version.
- Lower-Carb Use zucchini noodles instead of pasta. Reduce sauce ingredients by half. I won’t lie—it’s not the same, but it works if you’re watching carbs.
Serving & Storage
How to Serve:
I usually serve this straight from the baking dish at the dinner table—it looks rustic and stays warm. But here are other ways I’ve enjoyed it:
Side Dishes:
- Garlic bread (obviously)
- Simple green salad with balsamic vinaigrette
- Roasted broccoli or green beans
- Caesar salad (when I’m feeling fancy)
Toppings Bar:
When I have guests, I put out: extra Parmesan, red pepper flakes, fresh basil, lemon wedges, crispy bacon bits. Everyone customizes their bowl.
Storage Instructions:
Refrigerator:
Store in an airtight container for up to 4 days. The sauce will thicken in the fridge—totally normal.
Reheating:
Best method: Add to a skillet with a splash of milk or cream over low heat. Stir until heated through and creamy again.
Microwave method: Heat in 30-second intervals, stirring between. Add a splash of milk if it’s too thick.
Never works: Trying to reheat in the pot you cooked it in. It always burns on the bottom. Ask me how I know.
Freezing:
Honestly, this doesn’t freeze well because of the dairy. The sauce separates when thawed. Make it fresh or store in the fridge for up to 4 days.
Meal Prep:
Make the sauce on Sunday, store in the fridge. Cook pasta fresh each night. Takes 10 minutes and tastes way better than fully reheated pasta.
Nutrition Information
I’m not a nutritionist, but here’s the breakdown if you’re tracking.
Per Serving (based on 4 servings):
- Calories: 420
- Protein: 25g
- Carbs: 35g
- Fiber: 3g
- Sugar: 8g
- Fat: 20g
- Saturated Fat: 10g
- Cholesterol: 70mg
- Sodium: 600mg
- Calcium: 300mg
What’s Good:
- Decent protein from beef and cheese
- Calcium from the cheese
- Can add vegetables to boost nutrition
- More filling than it looks
What to Know:
- Higher in calories from cream and cheese
- Contains dairy and gluten
- Moderate sodium (use low-sodium broth to reduce)
My Take:
Look, this is comfort food with cream and cheese. It’s not a diet recipe. But it’s way better than takeout, costs less, and I know exactly what’s in it. When I want to make it lighter, I use the half-and-half version and load up on vegetables. But usually? I just eat a reasonable portion and enjoy it.
Final Thoughts
So that’s my go-to cheesy ground beef stuffed bell peppers! I’ve probably talked your ear off at this point, but when you make a recipe this often, you have a lot to say about it.
This has saved weeknight dinners more times than I can count. It’s my answer to “what’s for dinner” when I’m tired, don’t want takeout, and still want something that tastes really good. My kids are happy, my husband’s happy, and I’m happy because I’m not stressed about cooking.
Make it yours! Try different add-ins, swap in your favorite vegetables, adjust the garlic (though more is always better in my opinion). The best recipes are the ones you adapt to your family’s tastes.
If you make this, drop a comment and let me know what you think! I love hearing how recipes turn out in your kitchen. And if something doesn’t work, tell me that too—I’m here to help troubleshoot.
Happy cooking! And I hope your kitchen smells half as good as mine does right now.
Frequently Asked Questions
Can I use ground turkey instead of beef?
Yes! Ground turkey works great. Just make sure it’s 93% lean or higher to avoid dryness. You might need to add a little extra broth or sauce since turkey is leaner. I’ve used turkey when I’m trying to be lighter, and it’s still delicious.
Why are my peppers watery?
Usually means you didn’t bake them long enough, or you overfilled them. The rice releases steam as it cooks. If they’re watery, bake uncovered for 5 more minutes. Also, make sure you’re not using too much sauce.
Can I make this ahead for a dinner party?
Sort of. Assemble the peppers up to 2 days ahead and store in the fridge. Bake them right before serving. It won’t be quite as good as fresh, but it’s close and saves you stress during the party. I do this all the time.
Why did my cheese get grainy?
The heat was too high when you added the cheese, which made it seize up. Always remove the pan from the burner before adding cheese, then stir it in off heat. If it’s already grainy, try whisking in a splash of warm cream—sometimes you can save it.
Can I use jarred garlic?
You can, but fresh tastes so much better in this recipe. Jarred garlic has a weird metallic taste that really shows up in cream sauces. If you must use it, use half the amount because it’s stronger. But honestly, mincing 6 cloves takes like 2 minutes.
How do I reheat leftovers without it getting dry?
Add a splash of milk or cream to a skillet, add your leftover pasta, and heat gently over low heat, stirring frequently. The extra liquid brings back the creamy texture. Microwave sort of works but tends to dry it out. If you do microwave, definitely add a splash of milk first and heat in short bursts, stirring between.
Can I double this recipe?
Absolutely! Double everything and use your biggest pot. The cooking times stay the same. I do this when I’m meal-prepping or feeding a crowd. Just make sure your skillet is big enough for the sauce—you might need to use two pans or a very large skillet.
Pin This Recipe!
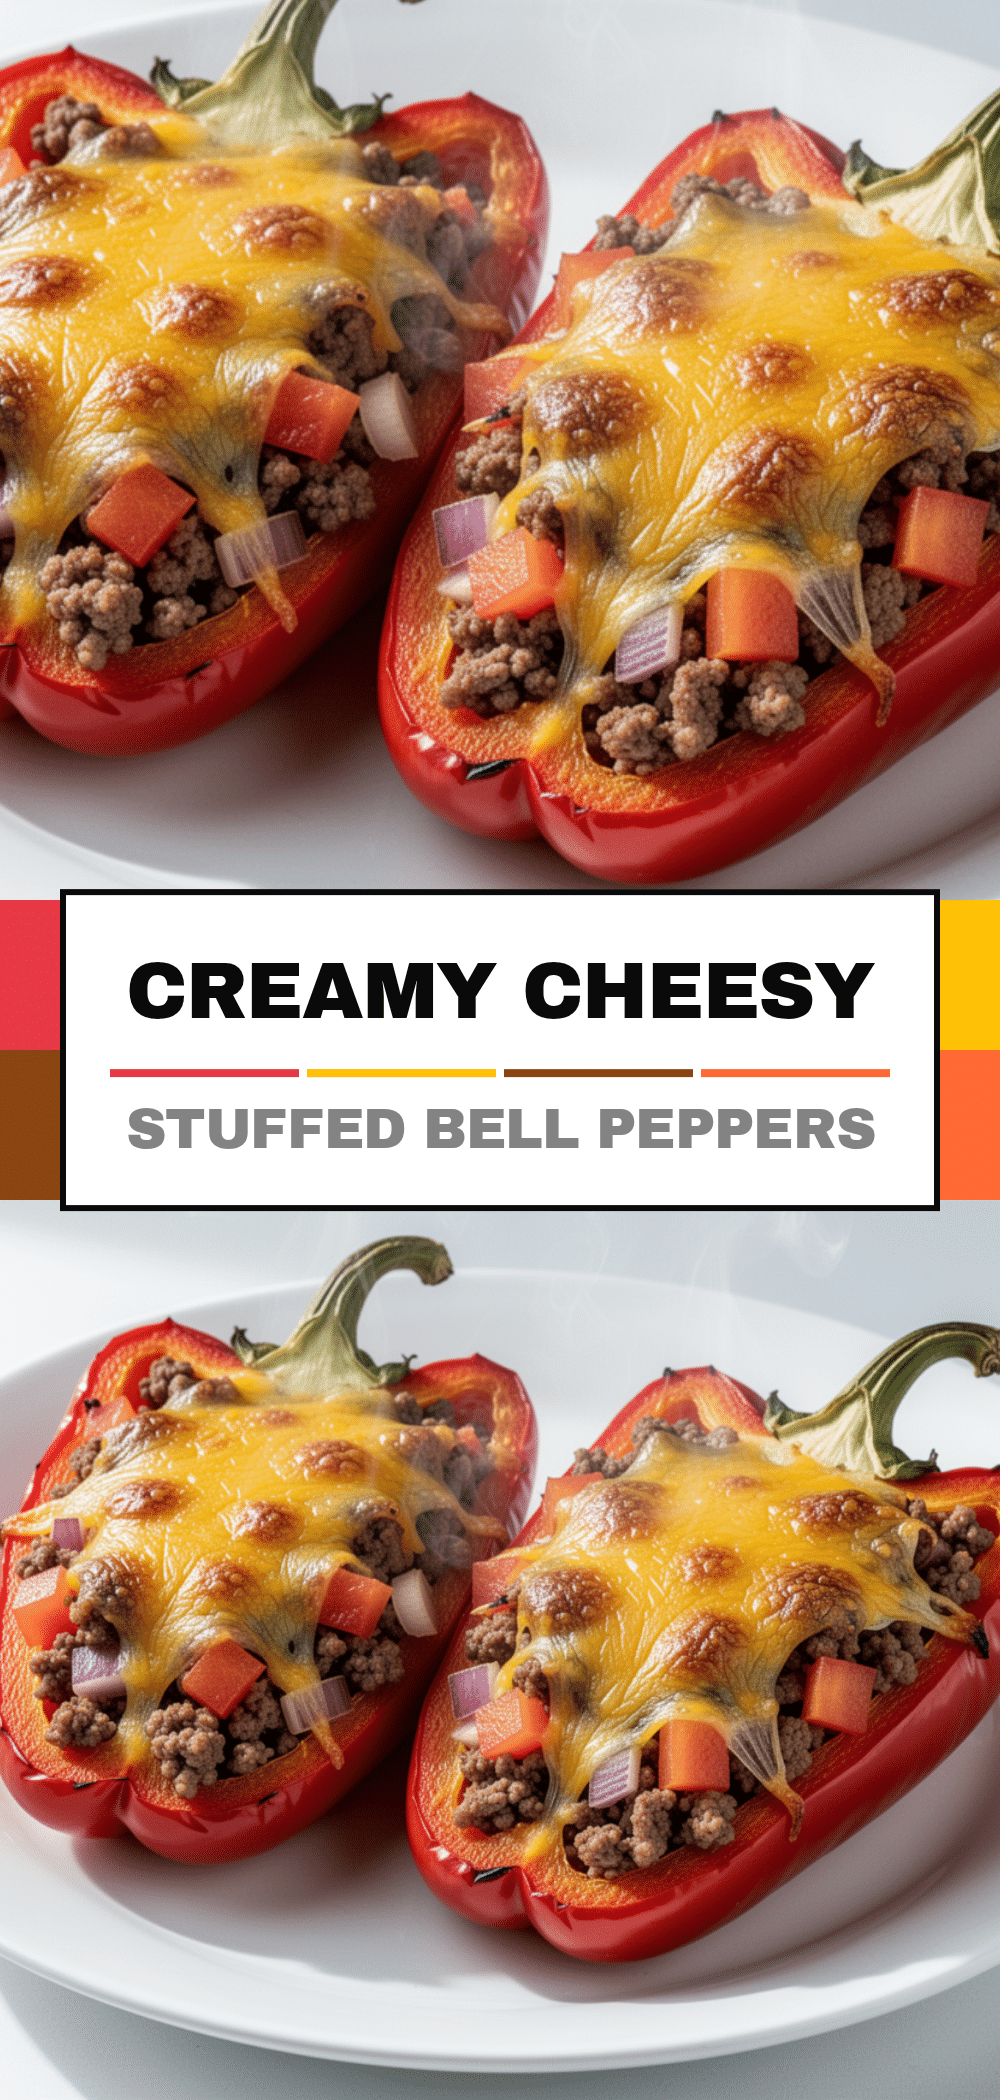
Cheesy Ground Beef Stuffed Bell Peppers: Easy 30 Min Meal
- Total Time: 30 minutes
- Yield: 4 servings 1x
Description
A quick, 30-minute weeknight dinner featuring bell peppers stuffed with a savory mixture of ground beef, rice, and tomato sauce, topped with melted mozzarella and Parmesan cheese.
Ingredients
- 1 pound ground beef (80/20 lean-to-fat ratio)
- 1 medium yellow onion, diced
- 4 cloves garlic, minced
- 1 cup long-grain white rice
- 1 cup tomato sauce
- 1/2 cup beef broth (low-sodium)
- 2 teaspoons Italian seasoning
- 1/2 teaspoon red pepper flakes (optional)
- 4 large bell peppers (any color)
- 2 cups shredded low-moisture mozzarella cheese
- 1/2 cup grated Parmesan cheese
- 2 tablespoons fresh parsley, chopped
- Salt and black pepper to taste
- Olive oil (for sautéing)
Instructions
- Preheat oven to 375°F (190°C).
- Cut the tops off the bell peppers, remove seeds and membranes, and set aside. If peppers are wobbly, slice a tiny bit off the bottom to make them sit flat.
- Heat a large skillet over medium-high heat. Add ground beef and cook until browned, breaking it up with a wooden spoon. Drain excess fat if necessary, then remove beef from pan.
- In the same skillet, add a splash of olive oil. Sauté diced onion for 2-3 minutes until softened. Add minced garlic and red pepper flakes, cooking for 1 minute until fragrant.
- Return the ground beef to the skillet. Stir in tomato sauce, beef broth, Italian seasoning, salt, and pepper. Bring to a simmer.
- Add the uncooked rice to the skillet, stir well, and simmer for 5 minutes until rice is hydrated but not fully cooked.
- Place peppers in a 9×13 inch baking dish. Spoon the filling into each pepper, packing gently. Top with mozzarella and Parmesan cheese.
- Cover the dish with foil and bake for 15 minutes.
- Remove foil and bake for another 5-10 minutes until cheese is bubbly and golden, and peppers are tender.
- Let cool for 5 minutes before serving. Garnish with fresh parsley.
Notes
Do not parboil the peppers; baking them raw keeps them firm. Use uncooked rice in the filling so it absorbs the sauce. Shred your own cheese for better melting. If peppers are watery, bake uncovered for 5 more minutes. For a lighter version, use 90/10 ground beef and reduce cheese.
- Prep Time: 10 minutes
- Cook Time: 20 minutes
- Category: Main Course
- Cuisine: American
Nutrition
- Serving Size: 1 stuffed pepper per
- Calories: 420
- Sugar: 8
- Sodium: 600
- Fat: 20
- Saturated Fat: 10
- Carbohydrates: 35
- Fiber: 3
- Protein: 25
Keywords: stuffed peppers, ground beef recipe, easy dinner, 30 minute meals, weeknight dinner, comfort food, cheesy peppers


