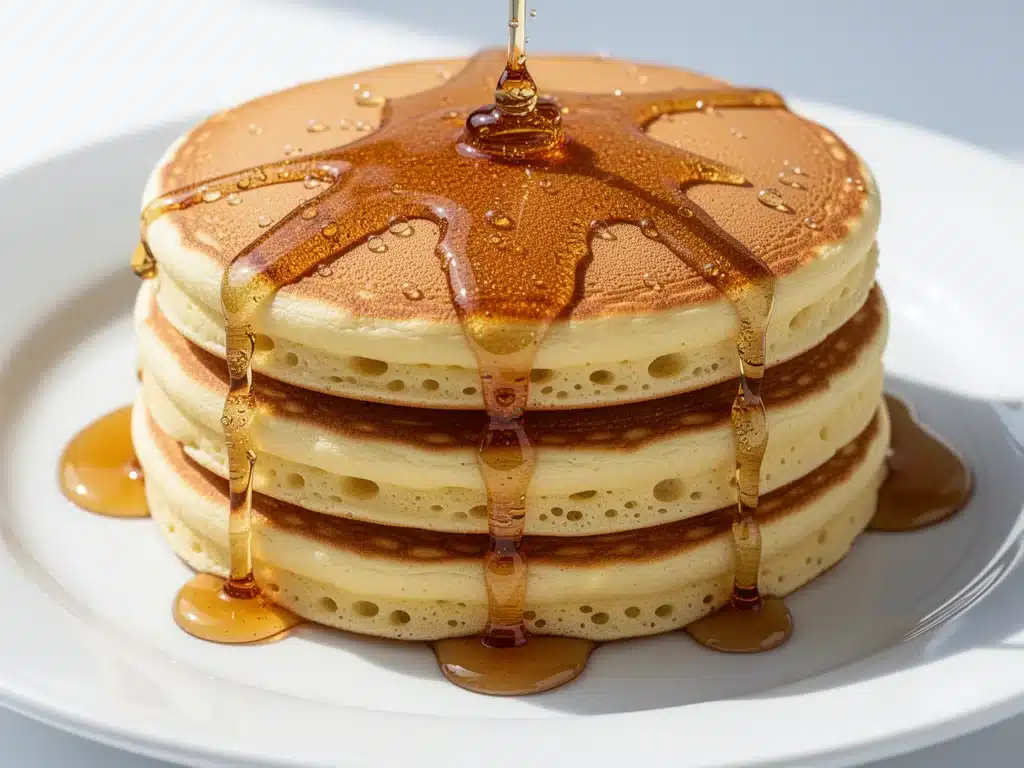
There was a year in my early twenties when I decided that pancakes were my love language. I thought if I could just nail the perfect, fluffy, golden-brown disc, I could finally feel like an adult who had their life together. Spoiler alert: I did not have my life together. I had a kitchen floor covered in batter, a smoke detector that wouldn’t stop screaming, and a stack of pancakes that were either rubbery hockey pucks or flat, sad crepes.
I remember one specific Sunday morning vividly. I had woken up at 5 a.m., fueled by nothing but determination and a bag of flour, determined to make the fluffy buttermilk pancakes that my mom used to make. She had this trick—something about the resting time, or maybe the way she whipped the egg whites separately—that I completely ignored because I was impatient. I rushed the batter. I overmixed it. And what came out of the pan? A dense, grayish mess that tasted like disappointment.
That failure haunts me to this day. But here’s the thing: it also taught me everything I know about breakfast. After years of trial, error, and a few burned batches (don’t ask about the charred ones in the back of the freezer), I finally cracked the code. And I’m going to let you in on the secret right now: it’s not about fancy equipment or expensive ingredients. It’s about patience. And a little bit of science.
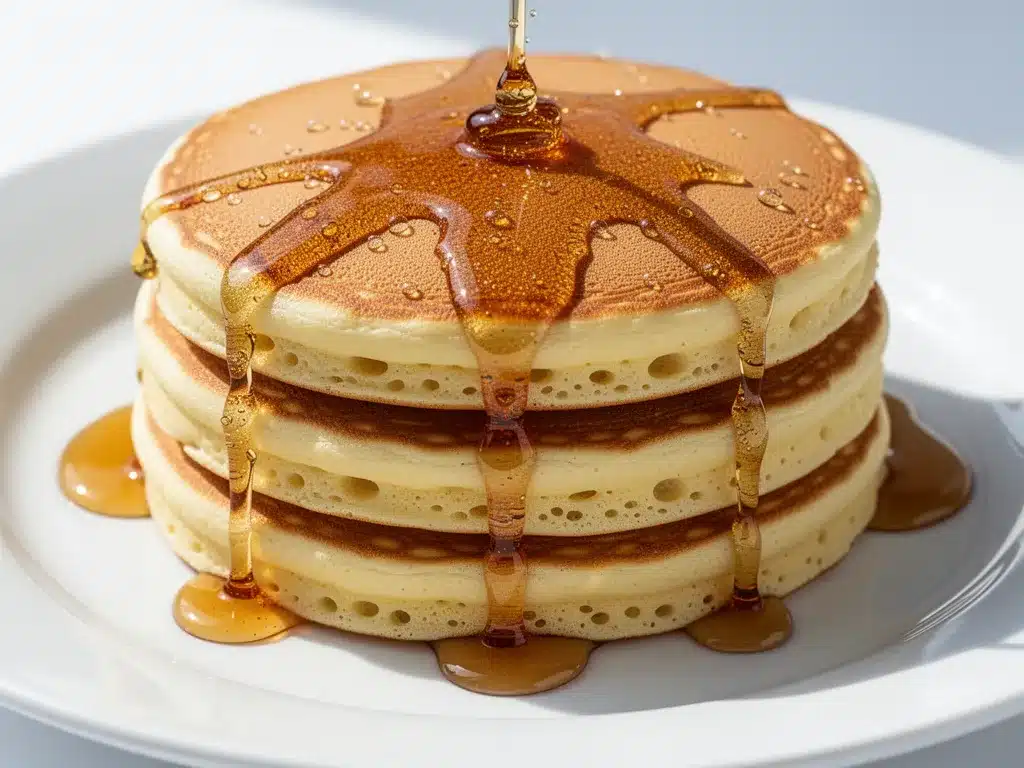
These pancakes are the reason I actually wake up on weekends now. They’re tall, they’re pillowy soft, and they hold up beautifully under a mountain of maple syrup and fresh berries. I’ve made these for brunch parties with twenty people, for lazy rainy days with my partner, and for emergency comfort food after a bad week. They never fail. And neither will you.
Why You’ll Love This Recipe
I know what you’re thinking. “I can make pancakes.” And you probably can! But can you make pancakes that stay fluffy for twenty minutes after you take them off the heat? Can you make a batch that doesn’t turn into dense discs if you let the batter sit for five extra minutes? Can you make them with ingredients you already have in your pantry?
That’s why this recipe has become my non-negotiable weekend ritual. Here’s the real deal on why these fluffy buttermilk pancakes are worth the thirty minutes it takes to make them:
- Actually Fluffy (Not Flat) — Most pancake recipes give you flat cakes. These rise. Like, actually rise. They have that golden, crusty exterior and a cloud-like interior. I’ve tested this with baking powder, baking soda, and even self-rising flour, and this specific ratio is the winner every single time.
- Pantry Staples Only — You don’t need buttermilk powder or exotic flours. Just flour, sugar, baking powder, salt, milk, egg, butter, and vanilla. If you can’t find buttermilk, I’ll show you how to make a quick substitute in under two minutes. No special trips to the store.
- Forgiving Batter — I used to stress over every lump. Now I know that lumps are good. This recipe is designed to be mixed until *just* combined. It’s impossible to mess up if you follow the “gentle hands” rule. My teenage son makes these alone on Saturdays while I’m still in bed.
- Freezer Friendly — Here’s a secret: these freeze beautifully. I make a double batch, freeze the extras on a baking sheet, and reheat them in the toaster for a quick weekday breakfast. They’re still fluffy. I’m not joking.
- Brunch Ready — These look fancy enough for guests but are easy enough for a family of four. They pair perfectly with bacon, sausage, or just a simple drizzle of syrup. I’ve served these to picky eaters and food critics alike, and the verdict is always the same: “Can I have the recipe?”
So basically, if you want breakfast that feels like a hug in plate form, this is it. No stress, no fancy techniques, just reliable, delicious pancakes that make you want to stay in bed a little longer.
Ingredients You’ll Need
Here’s the best part: this list is short. I’m not going to make you go buy five different types of flour or exotic spices. We’re keeping it classic. Here’s what you need to make the best fluffy buttermilk pancakes of your life.
For the Dry Mix
- All-Purpose Flour (2 cups / 250g) — This is your base. Don’t use cake flour or bread flour; you want that medium protein content for the right texture. Spoon it into the measuring cup and level it off. Don’t scoop and pack, or you’ll end up with dense pancakes.
- Granulated Sugar (2 tablespoons / 25g) — Just a little bit. It helps with browning and balances the tang of the buttermilk. You don’t want these to be sweet like dessert; you want them to be a perfect canvas for syrup.
- Baking Powder (2 teaspoons / 10g) — This is your lift. Make sure it’s fresh! If your baking powder is older than six months, it’s probably dead weight. I keep a new can on hand at all times.
- Baking Soda (½ teaspoon / 3g) — This reacts with the buttermilk to create those air bubbles. It’s crucial for the rise. Don’t skip it.
- Salt (1 teaspoon / 6g) — Kosher salt is best, but table salt works too. Salt enhances flavor. It sounds basic, but unsweetened pancakes taste flat.
For the Wet Mix
- Buttermilk (1 ¾ cups / 420ml) — The star of the show. If you don’t have buttermilk, mix 1 ¾ cups of milk with 1 tablespoon of white vinegar or lemon juice. Let it sit for 5-10 minutes until it curdles slightly. It’s a game-changer.
- Egg (1 large, room temperature) — Room temp eggs incorporate better into the batter. Cold eggs can seize the butter if you’re not careful. Crack it, whisk it, and forget it.
- Melted Butter (3 tablespoons / 45g) — Unsalted is better so you control the salt level. Let it cool slightly before mixing so it doesn’t cook the egg.
- Vanilla Extract (1 teaspoon / 5ml) — Pure vanilla, not imitation. It adds that warm, comforting aroma that makes your kitchen smell like a bakery.
For Cooking
- Butter or Oil — For greasing the pan. I prefer butter for flavor, but oil works if you’re avoiding dairy. Coconut oil is a good neutral option.
Personal Tip: I always measure my flour by weight if I have a scale, but if you’re using cups, use the “spoon and level” method. It’s the difference between a pancake that rises and one that spreads into a crepe.
Equipment Needed
You don’t need a fancy electric griddle, though it helps. Here’s what I actually use on my counter:
- Large Mixing Bowls (2) — One for dry, one for wet. I use stainless steel because they’re sturdy and easy to clean. Glass works too, just be careful not to crack it if you’re adding hot butter.
- Whisk — A standard wire whisk is perfect. I don’t use a spoon because it doesn’t aerate the dry ingredients as well.
- Non-Stick Skillet or Griddle (10-12 inch) — This is crucial. A non-stick surface ensures easy flipping. Cast iron is great if you season it well, but non-stick is more forgiving for beginners.
- Spatula — A wide, flexible spatula. I like silicone because it doesn’t scratch my pan and it slides under the pancake easily.
- Measuring Cups and Spoons — Standard stuff. I keep a set in my drawer that I use exclusively for baking.
- Cooling Rack — Optional but recommended. It keeps the pancakes warm and crisp while you finish the batch. Plating them immediately can make them steam and get soggy.
Pro Tip: I keep my first pancake small. It’s usually a test pancake to check the heat. If it burns too fast, lower the heat. If it doesn’t brown, raise it. Once you get the temp right, the rest are easy.
How to Make It: Step-by-Step
Alright, let’s get cooking. This process is simple, but timing is everything. I’m walking you through exactly how I do it, including the little tricks I’ve picked up over the years.
Step 1: Mix the Dry Ingredients (2 minutes)
In a large bowl, whisk together the flour, sugar, baking powder, baking soda, and salt. Make sure there are no lumps of baking powder or salt. This distributes the leavening agents evenly, which ensures consistent rising. Set this aside.
Step 2: Mix the Wet Ingredients (2 minutes)
In a separate bowl or large measuring cup, whisk the buttermilk, egg, melted butter, and vanilla extract until smooth. The mixture should look creamy and uniform. If the butter has solidified into little white chunks, microwave it for 10 seconds to melt it again. You want it fully liquid.
Step 3: Combine Gently (1 minute)
Make a well in the center of the dry ingredients. Pour the wet mixture into the well. Using your whisk or a spatula, gently fold the ingredients together. Stop mixing while there are still lumps. This is the most important step. Overmixing develops gluten, which makes pancakes tough. You want a shaggy, lumpy batter. It’s okay! It’s supposed to look messy.
Step 4: Rest the Batter (5-10 minutes)
Let the batter sit while you heat your pan. This allows the flour to hydrate and the baking powder to start working. You’ll see small bubbles form on the surface. This is your sign that the pancakes are going to be fluffy. Do not skip this step!
Step 5: Heat the Pan
Place your non-stick skillet over medium heat. Add a small knob of butter or a brush of oil. When the butter foams and subsides, it’s ready. Test with a little batter— if it sizzles and browns in about 2 minutes, you’re good. If it burns instantly, it’s too hot. If it doesn’t bubble, it’s too cold.
Step 6: Cook the Pancakes (3-4 minutes each)
Pour about ¼ cup of batter per pancake onto the pan. Don’t crowd the pan. Cook until bubbles form on the surface and pop, leaving little holes that don’t immediately fill in. This means the bottom is set and the top is cooking. The edges will look matte and dry.
Step 7: Flip and Finish (1-2 minutes)
Flip the pancake carefully. Cook the other side until golden brown. This side cooks faster, so keep an eye on it. Once it’s golden, transfer to a plate or cooling rack. Repeat with the remaining batter, greasing the pan as needed.
Total Time: About 30 minutes (10 minutes prep, 20 minutes cooking).
Expert Tips & Tricks
Here’s everything I’ve learned from making these dozens of times. These tips will save you from my early mistakes.
- Don’t Overmix — I cannot stress this enough. Lumps are your friend. If your batter is smooth and runny, you’ve mixed it too much. The pancakes will be dense. Aim for thick and lumpy.
- Keep Them Warm — If you’re serving a crowd, preheat your oven to 200°F (95°C). Place cooked pancakes on a baking sheet in the oven while you finish the rest. They stay warm and fluffy without steaming.
- Check Your Leavening — Old baking powder is the silent killer of fluffy pancakes. If your pancakes don’t rise, check the expiration date on your baking powder. It’s cheap insurance.
- Control the Heat — Medium heat is key. Too high, and the outside burns before the inside cooks. Too low, and they dry out. Adjust your burner as you go. Every stove is different.
- Use a Ladle — For uniform pancakes, use a ¼ cup measuring cup or a ladle. It ensures they’re all the same size and cook evenly. Visual estimation leads to uneven batches.
Pro Trick: Add a tablespoon of cornstarch to the dry mix. It tenderizes the gluten and makes the pancakes even softer. It’s a small change with a big impact.
Variations & Substitutions
Once you’ve nailed the basic fluffy buttermilk pancakes, here’s how you can mix it up. I’ve tried all of these, and they’re all winners.
- Banana Pancakes — Mash one ripe banana into the wet mix. Add a teaspoon of cinnamon. They’re sweeter and denser, but delicious.
- Blueberry Pancakes — Fold in ½ cup of fresh or frozen blueberries after mixing. Don’t stir too much, or they’ll bleed into the batter.
- Chocolate Chip Pancakes — Add ½ cup of chocolate chips. They melt into pockets of gooey goodness. A kid favorite.
- Whole Wheat Pancakes — Substitute half the all-purpose flour with whole wheat flour. They’re heartier and nuttier. Add an extra tablespoon of buttermilk if the batter is too thick.
- Gluten-Free — Use a 1:1 gluten-free flour blend. Make sure it contains xanthan gum, or add ½ teaspoon. They hold together well and taste just like the original.
- Dairy-Free — Use almond milk or oat milk with vinegar for the buttermilk substitute. Use coconut oil or melted dairy-free butter instead of regular butter.
Dietary Note: These pancakes are naturally vegetarian. For a vegan version, use flax eggs (1 tablespoon ground flaxseed mixed with 3 tablespoons water per egg) and plant-based milk and butter.
Serving & Storage
I usually serve these straight from the pan at the dinner table—it looks rustic and stays warm. But here are other ways I’ve enjoyed them:
How to Serve
- Classic — Warm maple syrup and a pat of butter. Simple is best.
- Fresh Fruit — Sliced strawberries, blueberries, or bananas. The acidity cuts through the richness.
- Whipped Cream — For a treat, top with homemade whipped cream and a drizzle of honey.
- Bacon or Sausage — The salty, savory contrast is perfect with sweet pancakes.
Storage Instructions
- Refrigerator: Store leftovers in an airtight container for up to 3 days. They’ll firm up, but they’re still good.
- Freezer: This is where these pancakes shine. Place cooled pancakes in a single layer on a baking sheet, freeze for 1 hour, then transfer to a freezer bag. They last up to 3 months. Reheat in a toaster or oven for best texture.
- Reheating: Avoid the microwave if you can help it. It makes them rubbery. Toaster or oven (350°F for 5 minutes) restores the crispness.
Pro Tip: If you’re meal prepping, freeze them in stacks of 4 with parchment paper in between. Grab a stack, toast them, and you have breakfast in 5 minutes.
Nutrition Information
I’m not a nutritionist, but here’s the breakdown if you’re tracking. Keep in mind that these values are for the plain pancakes without toppings.
| Nutrient | Per Serving (1 Pancake) |
|---|---|
| Calories | 180 |
| Protein | 5g |
| Carbs | 28g |
| Fat | 6g |
| Fiber | 1g |
| Sugar | 4g |
My Take: These are comfort food. They’re not a diet recipe. But they’re made from scratch, so you know exactly what’s in them. When I want to make them lighter, I use whole wheat flour and less butter. But usually? I just enjoy a reasonable portion and savor the weekend vibe.
Final Thoughts
So that’s my go-to fluffy buttermilk pancakes recipe! I’ve probably talked your ear off at this point, but when you make a recipe this often, you have a lot to say about it.
This recipe has saved my weekends. It’s my answer to “what’s for breakfast” when I want to treat myself but don’t want to spend hours in the kitchen. My kids love them, my partner begs for them, and I love them because they’re foolproof. There’s something magical about the smell of butter and vanilla filling the house on a Sunday morning.
Make it yours! Try different add-ins, swap in your favorite fruits, or just enjoy them plain with syrup. The best recipes are the ones you adapt to your family’s tastes. And if you make these, I want to hear about it. Drop a comment and let me know how they turned out. Did you add blueberries? Did you burn the first one? (We all do.)
Happy cooking! And I hope your kitchen smells half as good as mine does right now.
Frequently Asked Questions
Why are my pancakes not fluffy?
Usually, this is due to overmixing or old leavening agents. If you mix the batter until it’s smooth, you’re developing gluten, which makes them tough. Stop mixing when lumps remain. Also, check your baking powder. If it’s old, it won’t create the bubbles needed for lift.
Can I make the batter ahead of time?
It’s not recommended. The baking powder starts working as soon as it hits the liquid. If you let the batter sit overnight, the bubbles will escape, and you’ll end up with flat pancakes. Make the batter fresh right before cooking for the best results.
How do I know when to flip the pancakes?
Look for bubbles on the surface. When the bubbles form and pop, leaving holes that don’t fill back in, and the edges look set and dry, it’s time to flip. The bottom should be golden brown. If you flip too early, they’ll fall apart. If you wait too long, they’ll burn.
Can I use regular milk instead of buttermilk?
Yes, but you need to acidify it. Add 1 tablespoon of white vinegar or lemon juice to 1 cup of milk. Let it sit for 5-10 minutes until it thickens slightly. This mimics the tang and tenderness of real buttermilk. Without the acid, your pancakes will be less fluffy and lack that classic tang.
How do I keep pancakes warm for a crowd?
Preheat your oven to 200°F (95°C). Place cooked pancakes on a baking sheet in the oven while you finish the batch. This keeps them warm without steaming them, which can make them soggy. They’ll stay good for up to 30 minutes.
Can I freeze leftover pancakes?
Absolutely. This is my favorite way to use leftovers. Let them cool completely, then freeze them in a single layer on a baking sheet. Once frozen, transfer to a freezer bag. They last up to 3 months. Reheat in a toaster for a fresh-from-the-pan texture.
Pin This Recipe!
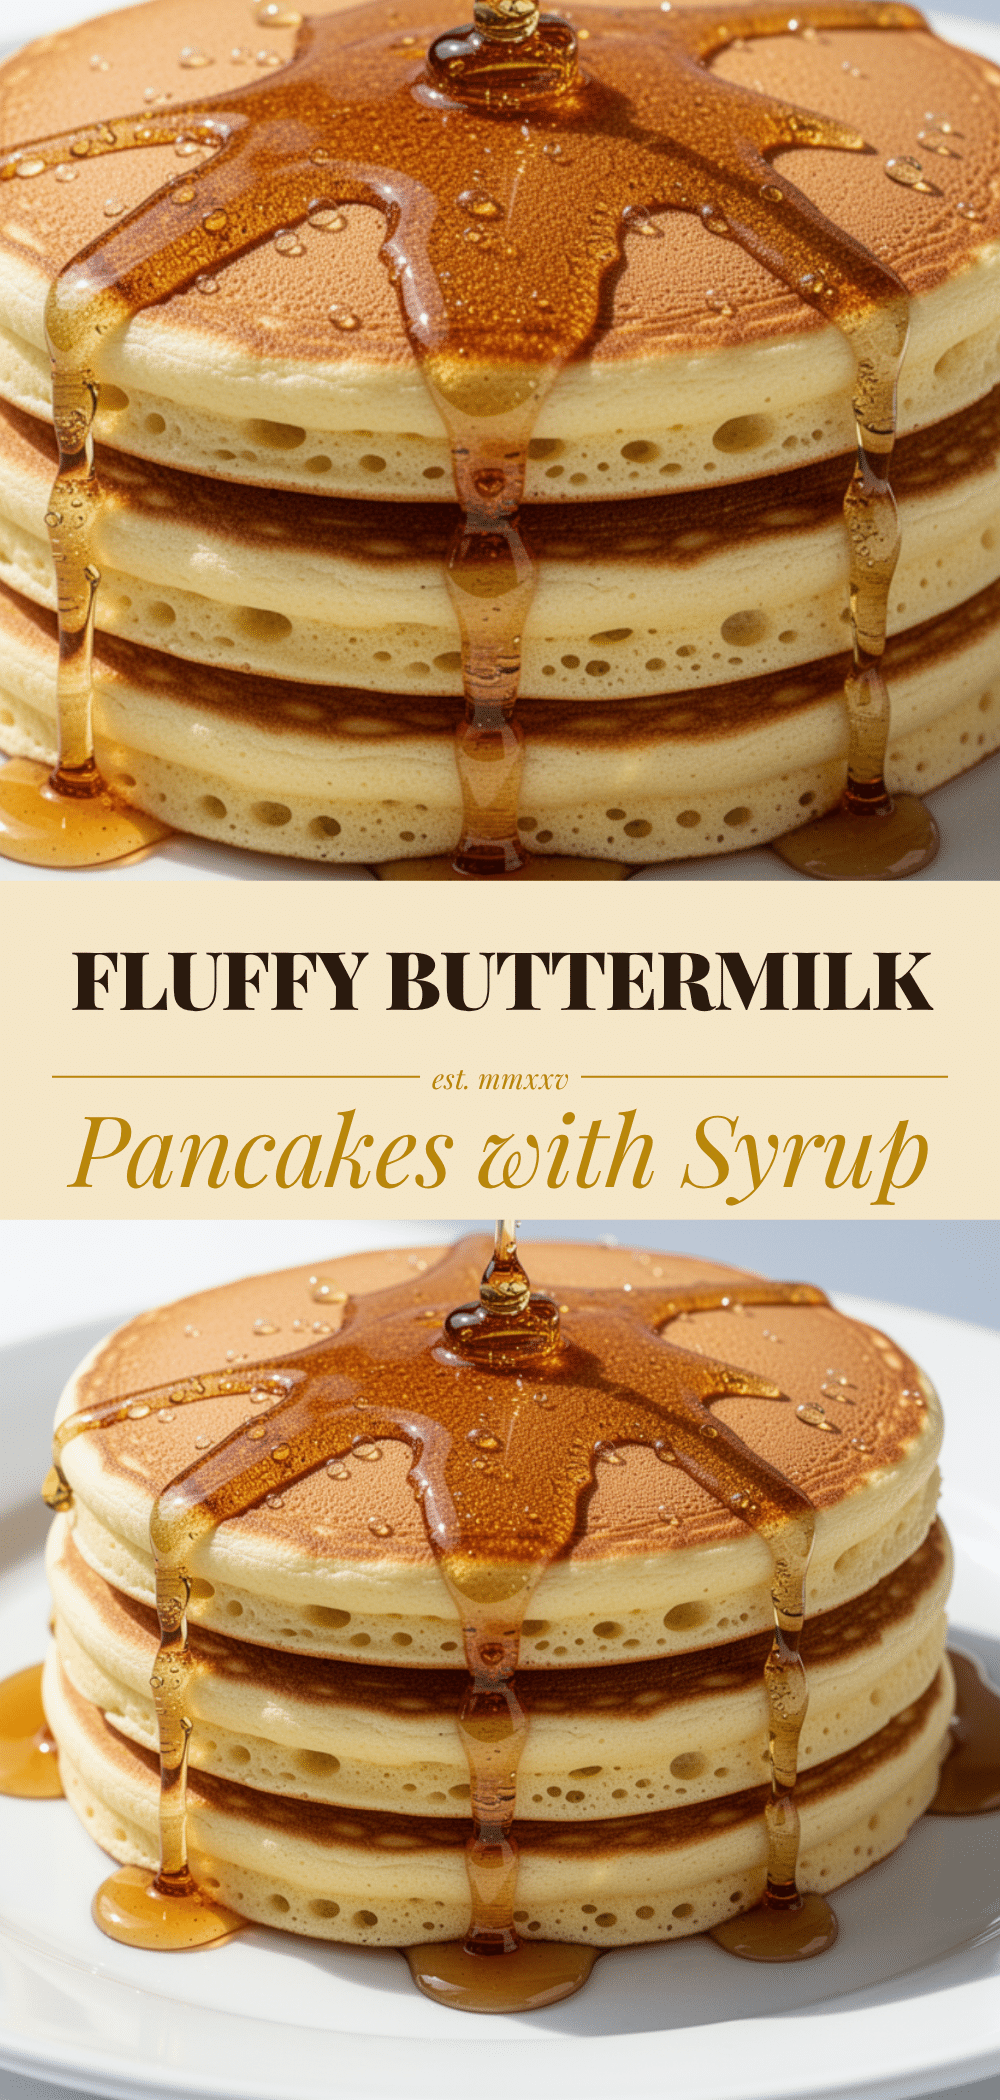
Fluffy Buttermilk Pancakes: The Easiest Weekend Breakfast
- Total Time: 30 minutes
- Yield: 4 servings 1x
Description
These fluffy buttermilk pancakes are tall, pillowy soft, and made with simple pantry staples. They are forgiving to make, freeze beautifully, and stay fluffy for minutes after cooking.
Ingredients
- 2 cups (250g) All-Purpose Flour
- 2 tablespoons (25g) Granulated Sugar
- 2 teaspoons (10g) Baking Powder
- ½ teaspoon (3g) Baking Soda
- 1 teaspoon (6g) Salt
- 1 ¾ cups (420ml) Buttermilk
- 1 large Egg, room temperature
- 3 tablespoons (45g) Melted Butter, unsalted
- 1 teaspoon (5ml) Vanilla Extract
- Butter or Oil for greasing the pan
Instructions
- In a large bowl, whisk together the flour, sugar, baking powder, baking soda, and salt until no lumps remain. Set aside.
- In a separate bowl or large measuring cup, whisk the buttermilk, egg, melted butter, and vanilla extract until smooth and creamy.
- Make a well in the center of the dry ingredients and pour the wet mixture into it. Gently fold the ingredients together using a whisk or spatula. Stop mixing while there are still lumps; do not overmix.
- Let the batter rest for 5-10 minutes while you heat the pan. Small bubbles should form on the surface.
- Place a non-stick skillet over medium heat. Add a small knob of butter or brush of oil. Test with a little batter; it should sizzle and brown in about 2 minutes.
- Pour about ¼ cup of batter per pancake onto the pan. Cook until bubbles form on the surface and pop, leaving holes that don’t fill in, and the edges look matte and dry.
- Flip the pancake carefully and cook the other side until golden brown, which takes about 1-2 minutes.
- Transfer cooked pancakes to a plate or cooling rack. Repeat with remaining batter, greasing the pan as needed.
Notes
Do not overmix the batter; lumps are good and prevent tough pancakes. If you don’t have buttermilk, mix 1 ¾ cups of milk with 1 tablespoon of white vinegar or lemon juice and let sit for 5-10 minutes. For best results, measure flour by weight or use the ‘spoon and level’ method. To keep pancakes warm for a crowd, place them on a baking sheet in a 200°F (95°C) oven.
- Prep Time: 10 minutes
- Cook Time: 20 minutes
- Category: Breakfast
- Cuisine: American
Nutrition
- Serving Size: 1 Pancake
- Calories: 180
- Sugar: 4
- Sodium: 600
- Fat: 6
- Saturated Fat: 3
- Carbohydrates: 28
- Fiber: 1
- Protein: 5
Keywords: pancakes, buttermilk pancakes, fluffy pancakes, weekend breakfast, easy breakfast, homemade pancakes, brunch


