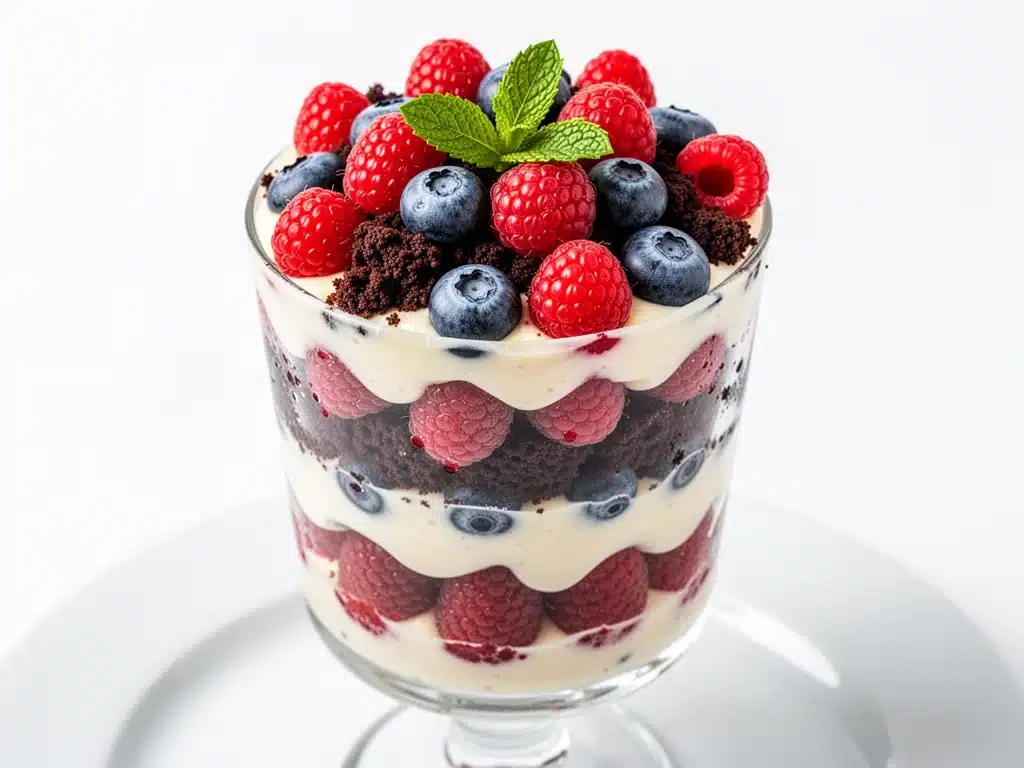
There is a specific kind of panic that sets in about 48 hours before Labor Day. You’ve finished the grilling, the pool is empty, and the kids are back in school mode, but the calendar still demands a centerpiece dessert. For years, I bought store-bought sheet cakes or tried to make complicated tarts that ended up weeping syrup all over the counter. Then, three years ago, I was desperate for something that looked impressive, screamed “patriotic” with its red, white, and blue layers, but required zero baking skills because my oven was already full of brisket.
That’s when I threw together the first version of this Labor Day Berry Trifle. I didn’t even plan it. I just grabbed berries, whipped some cream, and layered it in a giant glass bowl. The result? Silence at the dessert table. No comments, just empty plates. That’s the highest praise a home cook can get. Since then, I’ve refined it into a reliable, 5-step process that turns out perfect every single time. It’s become my unofficial signature for any summer gathering, from backyard BBQs to community potlucks.
This isn’t just a dessert; it’s a time-saver that looks like you spent all day in the kitchen. The vibrant layers of red strawberries, white vanilla cream, and blue blueberries create a stunning visual that photographs beautifully for Instagram and Pinterest alike. Best of all, you can assemble it the night before, letting the flavors meld while you relax. I’ve tested this with everything from whipped cream cheese frosting to light whipped cream, and I always come back to the classic vanilla bean whipped cream. It’s light, airy, and lets the fruit shine. If you’re looking for an easy patriotic dessert that doesn’t require a mixer or a recipe book, this is it. It’s fresh, it’s festive, and it’s ridiculously easy.
Why You’ll Love This Labor Day Berry Trifle
I’ve made this berry trifle for over a dozen gatherings now, ranging from small family dinners to large neighborhood cookouts. It has earned a permanent spot in my rotation for several reasons. Here’s why you’ll keep coming back to this recipe:
- Zero Baking Required — Seriously, turn your oven off. This recipe requires no baking, no cooling racks, and no waiting for cake to set. If you can layer ingredients in a bowl, you can make this. I’ve made it while hosting a party, just setting it out right before guests arrive.
- Make-Ahead Magic — This is the ultimate stress-buster. You can assemble this trifle the night before. In fact, it tastes better the next day because the juices from the berries seep into the cream slightly, creating these amazing marbled layers. I usually make it on Saturday afternoon for a Sunday Labor Day brunch or dinner.
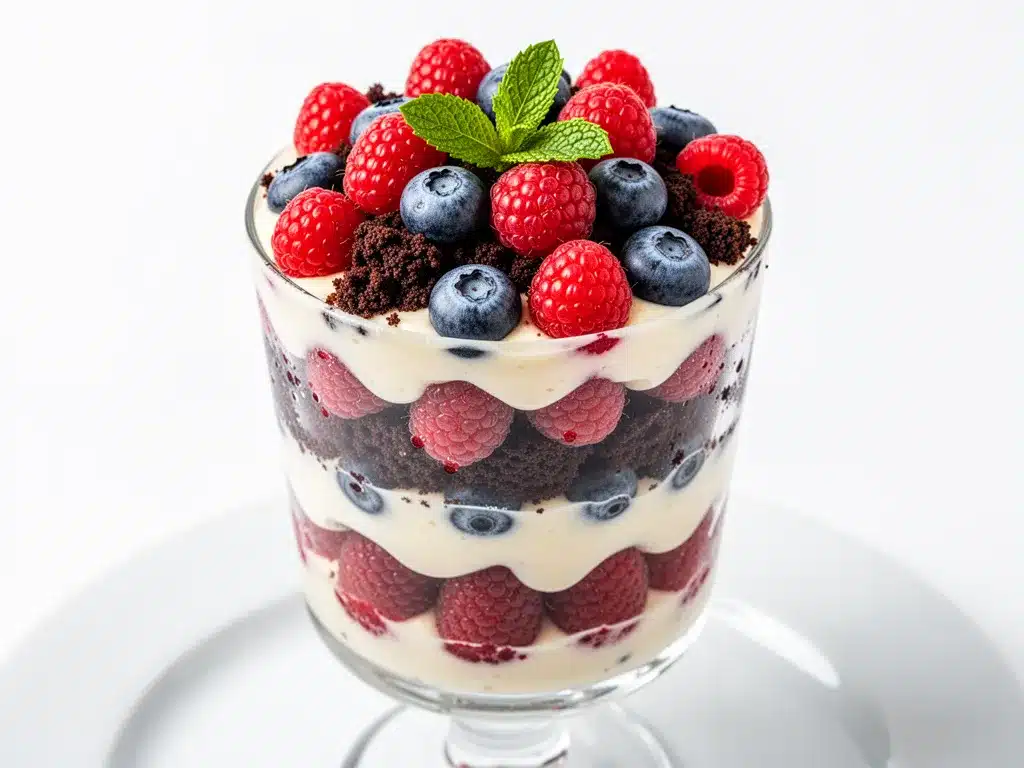
- Visually Stunning — The red, white, and blue color blocking is iconic for the holiday. Using a clear glass trifle bowl (or even a large mason jar) showcases the layers perfectly. It looks like something from a high-end bakery, but it’s just fresh fruit and cream.
- Customizable Sweetness — I like to control the sugar level. By making your own whipped cream and choosing fresh berries, you can adjust the sweetness to your liking. It’s not cloyingly sweet like many store-bought desserts.
- Gluten-Free Friendly — If you skip the cake layer or use gluten-free cake, this entire dessert is naturally gluten-free. It’s a safe option for guests with dietary restrictions, which is crucial for large gatherings.
- Uses Seasonal Berries — Labor Day is late summer, the peak of berry season. Strawberries are sweetest, blueberries are plump, and raspberries are vibrant. This recipe highlights the best of what’s in the produce aisle right now.
So basically, it’s a win-win-win: easy for you, beautiful for the table, and delicious for everyone. It’s the kind of dessert that makes you look like a pro without the work.
Ingredients You’ll Need
Here’s the best part: you probably have most of these ingredients already, or they’re super easy to grab. I’m particular about a few things here, mainly the quality of the berries and the fat content of the cream, because that’s where the flavor lives.
For the Cake Base
Vanilla Cake (1 store-bought or homemade round cake, cooled) — I usually buy a plain vanilla cake from the bakery section of my grocery store. It’s cheaper than buying layers and just as good. Let it cool completely before crumbling. If you make it from scratch, use your favorite vanilla cake recipe. You need about 10-12 cups of crumbled cake.
For the Fruit Layers
Strawberries (1 pound, hulled and sliced) — Look for bright red, firm berries. If they’re mushy or white at the stem, skip them. Slice them into thin, even pieces so they layer nicely. I like to toss them with 1 teaspoon of sugar and 1 tablespoon of lemon juice to brighten the flavor.
Blueberries (1 pint, rinsed and dried) — Fresh blueberries are essential. Wash them well and pat them completely dry with a paper towel. Wet berries will make the cream watery. I don’t add sugar to these; they’re naturally sweet enough.
Raspberries (1 pint, rinsed and dried) — These add that deep red color and tartness. Handle them gently. Add them to the very top layer or between the blueberries for contrast. They’re delicate, so they won’t hold up well if mixed too much.
For the Vanilla Bean Whipped Cream
Heavy Cream (2 cups / 480ml, cold) — This is non-negotiable. It must be cold. If your cream is warm, it won’t whip. I keep it in the fridge until the last minute. Use full-fat heavy whipping cream for the best texture.
Vanilla Bean Paste (2 teaspoons) — Or 1 teaspoon of pure vanilla extract plus 1 teaspoon of sugar. Vanilla bean paste has those little black specks that look gorgeous in the cream. It’s worth the extra few dollars for the visual appeal.
Granulated Sugar (3 tablespoons) — Adjust to taste. If your berries are very sweet, use 2 tablespoons. If they’re tart, use 4. I start with 3 and taste the cream before folding it in.
Cream Cheese (2 ounces, softened) — This is my secret weapon. Adding a little softened cream cheese stabilizes the whipped cream, so it holds its peaks longer and doesn’t deflate as quickly. It also adds a slight tang that balances the sweet berries.
For Garnish
Whole Berries (a handful of each) — For the top. You want a mix of red, white (cream), and blue. Mint leaves are optional but add a nice green pop and fresh aroma.
Equipment Needed
You don’t need fancy equipment for this. Here’s what I actually use:
Large Glass Trifle Bowl — I use a 4-quart bowl with a pedestal base. It looks elegant and showcases the layers. If you don’t have one, a large glass punch bowl or even individual mason jars work beautifully. For Pinterest photos, the individual jars are killer.
Electric Hand Mixer or Stand Mixer — You can do this by hand with a whisk, but it takes effort. A mixer ensures stiff peaks. I use a hand mixer because it’s easier to control.
Large Spatula — For folding the whipped cream. A silicone spatula is best because it scrapes the bowl clean.
Knife and Cutting Board — For slicing strawberries and crumbling cake.
Measuring Cups and Spoons — Standard stuff.
Paper Towels — To dry the berries. This is crucial. Wet berries = sad trifle.
How to Make It: Step-by-Step
Alright, let’s make this! I’m walking you through exactly how I do it, including the little tricks I’ve picked up over the years. This is designed to be intuitive, so don’t stress about perfection.
Step 1: Prep the Berries (10 minutes)
Wash all your berries gently under cold water. This is critical: pat them completely dry with paper towels. Any excess moisture will water down your whipped cream. Hull and slice the strawberries. Keep the blueberries and raspberries whole. If your strawberries are very large, cut them in half or quarters so they’re bite-sized. Toss the sliced strawberries with 1 teaspoon of sugar and 1 tablespoon of lemon juice. This draws out some juices and enhances the flavor. Set them aside in the fridge for 15 minutes.
Step 2: Make the Vanilla Bean Whipped Cream (5 minutes)
In a large mixing bowl, combine the cold heavy cream, softened cream cheese, vanilla bean paste, and 3 tablespoons of sugar. Beat on medium-high speed until stiff peaks form. This usually takes 2-3 minutes. To test for stiff peaks, lift the beaters; the cream should stand up straight without drooping. Don’t overbeat, or it’ll turn into butter. Taste it. If it’s not sweet enough, add a little more sugar. If it’s too sweet, add a splash of milk. Set the whipped cream in the fridge while you assemble.
Step 3: Crumble the Cake (5 minutes)
Take your cooled vanilla cake and break it into small, irregular chunks. You want bite-sized pieces, not dust. Aim for about 1-2 inch chunks. If you’re using a store-bought cake, remove the frosting first (unless you love extra sweetness, then leave it on). Place the crumbs in a large bowl. You can save any extra cake crumbs for garnish later.
Step 4: Layer the Trifle (10 minutes)
This is the fun part. Start with a layer of cake crumbs at the bottom of your trifle bowl. It should cover the bottom completely, about 1-2 inches thick. Next, add a layer of whipped cream. Spread it gently over the cake. Then, add a layer of strawberries, then a layer of blueberries. Repeat the layers: cake, cream, strawberries, blueberries, raspberries. Continue until you run out of ingredients, ending with a layer of whipped cream on top. Don’t press down too hard on the layers; you want them to be fluffy and distinct.
Step 5: Garnish and Chill (1 hour minimum)
Smooth the top layer of whipped cream. Decorate with whole strawberries, blueberries, and raspberries. Add mint leaves if you’re feeling fancy. Cover the bowl with plastic wrap and refrigerate for at least 1 hour, but preferably overnight. This allows the flavors to meld and the cake to soften slightly. When you’re ready to serve, just dig in with a large spoon.
Expert Tips & Tricks
Here’s everything I’ve learned from making this dozens of times. These tips will save you from my mistakes.
- Keep Everything Cold — The cream must be cold, the bowl should be chilled if possible, and the berries should be cold. Warm ingredients will cause the cream to melt and separate. I sometimes put my mixing bowl in the freezer for 10 minutes before whipping.
- Don’t Skip the Drying — I cannot stress this enough. Wet berries ruin the texture. If you wash them, dry them thoroughly. If you’re short on time, use paper towels and press gently but firmly.
- Stabilize the Cream — The cream cheese is key. It helps the whipped cream hold its shape, especially if you’re serving it outdoors on a warm day. Without it, the cream might deflate faster.
- Balance the Sweetness — Taste your berries before assembling. If they’re tart, add more sugar to the strawberries. If they’re super sweet, reduce the sugar in the cream. You want a balance, not a sugar rush.
- Use a Clear Bowl — The visual appeal is half the experience. Use a clear glass trifle bowl or individual jars. The layers of red, white, and blue are what make this “patriotic” and Instagram-worthy.
- Make It Ahead — This trifle tastes better the next day. The cake absorbs some of the cream and berry juices, creating a moist, cake-pudding-like texture. Assemble it the night before for best results.
Variations & Substitutions
Once you’ve nailed the basic version, here’s how you can mix it up. I’ve tried all of these.
Gluten-Free Version — Use a gluten-free vanilla cake or even gluten-free pound cake. Most store-bought gluten-free cakes work well. Just ensure your whipped cream and berries are certified gluten-free if you have celiac disease.
Dairy-Free Version — Use dairy-free whipped cream (like coconut whipped cream) and a dairy-free cake. The flavor will be different, but it’s still delicious. Use coconut cream instead of heavy cream, and chill the can overnight before whipping.
Chocolate Twist — Swap the vanilla cake for chocolate cake. The red, white, and blue still works, but it’s richer. You can also add a layer of chocolate ganache between the cream and berries.
Lemon Berry — Add a layer of lemon curd between the cake and cream. It adds a bright, tangy flavor that pairs perfectly with the berries. I love this for spring and summer.
Individual Servings — Instead of a large trifle bowl, use mason jars or dessert glasses. This is great for parties because everyone gets their own portion, and it looks cute on a buffet table. Just scale down the layers accordingly.
Seasonal Fruits — While strawberries and blueberries are classic for Labor Day, you can use any berries. Blackberries, raspberries, or even mixed berries work. In the fall, try pears and apples with cinnamon.
Serving & Storage
How to Serve: I usually serve this straight from the fridge. Use a large spoon to scoop out generous portions, making sure to get some of each layer. It’s best served chilled. If you’re serving it outdoors, keep it in a cooler or on ice to prevent the cream from melting.
Side Dishes: This trifle is rich, so it pairs well with light, savory dishes. I serve it after grilled burgers, hot dogs, or ribs. A simple green salad or corn on the cob complements it well.
Storage Instructions: Store the trifle in the refrigerator, covered with plastic wrap, for up to 3 days. The cake will continue to soften, so it might get a bit mushy after day 2. It’s still delicious, just different in texture.
Freezing: I don’t recommend freezing this trifle. The whipped cream and berries don’t freeze well; they’ll become watery and separate when thawed. It’s best enjoyed fresh or chilled.
Pro Tip: If you’re making individual jars, leave a little space at the top for garnish. It makes them look more professional and easier to stack.
Nutrition Information
I’m not a nutritionist, but here’s the breakdown if you’re tracking. This is a rich dessert, so portion control is key.
Per Serving (based on 8 servings):
- Calories: 350
- Protein: 4g
- Carbs: 45g
- Fiber: 2g
- Sugar: 28g
- Fat: 18g
- Saturated Fat: 11g
- Cholesterol: 60mg
- Sodium: 150mg
What’s Good: It contains vitamin C from the berries and some calcium from the cream. It’s a better option than heavy, buttery cakes.
What to Know: It’s high in sugar and saturated fat due to the cream and cake. If you’re watching your intake, stick to one small scoop. Use low-fat whipped cream or Greek yogurt to lighten it up, though the texture will change.
My Take: Look, this is a treat. It’s Labor Day, not a diet day. Enjoy it. When I want to make it lighter, I use more berries and less cake, and I use a lighter whipped cream. But usually? I just enjoy a small portion and savor it.
Final Thoughts
So that’s my go-to Labor Day Berry Trifle! I’ve probably talked your ear off at this point, but when you make a recipe this often, you have a lot to say about it. This has saved my holiday dinners more times than I can count. It’s my answer to “what’s for dessert” when I’m tired, don’t want to bake, and still want something that looks festive and tastes amazing. My family is happy, my guests are happy, and I’m happy because I’m not stressed about cooking.
Make it yours! Try different berries, swap in your favorite cake, or add a layer of lemon curd. The best recipes are the ones you adapt to your family’s tastes. If you make this, drop a comment and let me know what you think! I love hearing how recipes turn out in your kitchen. And if something doesn’t work, tell me that too—I’m here to help troubleshoot.
Happy cooking! And I hope your kitchen smells half as good as mine does right now. Don’t forget to pin this recipe for later!
Frequently Asked Questions
Can I use frozen berries?
You can, but fresh is much better. Frozen berries release a lot of water as they thaw, which can make the trifle watery. If you must use frozen, thaw them completely, drain the excess liquid, and pat them dry. You might need to add a little more sugar to compensate for the loss of flavor during freezing.
Why did my whipped cream turn out runny?
Usually, this means the cream wasn’t cold enough, or you didn’t whip it long enough. Make sure your heavy cream and bowl are very cold. Whip on medium-high speed until stiff peaks form. If it’s still runny, keep whipping. If it’s too soft, add a little more sugar and whip a bit longer. The cream cheese helps stabilize it, so make sure it’s fully incorporated.
Can I make this ahead of time?
Yes! This is one of the best things about this recipe. Assemble it up to 24 hours in advance. Cover it tightly with plastic wrap and refrigerate. The flavors will meld, and the cake will soften, making it even more delicious. Just add the fresh garnish right before serving.
Can I use a different type of cake?
Absolutely. Any light, fluffy cake works well. Vanilla, yellow, or even lemon cake are great choices. Avoid dense cakes like pound cake or fruitcake, as they won’t crumble nicely and might make the trifle too heavy. Angel food cake is also a great option for a lighter version.
How long does this trifle last?
It lasts up to 3 days in the refrigerator. After that, the cake will become too soggy, and the berries may lose their texture. It’s best enjoyed within the first 24-48 hours. Do not freeze it, as the texture will suffer.
Can I use whipped topping instead of whipped cream?
You can, but the flavor and texture won’t be as good. Real whipped cream is richer and smoother. If you’re using a store-bought whipped topping, make sure it’s thawed and fluffy. It might not hold its shape as well, so be gentle when layering.
Pin This Recipe!
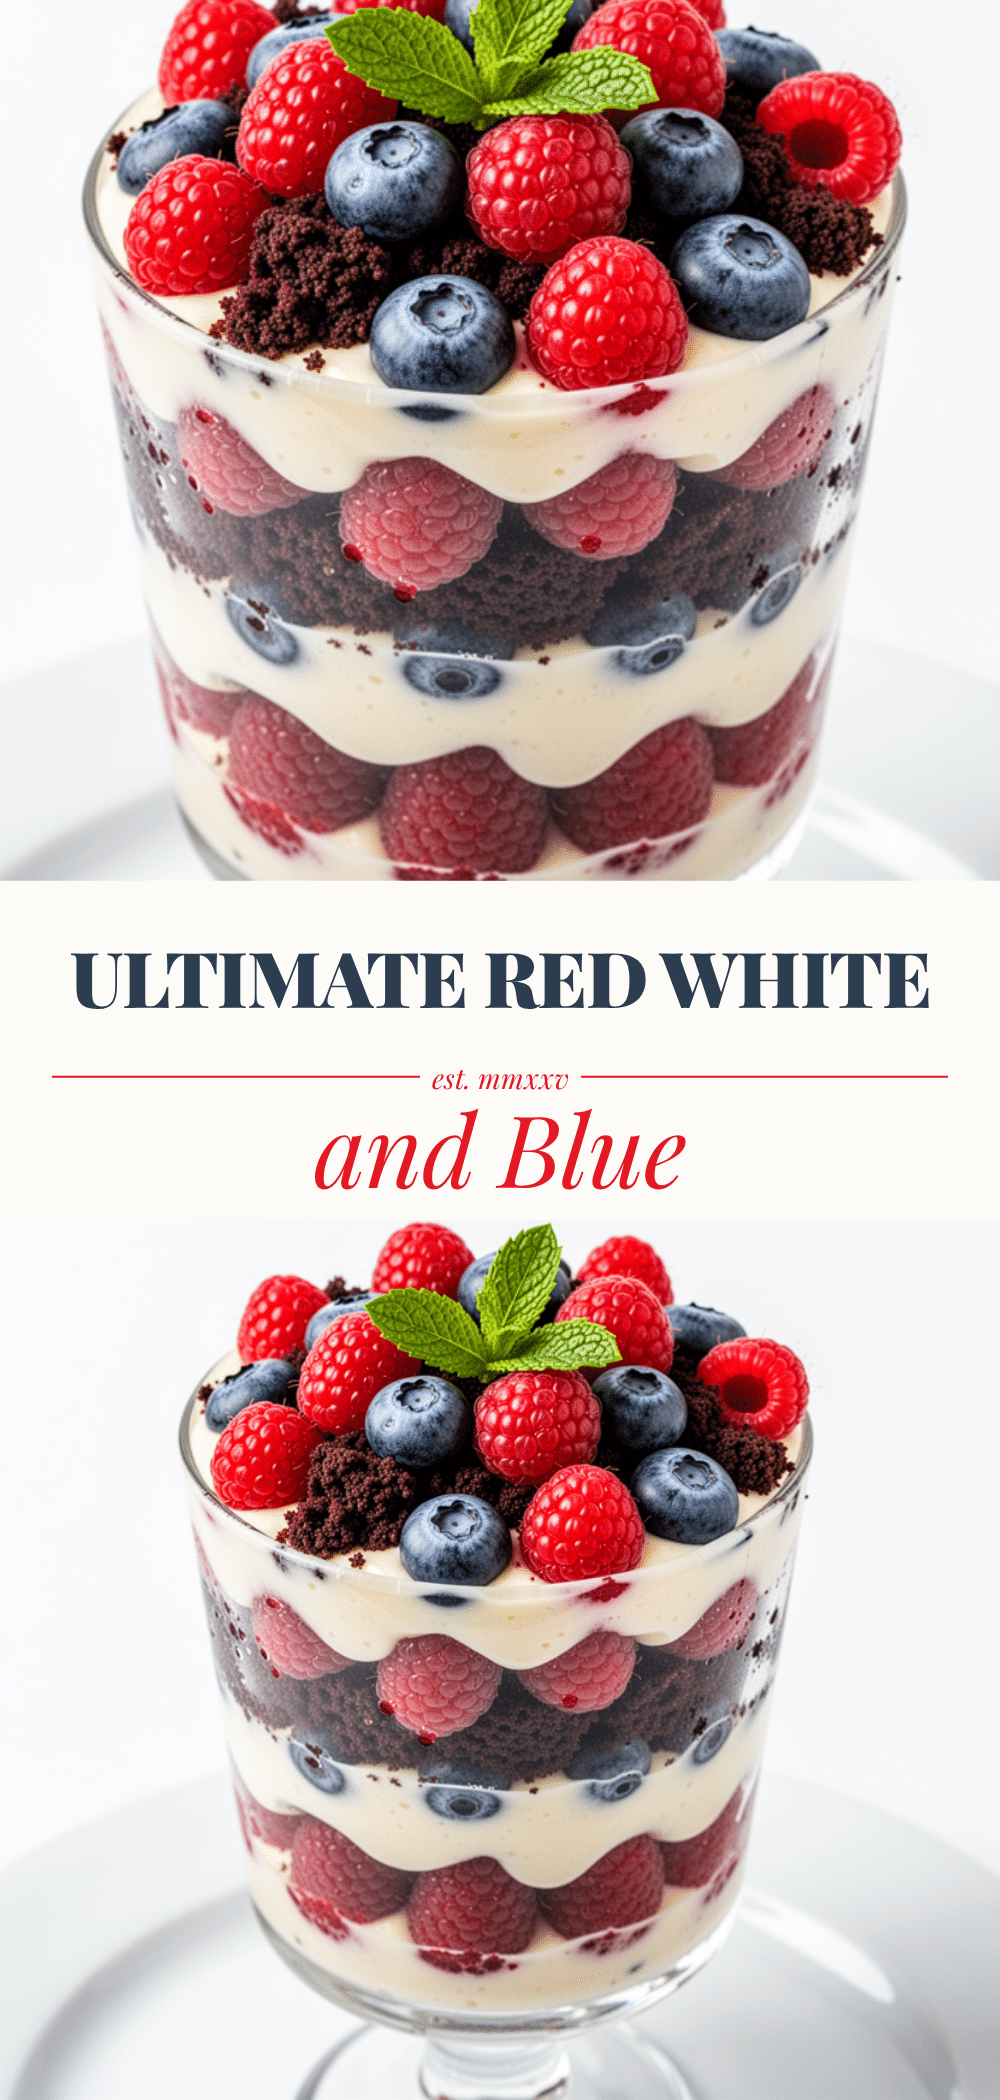
Labor Day Berry Trifle: 5-Step Easy Patriotic Dessert
- Total Time: 1 hour 30 minutes
- Yield: 8 servings 1x
Description
A stunning, no-bake patriotic dessert featuring layers of vanilla cake, fresh strawberries, blueberries, raspberries, and stabilized vanilla bean whipped cream. This make-ahead trifle is perfect for summer gatherings and requires zero baking skills.
Ingredients
- 1 store-bought or homemade vanilla round cake (cooled, approx. 10–12 cups crumbled)
- 1 pound strawberries (hulled and sliced)
- 1 teaspoon sugar (for strawberries)
- 1 tablespoon lemon juice (for strawberries)
- 1 pint blueberries (rinsed and dried)
- 1 pint raspberries (rinsed and dried)
- 2 cups heavy cream (cold)
- 2 ounces cream cheese (softened)
- 2 teaspoons vanilla bean paste (or 1 tsp vanilla extract + 1 tsp sugar)
- 3 tablespoons granulated sugar (for cream)
- Whole berries and mint leaves (for garnish)
Instructions
- Wash berries and pat them completely dry with paper towels. Hull and slice strawberries, keeping blueberries and raspberries whole. Toss sliced strawberries with 1 teaspoon sugar and 1 tablespoon lemon juice; refrigerate for 15 minutes.
- In a large mixing bowl, combine cold heavy cream, softened cream cheese, vanilla bean paste, and 3 tablespoons sugar. Beat on medium-high speed until stiff peaks form (2-3 minutes). Taste and adjust sweetness if needed. Refrigerate until assembly.
- Crumble the cooled vanilla cake into 1-2 inch chunks. Remove frosting if desired. Place crumbs in a large bowl.
- In a large glass trifle bowl, create layers: start with cake crumbs, then whipped cream, then strawberries, then blueberries. Repeat layers (cake, cream, strawberries, blueberries, raspberries) until ingredients are used, ending with a layer of whipped cream on top.
- Smooth the top layer of whipped cream and garnish with whole berries and mint leaves. Cover with plastic wrap and refrigerate for at least 1 hour, preferably overnight, before serving.
Notes
Ensure all berries are completely dry to prevent the whipped cream from becoming watery. The cream cheese stabilizes the whipped cream, helping it hold its shape longer. This dessert tastes better the next day as the flavors meld. Do not freeze, as the texture will suffer.
- Prep Time: 30 minutes
- Cook Time: 0 minutes
- Category: Dessert
- Cuisine: American
Nutrition
- Serving Size: 1 slice/scoop
- Calories: 350
- Sugar: 28
- Sodium: 150
- Fat: 18
- Saturated Fat: 11
- Carbohydrates: 45
- Fiber: 2
- Protein: 4
Keywords: Labor Day dessert, patriotic dessert, berry trifle, no bake dessert, make ahead dessert, summer dessert, gluten free dessert, easy trifle recipe


