It was a Tuesday in November, the kind of night where the house feels cold and my energy levels are basically non-existent. I was standing in front of the open fridge, staring at a package of chicken thighs that had been sitting there since Sunday, wondering if I should just order takeout again. I had tried roasting chicken before—usually the breast meat, which turned out dry and rubbery within minutes. I was ready to give up on home-cooked dinner entirely.
Then I remembered a technique I’d seen on a random cooking video late one night: baking chicken thighs at a really high temperature with a garlic-parmesan crust. I didn’t have high hopes. I figured it would just be another mediocre meal that I’d forget about by Wednesday. But something made me preheat the oven to 425°F instead of the usual 375°F I always used.
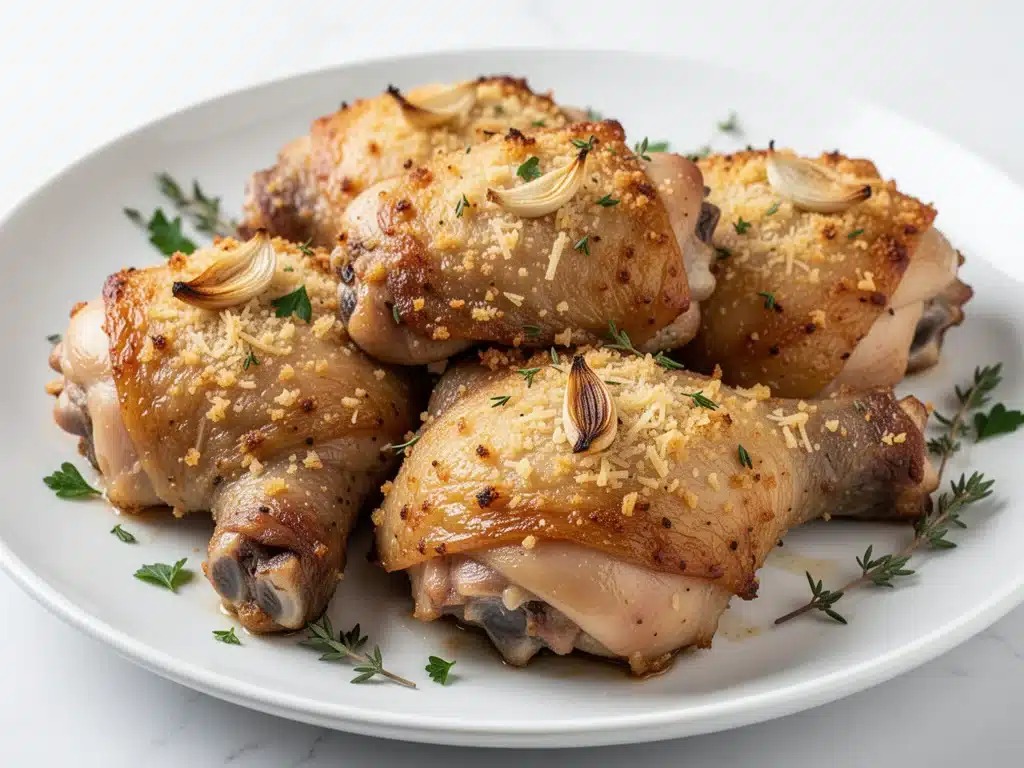
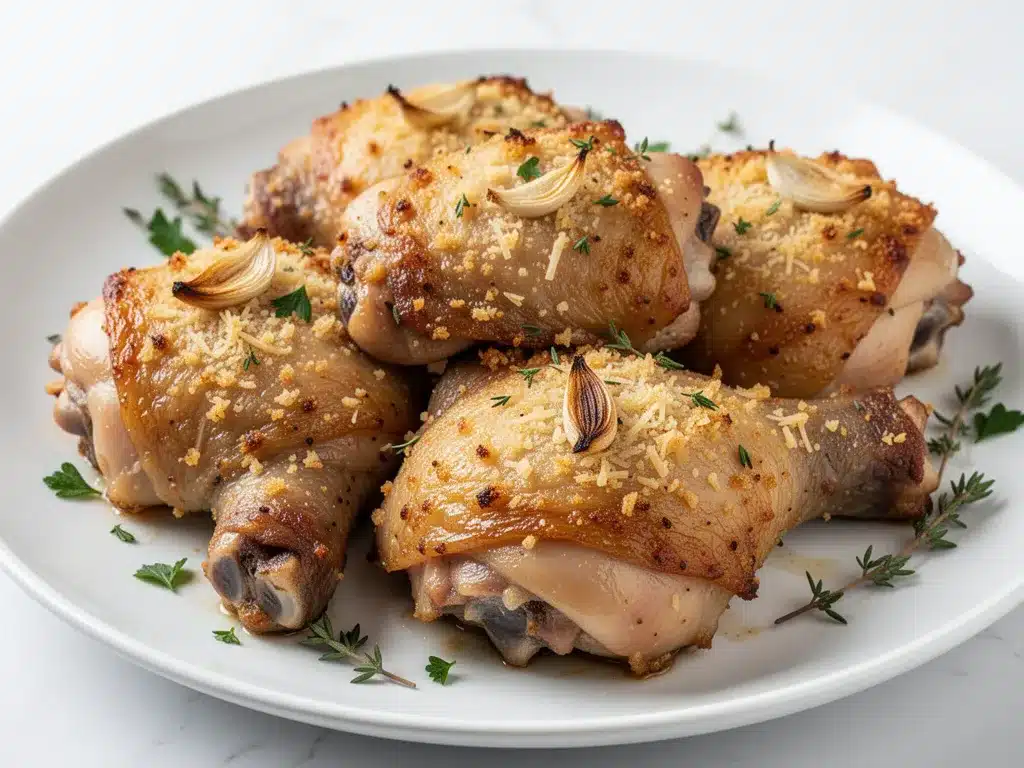
Twenty-five minutes later, the smell hit me. It wasn’t just “chicken smells.” It was garlic, toasted parmesan, and crispy skin. I pulled the pan out, and the skin was shattering under my fork. Actually shattering. I took one bite and immediately texted my husband: “Stop the car. I’m coming home.” (He wasn’t at work yet, but you get the point). That night, I ate three thighs. Just three. And I didn’t even care that it was technically “too much protein.” It was that good.
That was six months ago. I’ve made these crispy baked chicken thighs probably forty times since then. I’ve tested different marinades, different oven temperatures, and different types of cheese. I’ve burned the garlic twice (my bad). I’ve tried using chicken breasts, and let me tell you, they just don’t work the same way. But the thighs? They are the absolute kings of weeknight dinners. They stay juicy, they get that insane crunch, and the garlic-parmesan coating makes them taste like something you’d pay $24 for at an upscale bistro.
If you’re tired of dry chicken, tired of complicated recipes that require ten different pans, or just tired of deciding what to cook when you’re exhausted, this is your answer. This isn’t just a recipe; it’s a rescue mission for your dinner table. And the best part? You don’t need any fancy skills. You just need a baking sheet and about 30 minutes of your time.
Why You’ll Love This Garlic Parmesan Chicken
I know there are a million chicken recipes out there. So why this one? Why am I obsessed? Here’s the real talk on why these crispy baked chicken thighs have taken over my kitchen routine.
- Actually Crispy Skin — Most baked chicken recipes fail here. The skin steams instead of crisps. By drying the chicken thoroughly and using a high heat, I get skin that crackles. I’ve had guests ask if I fried it. (I didn’t. It’s baked. Shocking, I know.)
- Zero Dry Meat — Chicken thighs have more fat and connective tissue than breasts. When you bake them at high heat, that fat renders out, keeping the meat moist even if you overcook it by a few minutes. I’ve accidentally left these in the oven for 10 extra minutes, and they were still perfect. Try that with a breast!
- Garlic-Parmesan Magic — The combination of grated parmesan, dried herbs, and fresh garlic creates a savory, umami-packed crust that sticks to the chicken without falling off. It’s like a flavor bomb in every bite.
- One Pan, Easy Cleanup — Line your baking sheet with parchment paper or foil, and you’re done. No scrubbing pots, no washing pans. Just toss the sheet in the dishwasher and relax. This is crucial for weeknights when I have zero motivation for cleanup.
- Meal Prep Friendly — These reheat beautifully. I make a double batch on Sunday, and I have lunch sorted for three days. The flavor actually gets better the next day as the garlic and parmesan settle into the meat.
Real talk: this recipe has saved me from takeout more times than I can count. It’s reliable, it’s delicious, and it makes my house smell like a restaurant. If you’re looking for a dinner that just works, look no further.
Ingredients You’ll Need
Here’s the thing: you probably have most of this in your pantry already. I’m not asking you to go on a special trip to the store. Just check your fridge and cabinets.
For the Chicken
Chicken Thighs (2 lbs / 900g) — Bone-in, skin-on thighs are non-negotiable here. Boneless thighs work, but they cook faster and don’t get the same texture. Skinless thighs won’t crisp up properly. Get the good stuff. I buy them in bulk and freeze them individually.
Avocado Oil or Olive Oil (2 tablespoons) — Avocado oil has a higher smoke point, which is great for high-heat baking. Olive oil works too, just don’t burn it. I keep a bottle of avocado oil specifically for roasting.
Garlic (4 cloves, minced) — Fresh garlic only. No jarred stuff. It tastes metallic and weird in this recipe. Mince it finely so it sticks to the chicken. If you’re lazy, use a garlic press, but make sure it’s fresh.
Parmesan Cheese (½ cup / 50g, freshly grated) — Buy the block. Grate it yourself. Pre-grated parmesan has cellulose in it that prevents it from melting properly. You want that gooey, crispy crust, not a dusty coating. It takes two minutes. Do it.
Dried Italian Seasoning (1 teaspoon) — Adds that classic herbal flavor. If you don’t have it, mix oregano, basil, and thyme. Fresh herbs don’t work well here because they burn at high heat.
Salt and Black Pepper (to taste) — Use kosher salt if you have it. It adheres better. Season the chicken well before adding the parmesan.
For the Crust
All-Purpose Flour (2 tablespoons) — This is the secret weapon. A light dusting of flour helps the parmesan and garlic stick to the chicken and creates a slightly thicker, crunchier crust. Don’t skip it.
Paprika (½ teaspoon) — Adds a hint of smokiness and a beautiful golden color. Smoked paprika is even better if you have it.
Red Pepper Flakes (optional, ¼ teaspoon) — Just a pinch for a little heat. I like it, but if you’re serving kids, skip it.
Equipment Needed
You don’t need fancy gadgets. Here’s what I actually use.
Baking Sheet — I use a half-sheet pan (13×18 inches). It’s the standard size. Make sure it’s heavy-duty so it doesn’t warp. I’ve had cheap sheets that bent under the heat, and that’s annoying.
Parchment Paper or Foil — Line the sheet. Trust me. Cleanup is so much easier. I use parchment because it’s non-stick and I don’t have to scrub.
Small Bowl — For mixing the flour, parmesan, and spices. Any bowl works.
Tongs — For flipping the chicken. Forks poke holes and let juices escape. Tongs are gentler.
Instant-Read Thermometer — Optional but helpful. Chicken thighs are done at 165°F, but they’re actually better at 175°F because the connective tissue breaks down more. If you don’t have a thermometer, just cook until the juices run clear.
How to Make It: Step-by-Step
Alright, let’s get cooking. This is straightforward, but there are a few tricks to ensure that crispy skin.
Step 1: Prep the Chicken (5 minutes)
Pat the chicken thighs completely dry with paper towels. This is the most important step. If the chicken is wet, the skin will steam instead of crisp. I know it’s boring, but don’t skip it. Remove any excess skin or fat if you want, but leave the skin on for crispiness.
Step 2: Mix the Crust (2 minutes)
In a small bowl, combine the flour, grated parmesan, garlic, Italian seasoning, paprika, salt, pepper, and red pepper flakes. Mix it well with a fork until it looks like coarse sand. This is your magic dust.
Step 3: Coat the Chicken (3 minutes)
Place the chicken thighs in a large bowl. Drizzle with the oil and toss to coat. Then, sprinkle the flour-parmesan mixture over the chicken. Use your hands to press the mixture onto the skin side. You want a good coating, but not a thick batter. Just enough to stick. Flip the chicken and press the mixture onto the meat side too.
Step 4: Arrange on the Pan
Line your baking sheet with parchment paper. Place the chicken thighs on the sheet, skin-side up. Make sure they aren’t touching each other. Air needs to circulate for even cooking. If you crowd the pan, they’ll steam. I usually fit four thighs on one pan.
Step 5: Bake (25-30 minutes)
Preheat your oven to 425°F (220°C). Place the pan in the center of the oven. Bake for 20 minutes. Then, flip the chicken over. Bake for another 5-10 minutes, or until the internal temperature reaches 165°F (74°C) for breasts or 175°F (79°C) for thighs. The skin should be golden brown and crispy. If you want it darker, broil for the last 1-2 minutes, but watch it closely so the garlic doesn’t burn.
Step 6: Rest and Serve
Remove the chicken from the oven and let it rest for 5 minutes. This allows the juices to redistribute. If you cut into it immediately, the juices will run out, and the meat will be drier. Serve hot with your favorite sides.
Expert Tips & Tricks
Here’s everything I’ve learned from making this dozens of times. These tips will save you from my mistakes.
Don’t Skip the Drying
I cannot stress this enough. Wet chicken = soggy skin. I learned this the hard way on my first try. I was so frustrated that my chicken looked boiled, not baked. Now, I always pat it dry, then wait a minute for the paper towels to soak up any remaining moisture. It’s worth it.
Use a Wire Rack (Optional)
If you have a wire rack that fits in your baking sheet, use it. It elevates the chicken, allowing air to circulate underneath. This makes the bottom skin crispier too. I don’t always have space for a rack, so I skip it, but if you want maximum crispiness, get one.
Don’t Crowd the Pan
I know it’s tempting to fit as much chicken as possible on the pan. Don’t. Give them space. If you’re making a big batch, use two pans. Crowding leads to steaming, and nobody wants steamed chicken.
Watch the Broil
If you broil at the end, stand by the oven. Garlic burns fast. I’ve had pan after pan of chicken with black, bitter garlic because I got distracted by my phone. Set a timer. 1-2 minutes is usually enough.
Make a Pan Sauce
Don’t throw away the juices in the pan! After removing the chicken, pour the juices into a small saucepan. Add a splash of white wine or chicken broth. Simmer for 2 minutes, whisking in a tablespoon of butter. Drizzle this over the chicken. It’s restaurant-quality.
Variations & Substitutions
Once you’ve nailed the basic version, here’s how you can mix it up. I’ve tried all of these.
Spicy Version
Add 1 teaspoon of cayenne pepper or ½ teaspoon of chipotle powder to the flour mixture. It adds a nice kick without overpowering the garlic. I make this for my dad, who loves heat.
Herb-Forward Version
Swap the Italian seasoning for a mix of fresh rosemary and thyme (finely chopped). Add them to the flour mixture. It gives a more earthy, rustic flavor. Great with roasted potatoes.
Gluten-Free
Use gluten-free flour or almond flour instead of all-purpose flour. Almond flour browns faster, so watch the oven closely. I’ve used Bob’s Red Mill GF flour, and it works great.
Lemon-Herb Version
Add the zest of one lemon to the flour mixture. Squeeze fresh lemon juice over the chicken after baking. It cuts through the richness of the parmesan. Perfect for spring.
Dairy-Free
Skip the parmesan and use nutritional yeast instead. It has a similar savory, cheesy flavor. Or just skip it and use a simple garlic-herb rub. It’s still delicious, just different.
Serving & Storage
How to Serve
I usually serve these straight from the pan with a simple green salad and some roasted vegetables. The chicken is the star, so keep the sides simple. Garlic bread is a must if you’re having guests.
Storage
Store leftovers in an airtight container in the fridge for up to 4 days. The skin might soften a bit, but the flavor remains great.
Reheating
Reheat in the oven at 350°F for 10 minutes to crisp up the skin again. Microwave reheating makes the skin rubbery. I know it’s tempting, but just wait the 10 minutes. It’s worth it.
Freezing
You can freeze cooked chicken thighs for up to 3 months. Let them cool completely, then freeze in a freezer-safe bag. Thaw in the fridge overnight and reheat in the oven.
Nutrition Information
I’m not a nutritionist, but here’s the breakdown if you’re tracking. Per serving (based on 4 servings):
- Calories: 450
- Protein: 35g
- Carbs: 4g
- Fat: 32g
- Sodium: 400mg
It’s high in protein and fat, low in carbs. Perfect for keto or low-carb diets. The parmesan adds calcium, and the chicken is a great source of B vitamins. It’s comfort food, but it’s not junk food.
Final Thoughts
So that’s my go-to crispy baked chicken thighs! I’ve probably talked your ear off at this point, but when you make a recipe this often, you have a lot to say about it.
This has saved weeknight dinners more times than I can count. It’s my answer to “what’s for dinner” when I’m tired, don’t want takeout, and still want something that tastes really good. My kids are happy, my husband’s happy, and I’m happy because I’m not stressed about cooking.
Make it yours! Try different herbs, add some heat, or serve it with different sides. The best recipes are the ones you adapt to your family’s tastes.
If you make this, drop a comment and let me know what you think! I love hearing how recipes turn out in your kitchen. And if something doesn’t work, tell me that too—I’m here to help troubleshoot.
Happy cooking! And I hope your kitchen smells half as good as mine does right now.
Frequently Asked Questions
Can I use chicken breasts instead of thighs?
You can, but the results will be different. Chicken breasts have less fat, so they dry out faster. If you use breasts, reduce the cooking time by 5-10 minutes and check the temperature early. They won’t get the same juicy texture as thighs, but they’ll still be good. I prefer thighs because they’re more forgiving.
Why is my chicken skin not crispy?
Most likely, the chicken was too wet before cooking. Make sure you pat it dry thoroughly. Also, ensure your oven is fully preheated to 425°F. If the oven isn’t hot enough, the skin will steam. And don’t crowd the pan!
Can I make this ahead of time?
You can prep the chicken and coat it with the flour mixture up to 24 hours in advance. Store it in the fridge in an airtight container. When you’re ready to cook, take it out and let it sit at room temperature for 15 minutes before baking. This helps it cook more evenly.
How do I know when the chicken is done?
Use an instant-read thermometer. Thighs are done at 165°F, but they’re actually better at 175°F. If you don’t have a thermometer, cut into the thickest part. The juices should run clear, and the meat should be opaque, not pink.
Can I use pre-grated parmesan?
I don’t recommend it. Pre-grated parmesan has anti-caking agents that prevent it from melting properly. You’ll get a dusty coating instead of a crispy crust. Grate your own from a block—it’s worth the extra two minutes.
What sides go well with this chicken?
Roasted vegetables (broccoli, asparagus, zucchini), mashed potatoes, garlic bread, or a simple green salad. I also like it with rice or quinoa if I’m making it for a family with kids.
Can I double this recipe?
Yes! Just make sure you have two baking sheets. Don’t stack them in the oven, or the heat won’t circulate properly. Bake one sheet at a time if your oven is small. The cooking time stays the same.
Pin This Recipe!
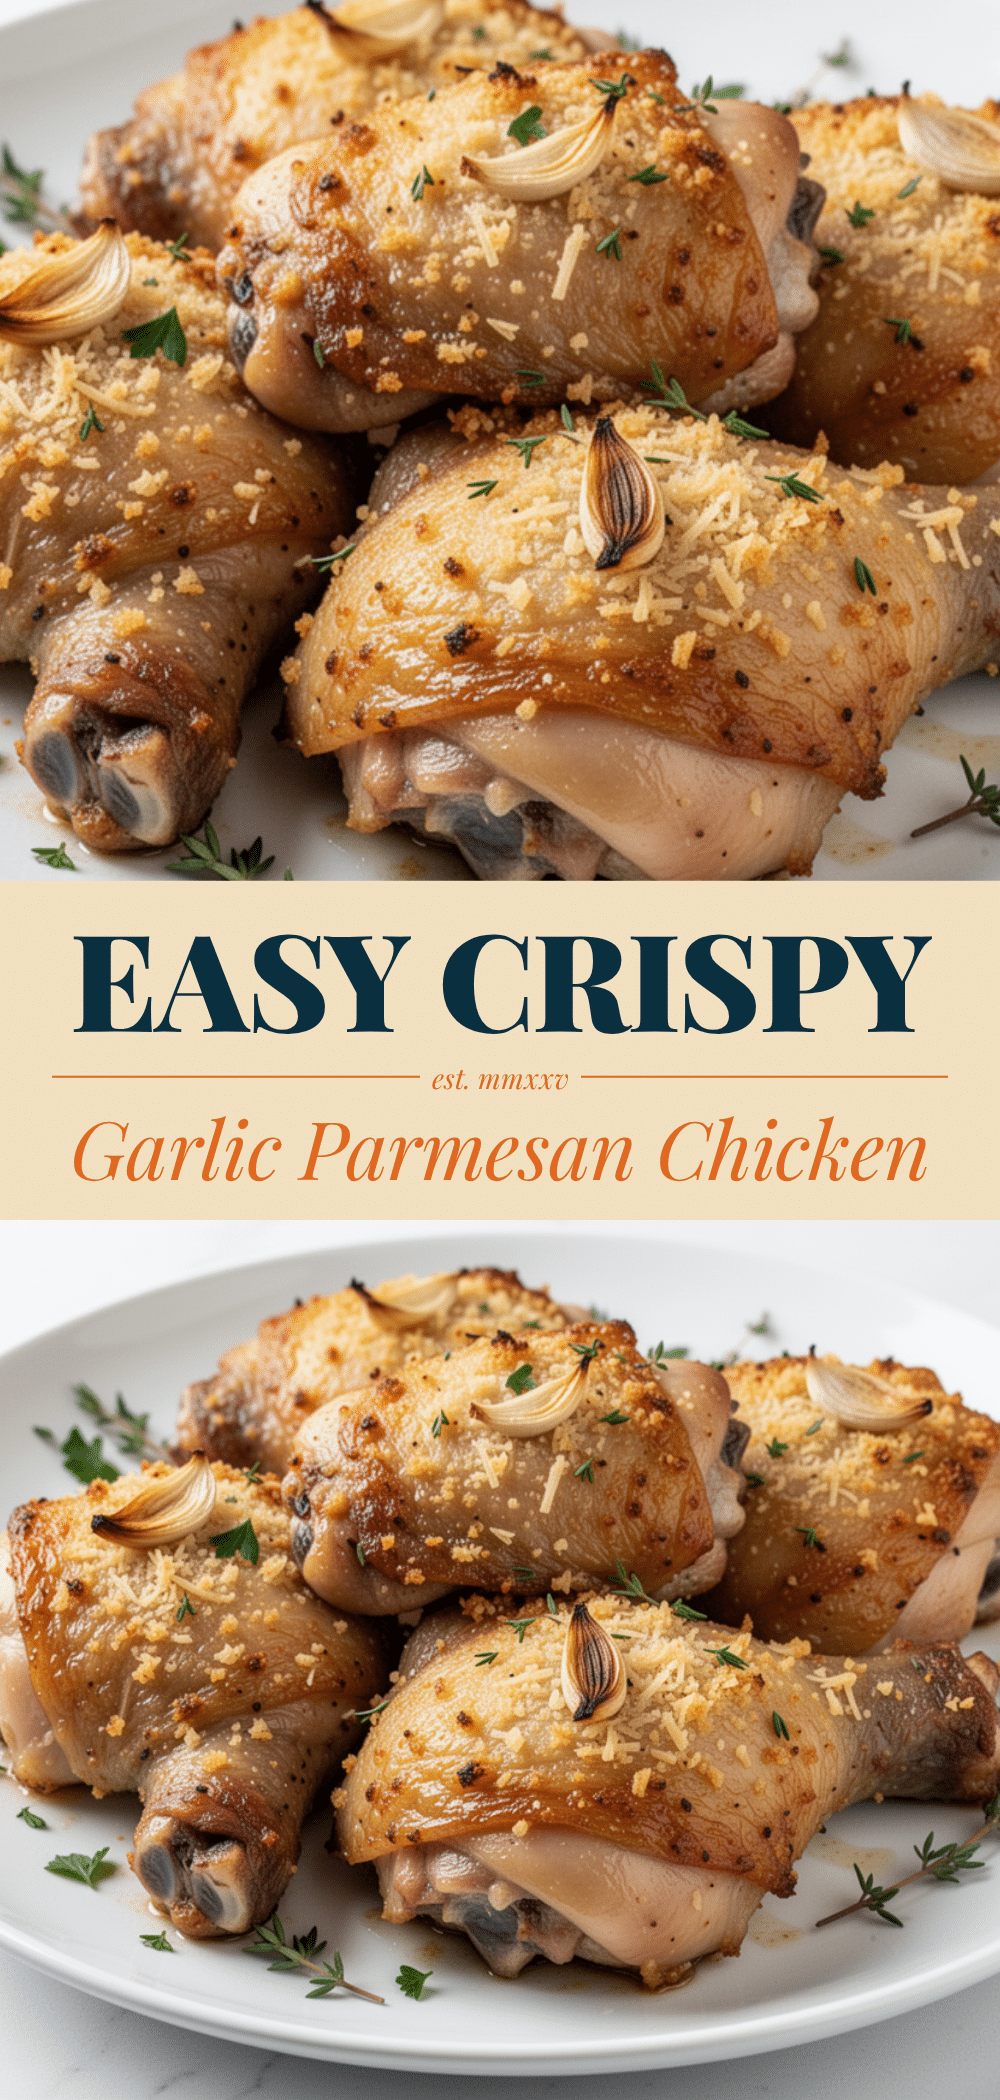
Crispy Baked Chicken Thighs: Easy Garlic Parmesan Dinner
- Total Time: 35-40 minutes
- Yield: 4 servings 1x
Description
Juicy, bone-in chicken thighs coated in a savory garlic and parmesan crust, baked at high heat for maximum crispiness. A simple, one-pan weeknight dinner that is keto-friendly and delicious.
Ingredients
- 2 lbs (900g) bone-in, skin-on chicken thighs
- 2 tablespoons avocado oil or olive oil
- 4 cloves garlic, minced
- 1/2 cup (50g) freshly grated parmesan cheese
- 1 teaspoon dried Italian seasoning
- Salt and black pepper to taste
- 2 tablespoons all-purpose flour
- 1/2 teaspoon paprika
- 1/4 teaspoon red pepper flakes (optional)
Instructions
- Preheat oven to 425°F (220°C). Line a baking sheet with parchment paper or foil.
- Pat chicken thighs completely dry with paper towels to ensure crispy skin.
- In a small bowl, mix flour, grated parmesan, minced garlic, Italian seasoning, paprika, salt, pepper, and red pepper flakes.
- Place chicken in a large bowl, drizzle with oil, and toss to coat.
- Sprinkle the flour-parmesan mixture over the chicken, pressing it onto both the skin and meat sides to adhere.
- Arrange chicken on the baking sheet skin-side up, ensuring pieces are not touching.
- Bake for 20 minutes, then flip the chicken.
- Bake for another 5-10 minutes until internal temperature reaches 165°F-175°F and skin is golden brown and crispy.
- Optional: Broil for 1-2 minutes for darker crust, watching closely to prevent burning.
- Remove from oven and let rest for 5 minutes before serving.
Notes
Ensure chicken is patted dry thoroughly to prevent steaming. Do not crowd the pan to allow air circulation. For gluten-free, use almond flour or GF flour. For dairy-free, substitute parmesan with nutritional yeast. Resting the chicken for 5 minutes helps redistribute juices.
- Prep Time: 10 minutes
- Cook Time: 25-30 minutes
- Category: Main Course
- Cuisine: American
Nutrition
- Serving Size: 1 chicken thigh per
- Calories: 450
- Sugar: 1
- Sodium: 400
- Fat: 32
- Saturated Fat: 10
- Carbohydrates: 4
- Protein: 35
Keywords: crispy baked chicken, garlic parmesan chicken, chicken thighs recipe, keto dinner, easy weeknight meals, one pan chicken, high protein dinner


