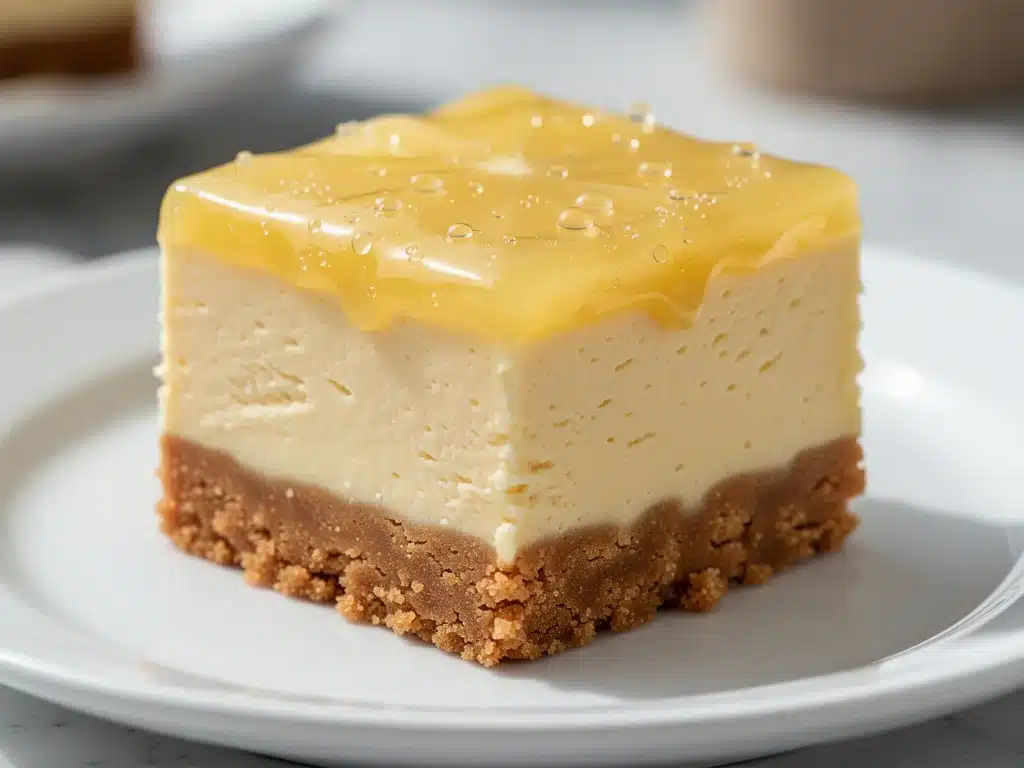
It was July, and the kind of heat that makes you question every life choice you’ve made since May. My kitchen was already 85 degrees before I even turned on the stove, and the thought of firing up the oven felt like a personal attack. I wanted something cool, something bright, something that tasted like sunshine without turning my house into a sauna. I didn’t want to bake. I just wanted to eat a lemon bar that didn’t involve a 45-minute wait for the oven to cool down.
That’s when I stumbled upon the concept of no-bake lemon cheesecake bars. At first, I was skeptical. How could a dessert without an oven possibly have the right texture? Would it be too soft? Too sweet? Too… gelatinous? I made a batch on a whim, expecting disappointment. Instead, I ate the whole thing in two days, standing over the counter in my underwear at 10 PM, trying to hide the evidence from my family.
These no-bake lemon cheesecake bars have since become my summer salvation. They are the perfect answer to “what’s for dessert” when the weather is too hot to cook and your energy is too low to bake. But here’s the real secret: it’s not just about convenience. It’s about that sharp, tangy punch of fresh lemon cutting through the rich, creamy filling. It’s refreshing, it’s light, and it’s ridiculously easy to make.
I’ve tested this recipe probably a dozen times now, tweaking the lemon-to-sugar ratio and the thickness of the crust until it was exactly right. The result? Bars that hold their shape when sliced but melt in your mouth. They’re elegant enough to serve at a summer potluck but simple enough to whip up on a Tuesday night when you need a little sweet treat. If you’re tired of heavy, baked desserts in the summer heat, you need to try these. Seriously. They’re a game-changer.
Why You’ll Love This Recipe
There are a million reasons to love a good dessert, but these no-bake lemon cheesecake bars check every single box for me. Here’s why they’ve earned a permanent spot in my summer rotation:
- Zero Baking Required — Seriously. No preheating, no waiting, no cleaning a baking dish. You just mix, press, and chill. If you can open a can and stir, you can make this. I’ve made these while holding a baby, which says everything you need to know about how easy they are.
- Ready in Under 30 Minutes (Plus Chill Time) — The actual work time is about 20 minutes. The rest is just waiting for the fridge to do its job. This is perfect for last-minute guests or when you need a dessert for a weekend gathering and don’t have hours to spare.
- Bright and Refreshing — Unlike heavy chocolate cakes or dense brownies, these are light. The lemon cuts through the richness of the cream cheese, making it feel indulgent without being heavy. It’s the kind of dessert that leaves you feeling satisfied but not sluggish.
- Only 5 Ingredients — I’m not exaggerating. You probably have most of these in your fridge and pantry right now. Graham crackers, butter, cream cheese, powdered sugar, and lemons. That’s it. No weird stabilizers, no gelatin packets, no fancy imports.
- Make-Ahead Friendly — These actually taste better the next day. The flavors meld together overnight, and the crust sets up perfectly. I love making these on Saturday morning so they’re ready for Sunday brunch or Monday work snacks.
- Visually Stunning — They look like something from a high-end bakery. The bright yellow filling against the dark crumb crust is gorgeous. Dust them with a little extra powdered sugar or top with lemon zest, and they’re Instagram-ready without any effort.
This recipe is my go-to when I want to impress people without spending all day in the kitchen. It’s reliable, it’s delicious, and it’s the kind of dessert that makes people ask for the recipe immediately. You’ll love it as much as I do.
Ingredients You’ll Need
One of the best things about these no-bake lemon cheesecake bars is how simple the ingredient list is. You don’t need any special equipment or hard-to-find items. Here’s exactly what you need and why each part matters.
For the Crust
Graham crackers (2 cups / 200g, crushed) — This is your base. Traditional honey graham crackers work best because they’re slightly sweet and have that classic cookie flavor. You can use vanilla wafers if you prefer a milder taste, but graham crackers give it that authentic cheesecake feel. I usually just crush them in a food processor, but a rolling pin and a plastic bag work if you’re doing it by hand.
Unsalted butter (6 tablespoons / 85g, melted) — This binds the crumbs together. Use real butter, not margarine. The flavor difference is huge. Melt it in the microwave or a small saucepan—it should be liquid but not hot.
Granulated sugar (2 tablespoons / 25g) — Just a little bit to sweeten the crust. Since graham crackers are already sweet, you don’t need much. Skip this if you’re watching sugar, but I recommend keeping it for balance.
Lemon zest (1 teaspoon) — This is optional but highly recommended. Adding zest to the crust gives it a subtle citrus aroma that ties the whole bar together. It’s a small detail that makes a big difference.
For the Filling
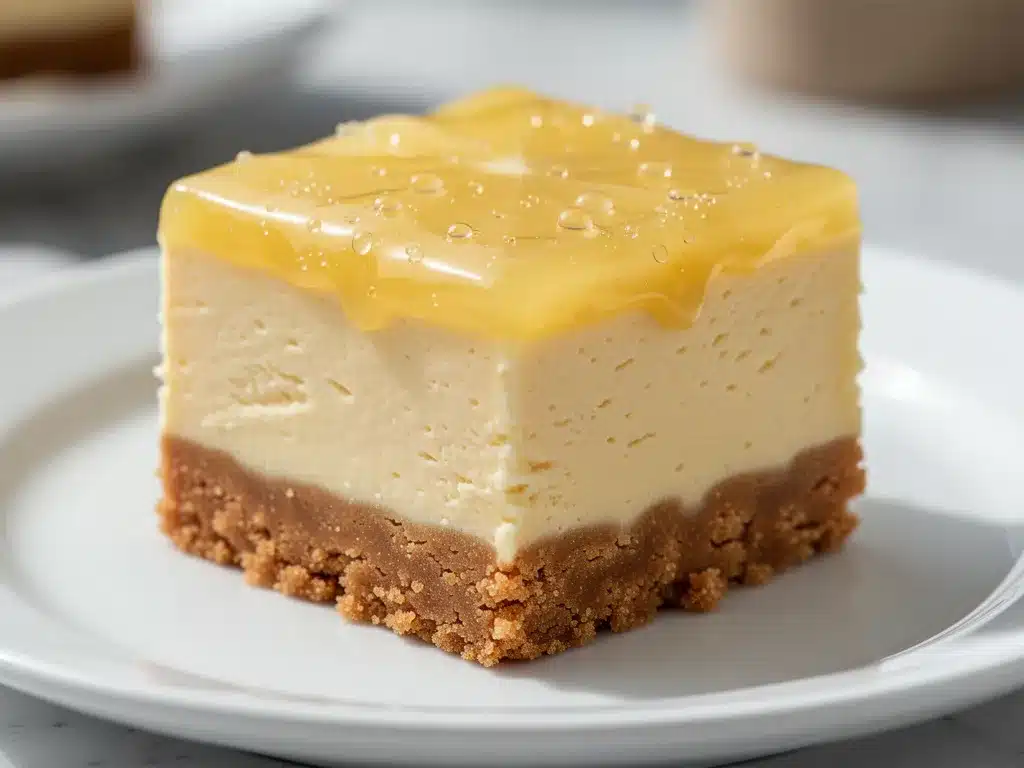
Cream cheese (16 ounces / 450g, full-fat, softened) — This is the star of the show. Use full-fat block cream cheese, not the spreadable kind in a tub. The tub stuff has more water and air, which will make your filling runny and weak. Let it sit on the counter for 30 minutes before you start so it’s easy to whip.
Powdered sugar (1 cup / 120g) — Also called confectioners’ sugar. This dissolves instantly, which is crucial since we’re not baking. Granulated sugar won’t dissolve fully in a no-bake recipe and will leave a gritty texture. Don’t skip this or substitute it.
Heavy cream (1 cup / 240ml, cold) — This gives the filling its airy, light texture. Whip it into soft peaks and fold it in. If you use skim milk or half-and-half, it won’t hold its shape. You need the fat content.
Fresh lemon juice (½ cup / 120ml) — And here’s the kicker. Freshly squeezed only. Bottled lemon juice tastes metallic and flat. It won’t give you that bright, zesty punch. Squeeze four or five lemons until you have half a cup. It takes about 5 minutes, but it’s worth it.
Lemon zest (2 tablespoons) — More zest! The flavor in the zest is where all the lemon goodness lives. Don’t just use the juice. Get the yellow part of the peel, not the white pith, which is bitter.
For Garnish (Optional)
Extra powdered sugar — For dusting on top.
Fresh mint leaves — For a pop of green color.
Thin lemon slices — For an elegant finish.
Whipped cream dollops — If you’re feeling fancy.
Equipment Needed
You don’t need a fancy kitchen to make these no-bake lemon cheesecake bars. Here’s what I actually use:
9×13 inch baking pan — This is the standard size for bars. Line it with parchment paper for easy removal later. I use a 9×13, but you can use an 8×8 if you want thicker bars (just double the recipe).
Food processor — For crushing graham crackers quickly. If you don’t have one, put crackers in a zip-top bag and smash them with a rolling pin. It’s satisfying, actually.
Mixing bowls — Two large bowls. One for the cream cheese mixture, one for whipping the heavy cream.
Hand mixer or stand mixer — Essential for getting that smooth, airy texture. You can do it by hand with a whisk, but it will take 10 minutes of arm work. I’m lazy, so I use a mixer.
Microplane or zester — For getting fine lemon zest. A regular grater works, but a microplane gives you the perfect texture without bits of white pith.
Spatula — A rubber spatula is best for folding the whipped cream into the cream cheese mixture without deflating it.
Measuring cups and spoons — Standard stuff. Be precise with the lemon juice, as too much can make the filling runny.
How to Make It: Step-by-Step
Alright, let’s make these no-bake lemon cheesecake bars! It’s simpler than you think. I’m walking you through exactly how I do it, including the little tricks that make the difference between good and great.
Step 1: Prep Your Pan
Line a 9×13 inch baking pan with parchment paper, leaving an overhang on the long sides. This is your lift-out handle. Without it, trying to get the bars out of the pan later will be a nightmare. I usually spray the parchment with non-stick spray just to be safe.
Step 2: Make the Crust
Crush your graham crackers into fine crumbs. You want them fine, like sand, not chunky. In a medium bowl, mix the crumbs with the melted butter, sugar, and 1 teaspoon of lemon zest. Stir until it looks like wet sand. Press this mixture firmly into the bottom of your prepared pan. Use the bottom of a measuring cup to pack it down tight. If the crust is loose, your bars will fall apart. Refrigerate while you make the filling.
Step 3: Whip the Cream
In a large, cold bowl, whip the heavy cream until you see soft peaks. This means when you lift the beaters, the cream holds its shape but still droops slightly. Don’t over-whip it into stiff peaks, or it’ll be grainy when you fold it in. Set it aside.
Step 4: Mix the Cream Cheese
In another large bowl, beat the softened cream cheese and powdered sugar until smooth and creamy. This should take about 2 minutes. Scrape down the sides of the bowl to make sure there are no lumps. Lumpy cream cheese = lumpy bars. We want smooth.
Step 5: Add the Lemon
Beat in the fresh lemon juice and 2 tablespoons of lemon zest. Mix until just combined. The mixture will look a bit curdled at first—this is normal! The acid from the lemon reacts with the dairy. It will smooth out once you fold in the whipped cream.
Step 6: Fold It Together
Gently fold the whipped cream into the cream cheese mixture. Use a spatula and cut down the middle, scrape the bottom, and fold over the top. Do this gently to keep the air in the cream. You’re done when there are no more white streaks. It should look light, fluffy, and pale yellow.
Step 7: Assemble and Chill
Pour the filling over the chilled crust. Spread it out evenly with an offset spatula or the back of a spoon. Tap the pan on the counter a few times to release any air bubbles. Cover with plastic wrap and refrigerate for at least 4 hours, but overnight is best. The longer it chills, the firmer it gets.
Step 8: Slice and Serve
Once set, lift the bars out of the pan using the parchment paper. Use a sharp knife to cut them into squares. Wipe the knife between cuts for clean edges. Dust with powdered sugar if you want. Enjoy!
Expert Tips & Tricks
Here’s everything I’ve learned from making these dozens of times. These tips will save you from my mistakes.
Softened Cream Cheese is Non-Negotiable
If your cream cheese is cold, you’ll get lumps. And no amount of mixing will fix lumpy no-bake cheesecake. Take it out of the fridge 30-60 minutes before you start. If you’re in a hurry, cut it into cubes and microwave in 5-second bursts, checking frequently. You don’t want it melted, just soft.
Don’t Skimp on the Lemon
This is a lemon dessert, so lean into it. If you think you have enough lemon juice, add more. The balance of sweet and tart is key. If it’s too sweet, it’s just sweet cheesecake. If it’s too tart, it’s lemon curd. Aim for bright and balanced.
Cold Bowl for Whipping Cream
Heavy cream whips better in a cold bowl. If you’re having trouble getting peaks, throw your bowl in the freezer for 10 minutes before starting. It makes a huge difference.
Fold, Don’t Stir
When combining the whipped cream and cream cheese, be gentle. Stirring vigorously deflates the air, and your bars will be dense and heavy. Fold slowly and patiently.
Chill Time Matters
I know you want to eat them immediately. Don’t. The crust needs time to set, and the filling needs time to firm up. If you cut them too soon, they’ll be a mess. 4 hours is the minimum. Overnight is ideal.
Variations & Substitutions
Once you’ve nailed the basic version, here’s how you can mix it up. I’ve tried all of these.
Blueberry Lemon Bars
Add 1 cup of fresh or frozen blueberries to the top before chilling. Or swirl ½ cup of blueberry jam into the filling for a marbled effect. It’s gorgeous and delicious.
Key Lime Version
Swap the lemon juice for key lime juice and use key lime zest. Top with whipped cream and a sprinkle of graham cracker crumbs. It’s like a key lime pie in bar form.
Chocolate Crust
Replace ¼ cup of graham cracker crumbs with cocoa powder. Or use chocolate sandwich cookies (like Oreos) for the crust. It’s a nice twist if you want something less citrusy.
Gluten-Free
Use gluten-free graham crackers. Most major brands work fine. Just make sure they’re crushed finely.
Dairy-Free
This is trickier. Use coconut cream (the hard part from a can of full-fat coconut milk) instead of heavy cream, and use a dairy-free cream cheese alternative. The texture will be different, but it’s still tasty. I’ve made this for a friend with dairy allergies, and she loved it.
Lower Sugar
Reduce the powdered sugar to ½ cup. It will be tart, so add a bit more lemon juice to balance it. It’s still sweet enough, just less cloying.
Serving & Storage
How to Serve:
I usually serve these straight from the fridge. They’re best cold. I like to dust them with powdered sugar right before serving for a pretty look. Add a sprig of mint or a thin slice of lemon on top. They’re great with a cup of coffee or tea in the afternoon.
Side Dishes:
These bars are rich, so they don’t need much on the side. Maybe some fresh berries on the plate. Or serve them at a picnic with some lemonade. They pair well with light, fruity wines if you’re having an adult gathering.
Storage Instructions:
Refrigerator: Store in an airtight container for up to 5 days. They actually get firmer and more flavorful after a day or two. Keep them cold at all times.
Freezing: You can freeze these bars! Wrap individual slices in plastic wrap, then put them in a freezer bag. They’ll last for 2 months. Thaw in the fridge overnight before eating. The texture might be slightly softer after thawing, but it’s still good.
Reheating: Do not reheat. These are meant to be eaten cold. Reheating will melt the filling and ruin the texture.
Nutrition Information
I’m not a nutritionist, but here’s the breakdown if you’re tracking. These are indulgent treats, so enjoy them in moderation.
Per Serving (based on 16 bars):
- Calories: 280
- Protein: 4g
- Carbs: 28g
- Fiber: 0.5g
- Sugar: 22g
- Fat: 18g
- Saturated Fat: 11g
- Cholesterol: 55mg
- Sodium: 180mg
What’s Good:
It’s not a health food, but it’s not empty calories either. You get some calcium from the cheese and some protein. The lemon adds vitamin C. It’s a better choice than a heavy chocolate cake, but it’s still a dessert.
What to Know:
High in sugar and saturated fat. If you’re watching your intake, stick to one or two bars. The crust is mostly carbs, and the filling is dairy fat. Use this as a guide, not a rule.
My Take:
Look, this is a summer treat. It’s meant to be enjoyed. Don’t stress about the calories. Make it, share it, and savor it. That’s what food is for.
Final Thoughts
So that’s my no-bake lemon cheesecake bars! I’ve talked your ear off at this point, but when you love a recipe this much, you have a lot to say about it. These bars have saved my summer desserts more times than I can count. They’re my answer to “what’s for dessert” when I’m hot, tired, and don’t want to bake.
My family loves them, my friends ask for the recipe, and I’m happy because I’m not stressed about cooking. They’re easy, they’re delicious, and they’re perfect for any occasion. Whether it’s a picnic, a potluck, or just a Tuesday night treat, these bars deliver.
Make them yours! Try different toppings, swap in different fruits, or adjust the lemon to your taste. The best recipes are the ones you adapt to your family’s tastes. If you make these, drop a comment and let me know what you think! I love hearing how recipes turn out in your kitchen. And if something doesn’t work, tell me that too—I’m here to help troubleshoot.
Happy cooking! And I hope your kitchen smells half as good as mine does right now.
Frequently Asked Questions
Can I use bottled lemon juice?
You can, but I really don’t recommend it. Bottled lemon juice has preservatives and a metallic taste that really shows up in a no-bake dessert where the lemon flavor is front and center. Freshly squeezed juice is bright, zesty, and makes a huge difference. It takes about 5 minutes to squeeze four lemons, but it’s worth it. If you must use bottled, mix it with some fresh juice for better flavor.
Why is my filling runny?
This usually happens for one of three reasons. First, your cream cheese wasn’t softened enough, so it didn’t mix smoothly. Second, you over-whipped the heavy cream, causing it to separate. Third, you didn’t chill the bars long enough. The filling needs at least 4 hours to set. If it’s still runny after chilling, you can try whipping it again briefly and adding a little more powdered sugar, but it’s tricky. Prevention is key!
Can I make these ahead of time?
Yes! These bars actually taste better the next day. The flavors meld together, and the crust sets up perfectly. You can make them up to 3 days ahead. Just keep them covered in the fridge. They’re perfect for meal prep or making for a weekend gathering on Friday.
How do I get clean cuts?
Use a sharp knife. Wipe the blade with a warm, damp cloth between every cut. This removes any sticky residue and ensures a clean edge. Also, make sure the bars are fully chilled. If they’re even slightly soft, they’ll squish. Pop them in the freezer for 15 minutes before cutting for extra firmness.
Can I use a different pan size?
You can, but the thickness will change. If you use an 8×8 pan, the bars will be thicker, and you’ll have fewer servings. If you use a 9×13, they’ll be thinner. Adjust the chill time accordingly—thicker bars need more time to set. Just make sure your pan is lined with parchment for easy removal.
What if I don’t have a food processor?
No problem! Put the graham crackers in a heavy-duty zip-top bag. Seal it, removing as much air as possible. Use a rolling pin, meat mallet, or even a heavy can to crush the crackers. It takes a bit more effort, but it works fine. You just want fine crumbs, not chunks.
Can I freeze these bars?
Yes, you can freeze them. Wrap individual slices tightly in plastic wrap, then place them in a freezer-safe bag or container. They’ll last for up to 2 months. Thaw them in the fridge overnight before serving. The texture might be slightly softer after thawing, but they’re still delicious. Don’t freeze the whole block, as it’s hard to cut frozen bars.
Pin This Recipe!
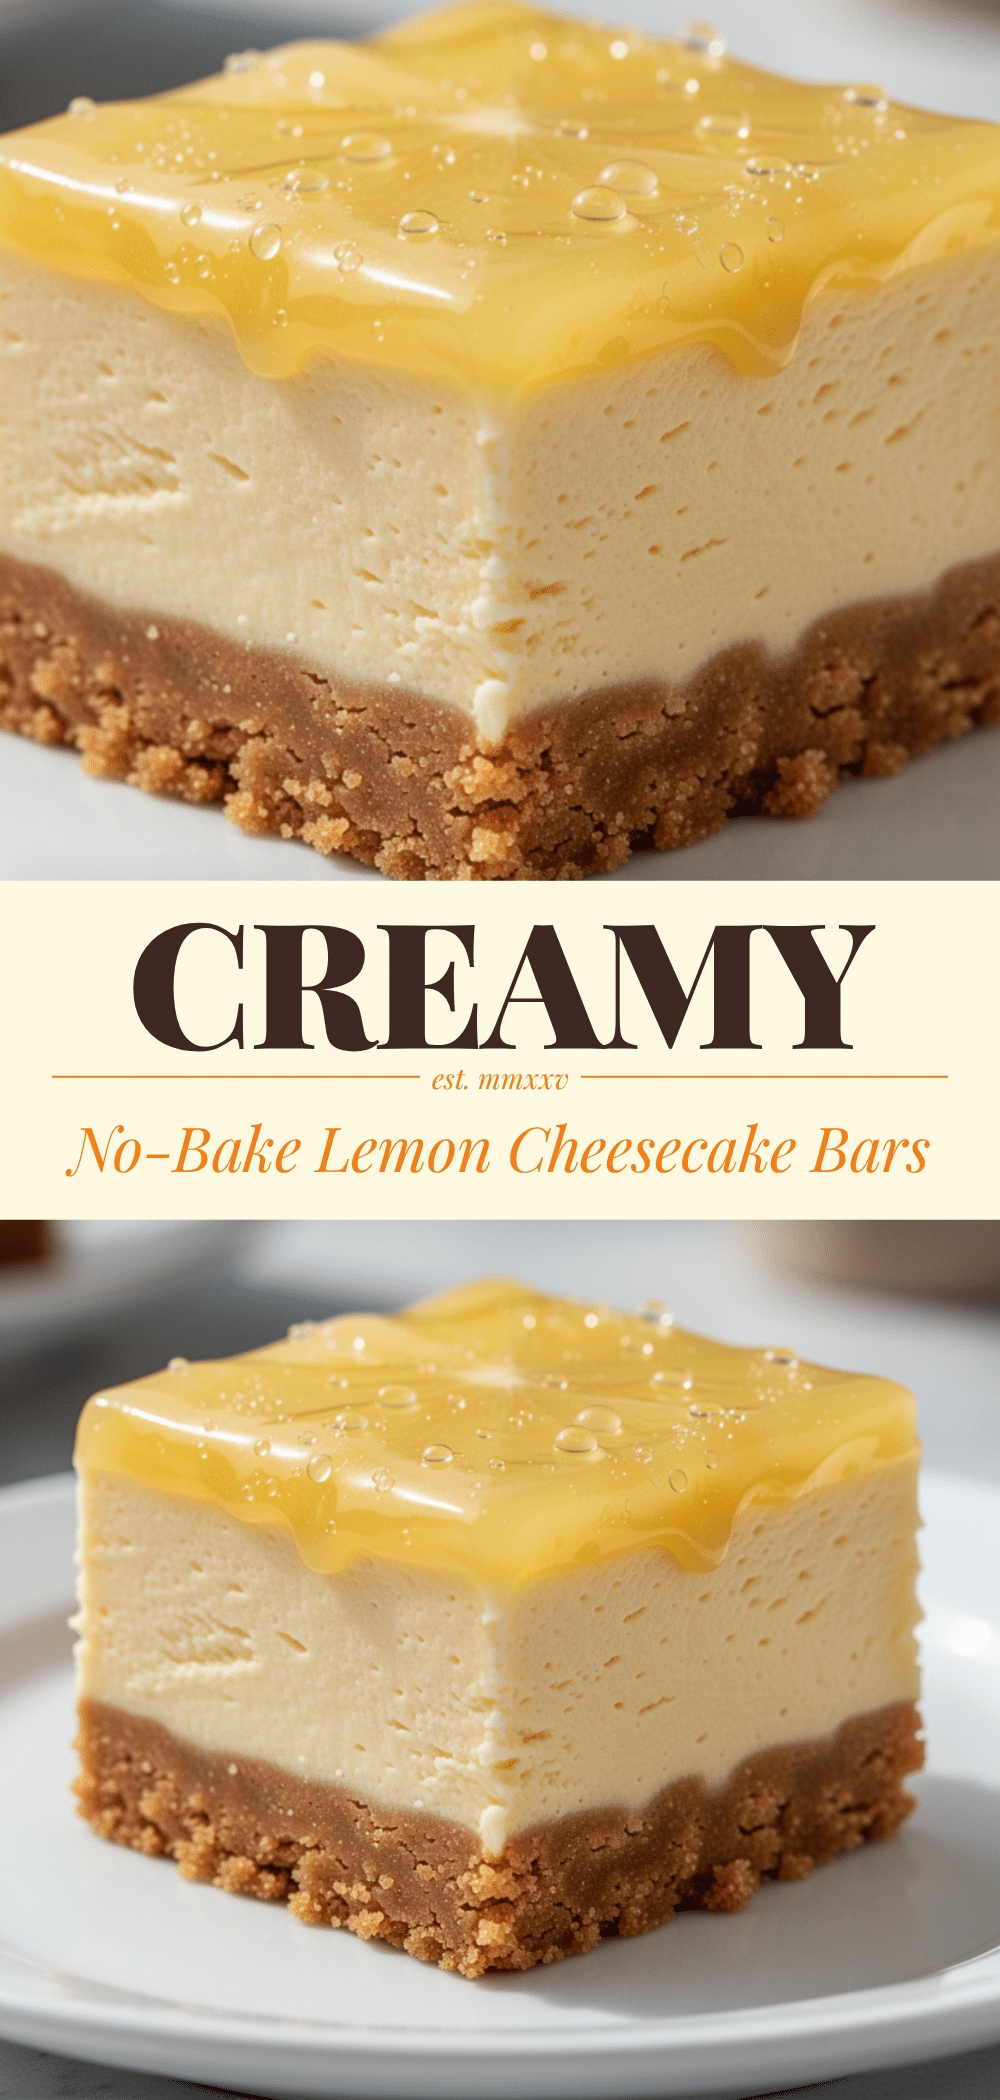
No-Bake Lemon Cheesecake Bars: 5-Ingredient Summer Dessert
- Total Time: 4 hours 20 minutes
- Yield: 16 servings 1x
Description
These no-bake lemon cheesecake bars are a refreshing, tangy, and creamy summer dessert that requires no oven. With just five simple ingredients and under 30 minutes of prep time, they are the perfect light treat for hot days.
Ingredients
- 2 cups (200g) graham crackers, crushed
- 6 tablespoons (85g) unsalted butter, melted
- 2 tablespoons (25g) granulated sugar
- 1 teaspoon lemon zest (for crust)
- 16 ounces (450g) full-fat cream cheese, softened
- 1 cup (120g) powdered sugar
- 1 cup (240ml) heavy cream, cold
- ½ cup (120ml) fresh lemon juice
- 2 tablespoons lemon zest (for filling)
Instructions
- Line a 9×13 inch baking pan with parchment paper, leaving an overhang on the long sides for easy removal.
- Crush graham crackers into fine crumbs. In a medium bowl, mix crumbs with melted butter, granulated sugar, and 1 teaspoon lemon zest until it resembles wet sand.
- Press the crust mixture firmly into the bottom of the prepared pan using the bottom of a measuring cup. Refrigerate while making the filling.
- In a large, cold bowl, whip heavy cream until soft peaks form. Set aside.
- In another large bowl, beat softened cream cheese and powdered sugar until smooth and creamy, about 2 minutes.
- Beat in fresh lemon juice and 2 tablespoons lemon zest until just combined.
- Gently fold the whipped cream into the cream cheese mixture using a spatula until no white streaks remain.
- Pour the filling over the chilled crust and spread evenly. Tap the pan to release air bubbles.
- Cover with plastic wrap and refrigerate for at least 4 hours, or overnight, until firm.
- Lift bars out of the pan using parchment paper. Use a sharp knife to cut into squares, wiping the knife between cuts for clean edges.
Notes
Ensure cream cheese is fully softened to avoid lumps. Use fresh lemon juice for the best flavor; bottled juice can taste metallic. Chill time is crucial for the bars to set properly. For clean cuts, use a sharp knife and wipe it between slices. These bars can be frozen for up to 2 months.
- Prep Time: 20 minutes
- Cook Time: 0 minutes
- Category: Dessert
- Cuisine: American
Nutrition
- Serving Size: 1 bar
- Calories: 280
- Sugar: 22
- Sodium: 180
- Fat: 18
- Saturated Fat: 11
- Carbohydrates: 28
- Fiber: 0.5
- Protein: 4
Keywords: no-bake, lemon cheesecake, summer dessert, easy dessert, 5-ingredient recipe, gluten-free option, dairy-free option


