It’s a confession I don’t share with just anyone, but I have eaten approximately forty cookies in the last three weeks. Not because I have zero self-control (though let’s be real, that’s part of it), but because I was on a mission. A mission to create what I can only describe as the ultimate dessert. The one that makes your kids beg for “just one more” at 9 PM on a Tuesday. The one that stops your food-snobby friend mid-chew and forces them to put their fork down just to process what they’re tasting.
It started with a simple craving. I wanted a chocolate chip cookie, but I wanted it to feel like a celebration. I wanted that gooey, melty Oreo center that everyone sees on Instagram but struggles to replicate at home. The problem? Most recipes I tried were disasters. Some were cakey domes that cracked open too early. Others were flat, crispy discs with a sad, dry cookie tucked inside. And then there were the ones where the Oreo leaked out during baking, turning my beautiful cookie tray into a messy, burnt mess.
After five failed batches, burnt edges, and a kitchen that looked like a flour bomb went off, I finally cracked the code. It wasn’t about fancy ingredients. It wasn’t about a complicated technique. It was about texture. It was about understanding how the dough interacts with the freezing process. And it was about knowing exactly when to pull them out of the oven.
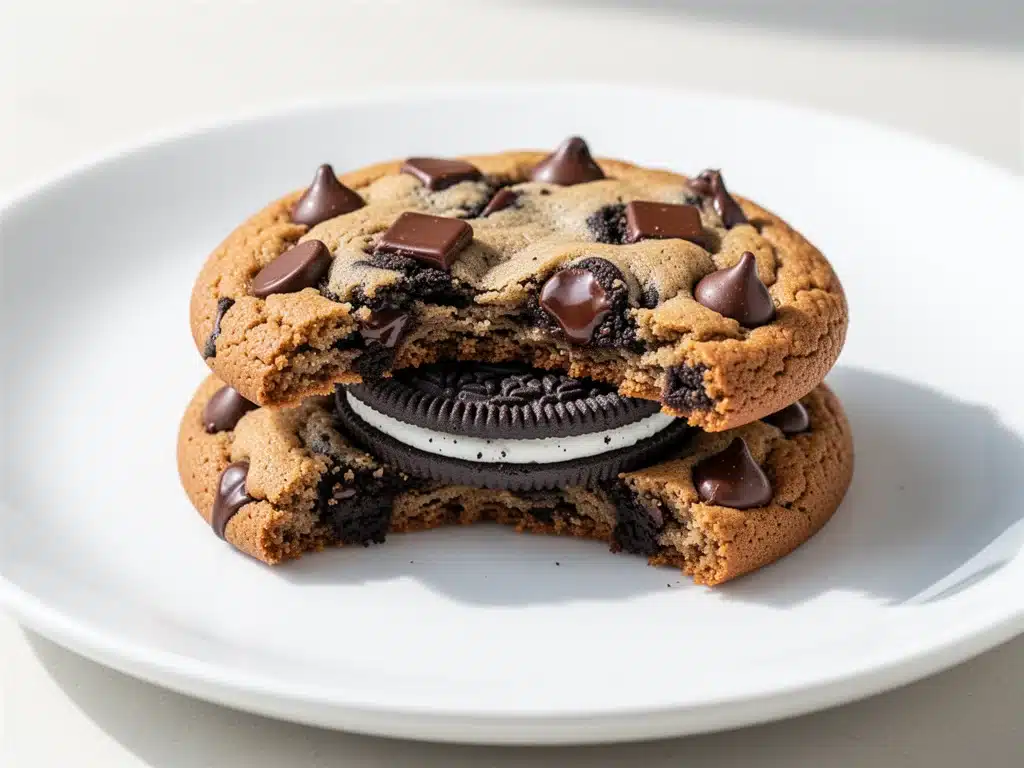
These Soft Oreo Stuffed Chocolate Chip Cookies are the result. They’re chewy on the outside, soft and cakey on the inside, and packed with a molten Oreo center that oozes out when you bite into them. They’re the kind of cookie that disappears in minutes. I’ve made this recipe for book clubs, office parties, and late-night snack attacks, and it has never failed. If you’re looking for the best soft Oreo stuffed chocolate chip cookie recipe, you’ve found it. Let’s get baking.
Why You’ll Love This Recipe
I’m not saying these are the best cookies in the world (though they’re pretty close), but I am saying they are the best cookies for *this* moment. You know the moment—when you need to impress someone, or just need a hug in edible form. Here’s why this recipe has taken over my kitchen:
- That Gooey Center — Seriously, the Oreo doesn’t just sit there. It melts. It becomes a warm, chocolatey lava that contrasts with the crisp edges. It’s the star of the show, and it works every single time.
- Chewy Texture — I hate dry cookies. They’re like eating cardboard. This dough is formulated to be thick, chewy, and soft. Even three days later, they’re still moist. I’ve tested this extensively.
- Freezer Friendly — Here’s the secret weapon: you freeze the Oreos before stuffing. This keeps them intact during baking. You can prep these hours ahead or even days ahead. It makes entertaining so much easier.
- Simple Ingredients — You probably have everything in your pantry. Butter, sugar, eggs, flour, chocolate chips, and Oreos. No weird flours or expensive nuts. Just good, honest baking.
- Kid Approved — My nephew, who usually picks the chocolate chips out of his cookies, went back for a third one of these. That’s the ultimate seal of approval.
These cookies are my go-to when I need a crowd-pleaser. They’re festive, they’re indulgent, and they’re ridiculously easy to make once you get the hang of the stuffing technique. Trust me, once you try one, you’ll be making these every week.
Ingredients You’ll Need
Before we dive in, let’s talk about what goes into these beauties. I’m being specific here because baking is chemistry, and small changes can make a big difference. Don’t wing it on the butter or the flour. Measure properly.
For the Cookie Dough
Unsalted butter (1 cup / 226g, softened) — This is crucial. Softened, not melted. Melted butter makes flat, greasy cookies. Softened butter makes chewy, thick cookies. If you’re in a hurry, microwave it on 30% power for 10-15 seconds, but check it often. It should be cool to the touch but leave an indent when you poke it.
Granulated sugar (1 cup / 200g) — This helps create those crispy edges. Don’t substitute with brown sugar only if you want that crunch. I use a mix of both for the perfect texture.
Brown sugar (1 cup / 220g, packed) — This is what makes them chewy and soft. Dark brown sugar adds a deeper molasses flavor, but light brown works too. Make sure it’s packed tight when you measure.
Large eggs (2) — Room temperature eggs incorporate better into the dough. If you forgot to take them out, drop them in a bowl of warm water for 5 minutes.
Vanilla extract (2 teaspoons) — Use real vanilla, not imitation. The flavor difference is noticeable, especially in a simple dough like this. I love using Nielsen-Massey.
All-purpose flour (2 ¼ cups / 280g) — Spoon and level method! Don’t scoop directly from the bag, or you’ll pack in too much flour and get dry cookies. Spoon it into the measuring cup and level it off with a knife.
Baking soda (1 teaspoon) — This helps the cookies spread and brown. Make sure it’s fresh. If it’s older than 6 months, replace it. Test it by dropping a little in vinegar—it should fizz.
Salt (1 teaspoon) — Balances the sweetness. Don’t skip it, even if you like sweet cookies. It makes the chocolate taste more chocolatey.
Chocolate chips (1 ½ cups / 255g) — I use semi-sweet chocolate chips. Ghirardelli or Guittard are my favorites. You can also use chunks for a more rustic look. Avoid the mini chips; they melt too fast and disappear.
For the Filling
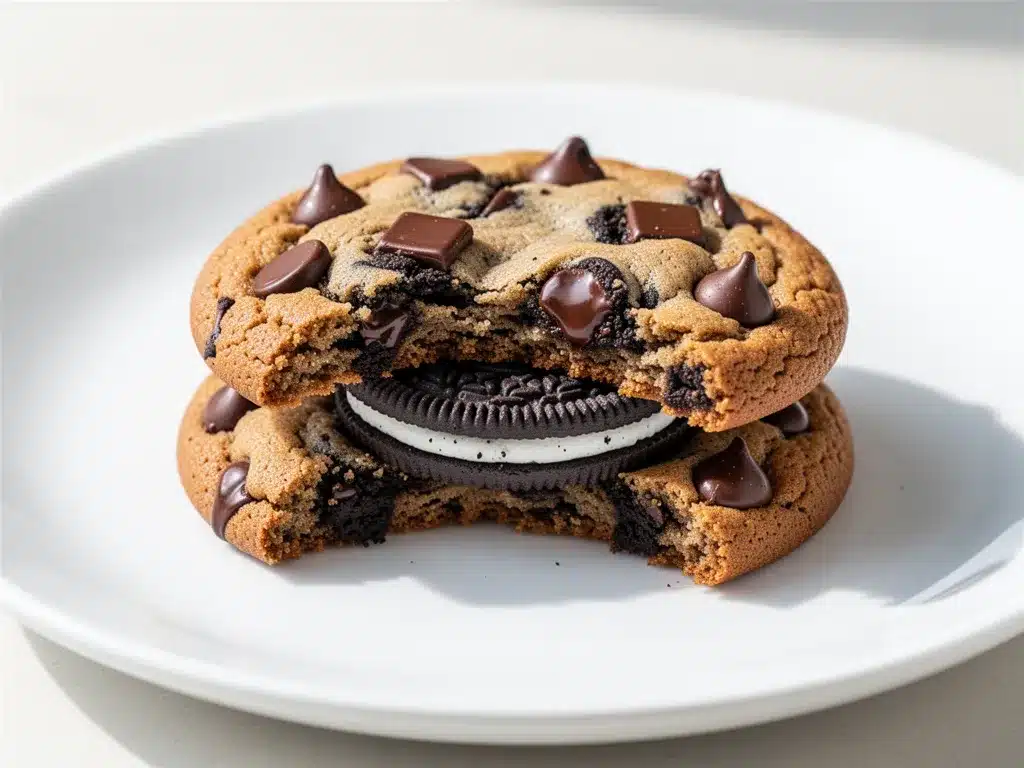
Oreo cookies (12 full cookies) — Standard size Oreos work best. The mini Oreos are too small and will get lost in the dough. The double stuf ones are okay, but the regular ones provide the best balance of cookie to cream. If you can’t find Oreos, you can use other sandwich cookies, but the flavor profile changes.
Extra chocolate chips (optional) — I sometimes press a few chips into the top of the cookie after stuffing for extra visual appeal.
Equipment Needed
You don’t need a fancy kitchen for this. Here’s what I actually use:
Large mixing bowl — I use a 5-quart bowl. It needs to be big enough to mix the dough without making a mess. Glass or stainless steel is best because they don’t retain heat.
Electric mixer — Stand mixer or hand mixer. Creaming the butter and sugar by hand is possible but exhausting. I’ve done it, and I won’t do it again unless I’m proving a point.
Baking sheets — Two half-sheet pans. I prefer dark non-stick pans because they promote browning. If you use shiny pans, your cookies might take a minute longer to bake.
Parchment paper — Line your baking sheets. This prevents sticking and makes cleanup a breeze. It also ensures even baking. Never bake these on bare metal.
Cooling rack — Essential for letting the cookies set. If you leave them on the hot pan, they’ll keep cooking and become dry.
Freezer-safe container or bag — For freezing the Oreos before stuffing.
Silicone spatula — For scraping the bowl and folding in the chocolate chips. I have a few, and I use the big one for mixing and the small one for scraping corners.
How to Make It: Step-by-Step
Alright, let’s make these! I’m walking you through exactly how I do it, including the little tricks I’ve picked up along the way. This process takes about 45 minutes, plus freezing time.
Step 1: Freeze the Oreos (15-30 minutes)
This is the most important step. Take your Oreos out of the package and place them on a baking sheet or plate. Put them in the freezer. You need them to be rock hard. This prevents them from crumbling when you stuff them and helps them hold their shape in the oven. If you skip this, the cookies will leak, and you’ll have a mess. Do not skip this.
Step 2: Cream the Butter and Sugars (3-4 minutes)
In your large mixing bowl, combine the softened unsalted butter, granulated sugar, and brown sugar. Using your electric mixer on medium-high speed, beat them together for about 3-4 minutes. You’re looking for a light, fluffy texture. The mixture should pale in color and increase in volume. This step incorporates air, which helps the cookies rise slightly and stay soft. If your butter is too warm, the mixture will look greasy. If it’s too cold, it won’t fluff up. Aim for that perfect soft-peak stage.
Step 3: Add Eggs and Vanilla (1-2 minutes)
Reduce the mixer speed to medium-low. Add the eggs one at a time, mixing just until incorporated after each addition. Do not overmix here. Add the vanilla extract and mix briefly to combine. Scrape down the sides of the bowl with your spatula to ensure everything is evenly distributed. You want a smooth, homogeneous batter.
Step 4: Mix Dry Ingredients (1 minute)
In a separate bowl, whisk together the flour, baking soda, and salt. This ensures the baking soda is evenly distributed so you don’t get bitter spots. Then, gradually add the dry ingredients to the wet mixture on low speed. Mix until *just* combined. As soon as you no longer see streaks of flour, stop. Overmixing develops gluten, which leads to tough, chewy cookies instead of soft, cakey ones. It’s a delicate balance.
Step 5: Fold in Chocolate Chips (1 minute)
Switch to your silicone spatula. Gently fold in the chocolate chips. Be gentle here. You don’t want to break the chips or overwork the dough. Just lift the dough from the bottom and fold it over until the chips are evenly distributed.
Step 6: Stuff the Cookies (10 minutes)
Take your frozen Oreos out of the freezer. Scoop out a portion of dough, about 1.5 tablespoons. Flatten it into a disc in your palm. Place one frozen Oreo in the center. Carefully fold the dough over the Oreo, sealing it completely. Roll it into a ball. Make sure there are no cracks. If you see any white Oreo cream peeking out, press it back in. Place the stuffed dough ball on a parchment-lined baking sheet. Repeat with the remaining dough and Oreos. You should get about 12 cookies.
Step 7: Bake (10-12 minutes)
Preheat your oven to 350°F (175°C). Place the baking sheet in the center of the oven. Bake for 10-12 minutes. The edges should be set and lightly golden, but the centers should still look soft and slightly underdone. This is key. They will continue to cook on the hot pan after you take them out. If you wait until they look fully cooked in the oven, they’ll be dry when they cool.
Step 8: Cool and Serve (15 minutes)
Remove the baking sheet from the oven. Let the cookies sit on the hot pan for 5 minutes. This allows them to set. Then, transfer them to a cooling rack to cool completely. If you can’t wait (and who can?), eat one warm. The Oreo center will be molten and amazing. Store leftovers in an airtight container.
Expert Tips & Tricks
Here’s everything I’ve learned from making this dozens of times. These tips will save you from my mistakes.
- Butter Temperature is King — I cannot stress this enough. If your butter is too soft, your cookies will spread too much. If it’s too hard, they won’t mix properly. Test it by pressing your finger into it. It should leave an indent but not feel greasy.
- Don’t Overbake — This is the #1 mistake. Take them out when they look slightly underdone. The residual heat will finish cooking them. A soft center means a soft cookie.
- Freeze Thoroughly — If your Oreos aren’t completely frozen, they will leak. Give them at least 30 minutes. If you’re in a rush, put them in the freezer for 15 minutes, then check. They should be hard as a rock.
- Chill the Dough (Optional but Recommended) — If you have time, chill the dough balls for 30 minutes before baking. This prevents spreading and intensifies the flavor. It’s not strictly necessary, but it helps if your kitchen is warm.
- Salt on Top — Just before baking, sprinkle a tiny pinch of flaky sea salt on top of each cookie. It enhances the chocolate flavor and adds a nice crunch. It’s a restaurant trick that’s easy to do at home.
Common Mistakes (and how to avoid them)
Mistake: Cookies spread into flat discs.
Fix: Your butter was too warm, or you didn’t freeze the Oreos. Also, make sure your baking sheets aren’t hot from a previous batch. Let them cool between batches.
Mistake: Oreos leaked out.
Fix: The dough wasn’t sealed properly, or the Oreo wasn’t frozen enough. Make sure you’re encasing the entire Oreo in dough with no cracks.
Mistake: Cookies are dry.
Fix: You overbaked them. Pull them out earlier. Also, check your flour measurement. Too much flour dries out the dough.
Variations & Substitutions
Once you’ve nailed the basic version, here’s how you can mix it up. I’ve tried all of these.
- Peanut Butter Oreos — Use peanut butter Oreos for a sweet and salty combo. Incredible with chocolate chips.
- Double Chocolate — Swap regular chocolate chips for dark chocolate chunks. Makes it richer and more intense.
- Mint Oreos — Use mint Oreos for a Christmas twist. The minty cream with chocolate chips is a classic combination.
- Gluten-Free — Use a 1:1 gluten-free flour blend. The texture might be slightly different, but it still works. Make sure your Oreos are certified GF if needed.
- Dairy-Free — Use dairy-free butter and dairy-free chocolate chips. Note: Standard Oreos contain dairy, so you’d need to find a dairy-free sandwich cookie or make your own filling.
Serving & Storage
How to serve these bad boys:
Warm and Fresh — Serve them warm right out of the oven. Pair with a cold glass of milk. It’s the classic combo for a reason.
At Room Temperature — These are great for potlucks. They hold up well at room temperature for up to 2 days.
Storage Instructions
Counter: Store in an airtight container at room temperature for up to 3 days. Place a slice of bread in the container to keep them soft. The bread will become hard, but the cookies will stay moist.
Freezer: Yes, you can freeze these! Bake them, let them cool completely, then freeze them in a single layer on a baking sheet. Once frozen, transfer to a freezer bag. They’ll last for up to 3 months. Thaw at room temperature. You can also freeze the dough balls before baking. Just add 1-2 minutes to the baking time if baking from frozen.
Nutrition Information
I’m not a nutritionist, but here’s the breakdown if you’re tracking. Keep in mind, these are indulgent cookies, so enjoy in moderation.
Per Cookie (approximate):
- Calories: 320
- Fat: 16g
- Carbs: 42g
- Sugar: 28g
- Protein: 4g
Look, this is comfort food with cream and cheese (well, cookie cream). It’s not a diet recipe. But it’s way better than store-bought, costs less, and I know exactly what’s in it. When I want to make it lighter, I use half the chocolate chips and add some oats. But usually? I just eat one and enjoy it.
Final Thoughts
So that’s my go-to Soft Oreo Stuffed Chocolate Chip Cookie! I’ve probably talked your ear off at this point, but when you make a recipe this often, you have a lot to say about it.
This has saved weeknight desserts more times than I can count. It’s my answer to “what’s for dessert” when I’m tired, don’t want to bake a cake, and still want something that tastes really good. My kids are happy, my husband’s happy, and I’m happy because I’m not stressed about cooking.
Make it yours! Try different Oreos, swap in your favorite chocolate, adjust the sweetness. The best recipes are the ones you adapt to your family’s tastes.
If you make this, drop a comment and let me know what you think! I love hearing how recipes turn out in your kitchen. And if something doesn’t work, tell me that too—I’m here to help troubleshoot.
Happy baking! And I hope your kitchen smells half as good as mine does right now.
Frequently Asked Questions
Can I use melted butter instead of softened?
You can, but the texture will be different. Melted butter makes cookies that are crispier and flatter. If you want that chewy, thick texture, stick with softened butter. If you do use melted butter, let it cool completely before mixing, and chill the dough for at least an hour before baking to prevent spreading.
Why did my Oreos leak out during baking?
This usually happens for two reasons. First, the Oreos weren’t frozen enough. They need to be rock hard to hold their shape. Second, the dough wasn’t sealed properly. Make sure you’re encasing the entire Oreo in dough with no cracks. If you see any cream peeking out, press it back in.
Can I make the dough ahead of time?
Yes! You can make the dough and store it in the fridge for up to 3 days. Or, you can scoop the dough balls (without the Oreos) and freeze them. When you’re ready to bake, stuff the frozen dough balls with frozen Oreos and bake as directed. This is great for meal prep.
Can I use mini Oreos?
You can, but they’re smaller. You’ll need to use two mini Oreos per cookie to get a similar effect. The timing might need to be adjusted slightly, so keep an eye on them. I prefer standard Oreos for the best balance of dough to filling.
How do I store leftovers?
Store them in an airtight container at room temperature for up to 3 days. If your kitchen is humid, they might get soft faster. You can also freeze them for up to 3 months. Thaw at room temperature before eating.
Can I double the recipe?
Absolutely! Double everything and use your biggest bowl. The cooking times stay the same. I do this when I’m feeding a crowd. Just make sure you have enough baking sheets or bake in batches.
Pin This Recipe!
Best Soft Oreo Stuffed Chocolate Chip Cookies
- Total Time: 45 minutes
- Yield: 12 servings 1x
Description
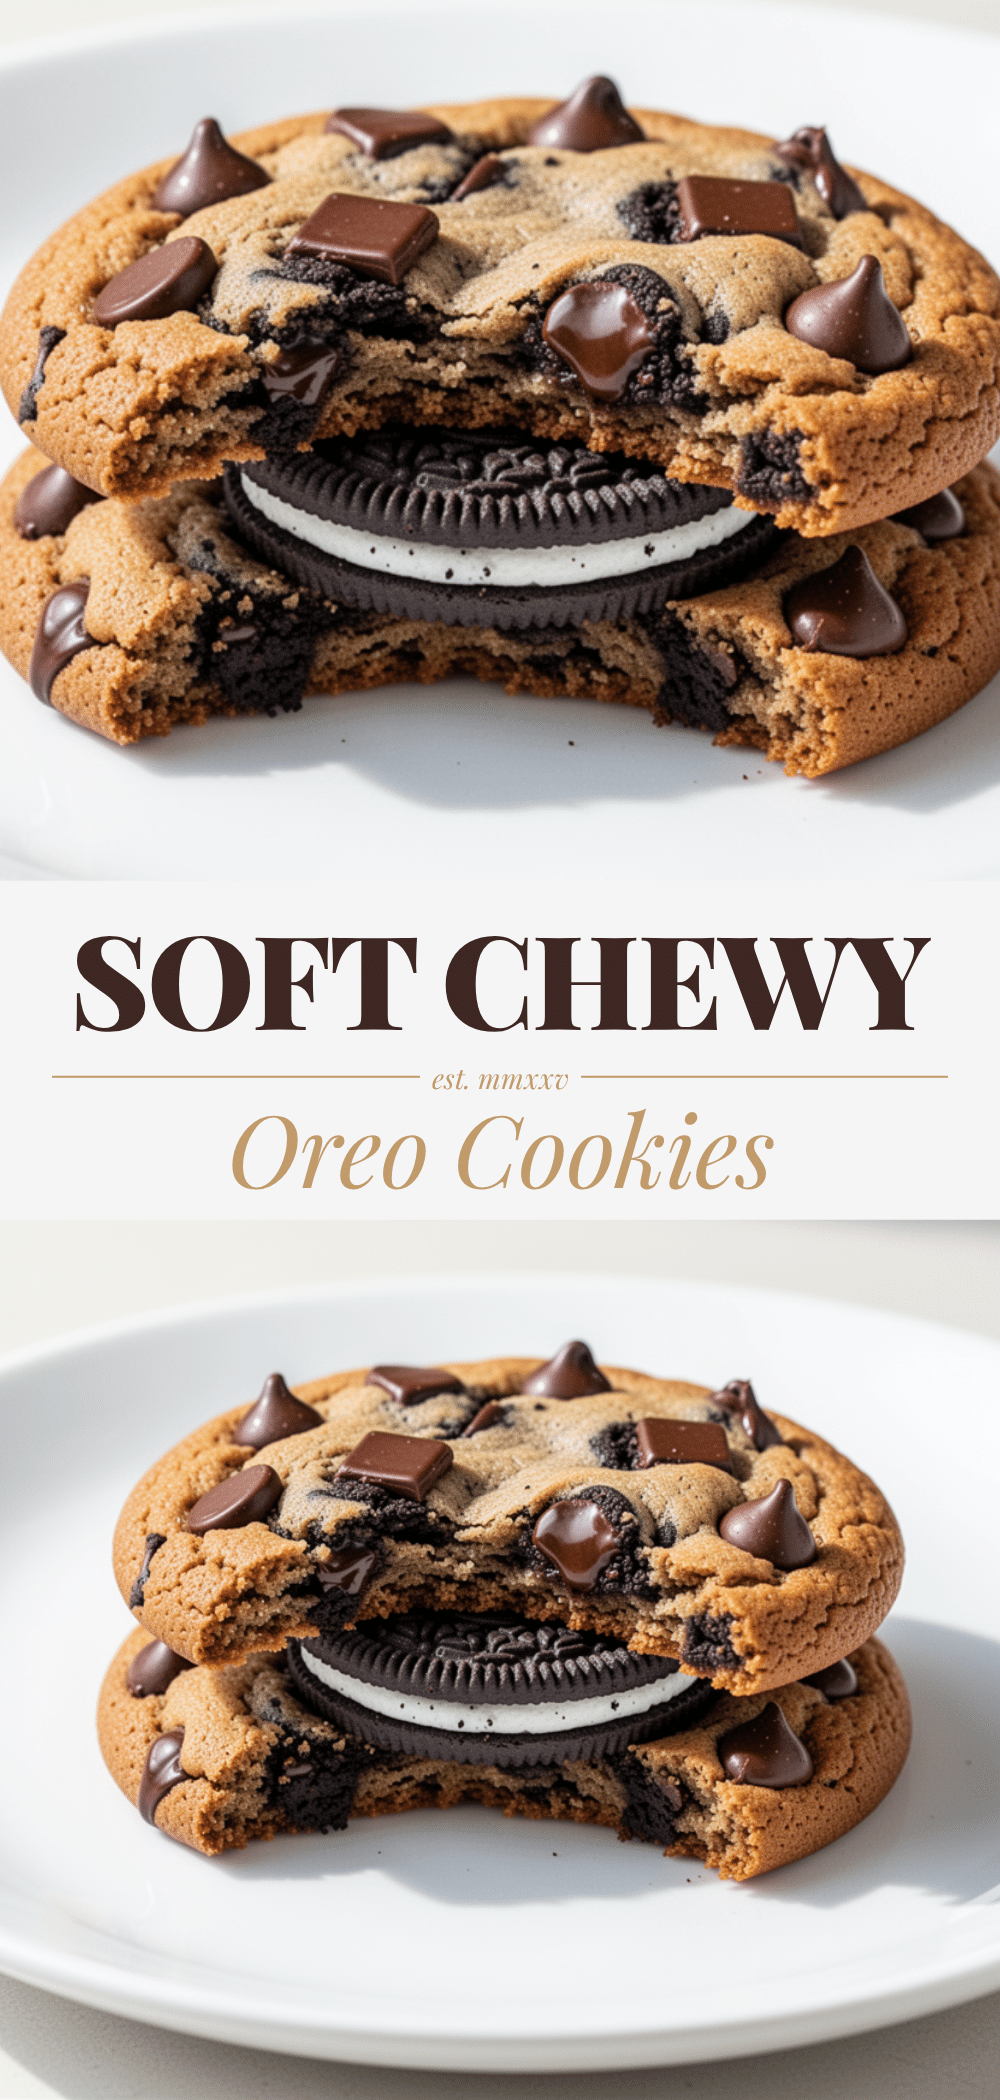
Chewy on the outside, soft and cakey on the inside, these cookies are packed with a molten Oreo center that oozes out when you bite into them. They are freezer-friendly, simple to make, and kid-approved.
Ingredients
- 1 cup (226g) unsalted butter, softened
- 1 cup (200g) granulated sugar
- 1 cup (220g) packed brown sugar
- 2 large eggs, room temperature
- 2 teaspoons vanilla extract
- 2 ¼ cups (280g) all-purpose flour
- 1 teaspoon baking soda
- 1 teaspoon salt
- 1 ½ cups (255g) semi-sweet chocolate chips
- 12 full standard Oreo cookies
- Extra chocolate chips (optional, for topping)
Instructions
- Freeze the 12 Oreo cookies on a baking sheet or plate for 15-30 minutes until rock hard.
- In a large mixing bowl, cream together the softened butter, granulated sugar, and brown sugar on medium-high speed for 3-4 minutes until light and fluffy.
- Reduce mixer speed to medium-low. Add eggs one at a time, mixing just until incorporated. Add vanilla extract and mix briefly. Scrape down the sides of the bowl.
- In a separate bowl, whisk together the flour, baking soda, and salt.
- Gradually add the dry ingredients to the wet mixture on low speed. Mix until just combined; do not overmix.
- Switch to a silicone spatula and gently fold in the chocolate chips until evenly distributed.
- Scoop about 1.5 tablespoons of dough, flatten into a disc, place one frozen Oreo in the center, and fold the dough over to seal completely. Roll into a ball.
- Place stuffed dough balls on parchment-lined baking sheets.
- Preheat oven to 350°F (175°C). Bake for 10-12 minutes until edges are set and lightly golden, but centers still look soft.
- Let cookies sit on the hot pan for 5 minutes to set, then transfer to a cooling rack to cool completely.
Notes
Ensure butter is softened, not melted, for chewy texture. Freeze Oreos thoroughly to prevent leaking. Do not overbake; cookies continue to cook on the hot pan. For extra flavor, sprinkle flaky sea salt on top before baking. Dough can be chilled for 30 minutes to prevent spreading.
- Prep Time: 30 minutes
- Cook Time: 12 minutes
- Category: Dessert
- Cuisine: American
Nutrition
- Serving Size: 1 cookie
- Calories: 320
- Sugar: 28
- Sodium: 250
- Fat: 16
- Saturated Fat: 10
- Carbohydrates: 42
- Fiber: 1
- Protein: 4
Keywords: Oreo cookies, chocolate chip cookies, stuffed cookies, soft cookies, dessert recipe, easy baking, kid-friendly treats


