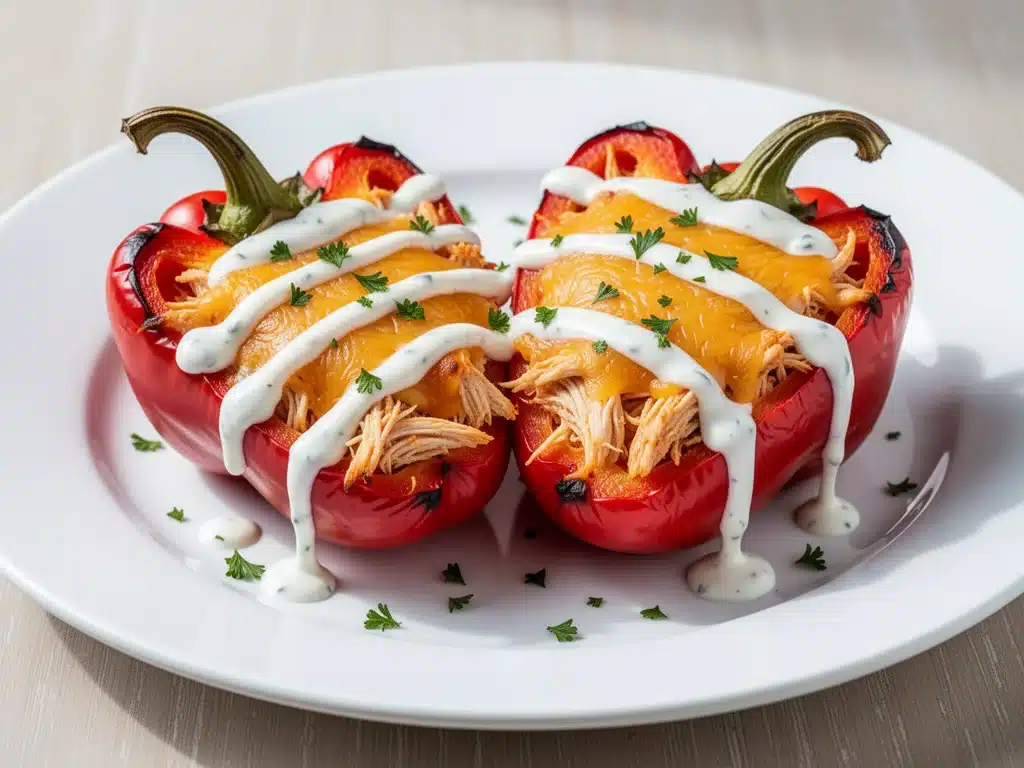
Let’s be real for a second. I have a love-hate relationship with bell peppers. I love the crunch, the color, the fact that they look like little edible bowls. I hate the fact that they often turn into watery, limp disappointment by the time dinner is served. I’ve spent years wrestling with raw pepper insides that refuse to soften while the tops burn, or worse, peppers that collapse into a sad, soggy mess on the plate.
But then I found this trick. And once I found it, I stopped ordering takeout on Tuesday nights entirely.
Buffalo chicken stuffed peppers have become my absolute go-to when I need dinner to be bold, fast, and actually exciting. You know those nights? When you’re tired, the kids are hangry, and you don’t want to make a huge fuss, but you also don’t want to serve plain chicken and rice again. This recipe hits that sweet spot. It’s got the tangy, spicy kick of classic buffalo wings, but it’s tucked inside a vibrant, roasted pepper. It’s comfort food with a backbone.
I’ve tested this recipe at least a dozen times over the last six months. I’ve tried different cheeses (spoiler: cream cheese is non-negotiable), different heat levels (because my husband can’t handle spice, but I live for it), and different pepper sizes. The version below is the winner. It’s reliable, it’s flavorful, and it makes your kitchen smell like a sports bar on Super Bowl Sunday. Plus, it’s surprisingly healthy-ish if you count the vitamins in those peppers as a virtue. Which I do.
So, grab your favorite bottle of hot sauce. We’re making Buffalo chicken stuffed peppers that actually work.
Why You’ll Love This Spicy Dinner Idea
There are about ten reasons I keep making this, but here are the big ones that keep me coming back to the stove.
Zero Food Waste — Seriously. This recipe uses every part of the pepper. The tops go in the salad (or compost), the insides are hollowed out to become the vessel, and the flesh roasts into tender perfection. Nothing gets thrown away. I’m a frugal cook at heart, and I love that.
Meal Prep Friendly — I make a double batch on Sundays. These reheat beautifully in the microwave or oven. By Wednesday, I’m not staring into the fridge wondering what’s for dinner; I’m just grabbing a pepper, heating it up, and eating it with a fork. It tastes almost as good cold as it does warm, which is rare for stuffed veggies.
Customizable Heat — Love it blazing hot? Add extra Frank’s RedHot. Hate spice? Use mild sauce and add a pinch of cayenne to the chicken. I keep a “heat dial” for this recipe. My kids get theirs with mild sauce and extra cheese; I add a dash of cayenne and use spicy cheddar.
Under 30 Minutes (Mostly Hands-Off) — The prep takes about 10 minutes. The roasting takes 25. You’re not standing over the stove stirring. You’re chopping, stuffing, and then you’re free. This is perfect for busy weeknights when you want to spend time with your family instead of your spatula.
Protein-Packed — Chicken breast is lean, peppers are low-calorie, and cheese adds satisfying fat. It’s a balanced meal that keeps you full without leaving you in a food coma. Plus, it’s gluten-free by default, which is a huge win for my celiac neighbor who always asks for the recipe.
Bottom line? This is my answer to “what’s for dinner?” when I want something that feels special but requires zero effort. It’s spicy, it’s creamy, and it’s universally loved.
Ingredients You’ll Need
Here’s the best part: you probably have most of this already. It’s a pantry-friendly recipe with just a few key players. I’m particular about a couple of these, so pay attention.
Large Bell Peppers (4 large, any color) — I prefer red peppers because they’re the sweetest and most mature, but green peppers give a nice bitter crunch. Orange or yellow are great middle grounds. Look for peppers that are firm, shiny, and heavy for their size. If they feel light or wrinkly, skip them. They’ll be watery.
Chicken Breast (1.5 lbs / 680g) — Boneless, skinless. I buy the large breasts and slice them in half horizontally to make thinner cutlets. This helps them cook faster and absorb the sauce better. You can also use rotisserie chicken to save time—just shred it. I do this when I’m being lazy, and it works perfectly.
Buffalo Hot Sauce (½ cup / 120ml) — Frank’s RedHot is the gold standard here. It’s vinegary and tangy, not just spicy. If you use a sweeter hot sauce, the flavor profile changes. I stick with Frank’s for that authentic wing taste. If you want more heat, add cayenne pepper or a dash of chili flakes.
Butter (2 tablespoons) — Unsalted is fine, but I usually use salted because it adds richness. This emulsifies with the hot sauce to create that classic buffalo wing coating. Don’t skip this; oil alone doesn’t give the same mouthfeel.
Cream Cheese (4 oz / 115g) — Full-fat, softened. This is the secret ingredient. It adds creaminess and tames the heat slightly. It binds the chicken and sauce together so it doesn’t just slide out of the pepper. Soften it in the microwave for 10 seconds if you’re in a hurry.
Shredded Cheddar Cheese (1 cup / 100g) — Sharp cheddar is my choice. It has more flavor than mild cheddar. You can use a Mexican blend or mozzarella if you prefer, but sharp cheddar cuts through the richness of the cream cheese. Buy the block and shred it yourself. Pre-shredded cheese has anti-caking agents that make it melt poorly.
Garlic Powder & Onion Powder (1 teaspoon each) — I use powdered versions here because they distribute evenly throughout the chicken mixture. Fresh garlic can burn in the oven if not mixed well. If you only have fresh, mince it finely and add it to the chicken.
Ranch Dressing Mix (1 packet / 1 oz) — Or 2 tablespoons of homemade ranch seasoning. This adds that classic buffalo wing dip flavor. It’s the umami bomb that ties everything together. If you’re watching sodium, use a low-sodium version or skip it, but I don’t recommend skipping it. It’s the magic dust.
Blue Cheese or Ranch for Serving (Optional) — Classic buffalo wings come with blue cheese. I drizzle a little on top after baking for that authentic taste. Ranch is a safer bet for kids. Have both on the table and let everyone choose.
Green Onions (2 stalks, sliced) — For garnish. Adds a fresh, sharp crunch on top of the rich, cheesy filling. I sprinkle these on right before serving.
Equipment Needed
You don’t need fancy gear for this. Here’s what I actually use.
9×13 Inch Baking Dish — I use a ceramic one because it heats evenly. Glass works too. Just make sure it’s large enough to hold four peppers upright. If your peppers are huge, you might need a slightly larger dish.
Small Mixing Bowl — For combining the chicken, cream cheese, and sauces. A medium-sized bowl is best. I use a glass bowl because I can see the mixture clearly.
Fork — For mashing the cream cheese into the chicken. No need for a mixer. A fork does the job perfectly.
Peeler or Small Spoon — To remove the seeds and membranes from the peppers. I use a paring knife to cut the tops off, then a spoon to scrape out the insides. It’s faster than peeling.
Measuring Spoons — Standard stuff. I keep a set in every drawer.
Aluminum Foil — Optional, but I use it to cover the peppers for the first 15 minutes of baking. This steams them slightly, ensuring they get tender. I remove the foil at the end to brown the cheese.
How to Make It: Step-by-Step
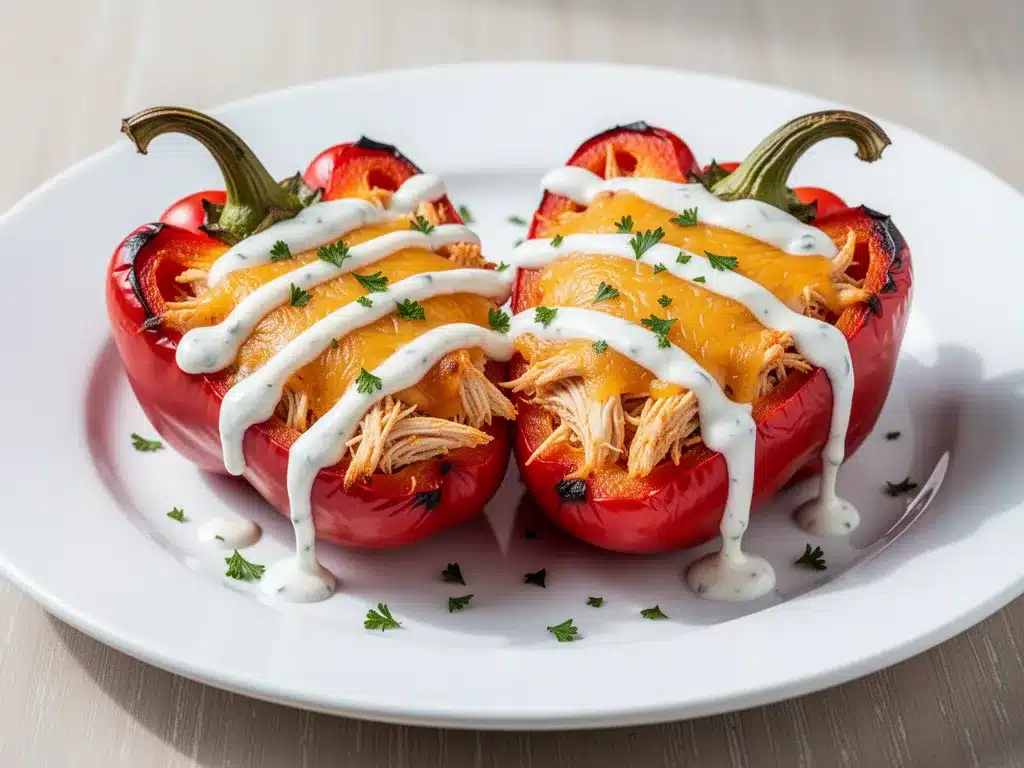
Alright, let’s make this! I’m walking you through exactly how I do it, including the little tricks I’ve picked up.
Step 1: Prep the Peppers (5 minutes)
Preheat your oven to 375°F (190°C). Take your bell peppers and wash them thoroughly. Slice off the tops (about 1 inch down). Reserve the tops if you want to chop them up and add them to the filling (I do this to avoid waste). Use a spoon or paring knife to scoop out the seeds and white membranes from the inside. The white parts are bitter, so get them all out. You want a clean, hollow shell. If a pepper is wobbling, slice a tiny sliver off the bottom so it sits flat. This is crucial—nothing is worse than a pepper tipping over in the oven.
Step 2: Make the Buffalo Chicken Filling (5 minutes)
In a mixing bowl, combine the cooked chicken (shredded or chopped), softened cream cheese, buffalo hot sauce, melted butter, garlic powder, onion powder, and ranch seasoning mix. Mash it all together with a fork until it’s well combined. The mixture should be moist but not soupy. If it’s too dry, add a splash more hot sauce. If it’s too wet, add a bit more shredded cheese. Taste it now! This is your chance to adjust the heat. Want it spicier? Add cayenne. Want it milder? Add more cream cheese.
Step 3: Stuff the Peppers (3 minutes)
Place your hollowed-out peppers upright in the baking dish. Spoon the chicken mixture into each pepper. Don’t be shy—pack it in. You want a generous filling. Sprinkle the shredded cheddar cheese evenly over the top of each pepper. The cheese should cover the chicken mixture completely. This creates that golden, bubbly crust we all love.
Step 4: Bake Until Tender (25-30 minutes)
Cover the baking dish loosely with aluminum foil. This traps the steam and helps the peppers soften. Bake for 15 minutes. Then, remove the foil and bake for another 10-15 minutes, or until the peppers are tender when pierced with a fork and the cheese is melted and slightly browned. If you like extra crispy cheese, broil for the last 1-2 minutes, but watch it like a hawk. Cheese burns faster than you think.
Step 5: Rest and Serve (5 minutes)
Let the peppers rest for 5 minutes after taking them out of the oven. This allows the filling to set slightly so it doesn’t fall out when you cut into them. Garnish with sliced green onions and a drizzle of blue cheese or ranch if desired. Serve immediately while hot.
Total Time: About 45 minutes (15 minutes prep, 30 minutes baking)
Built-in Troubleshooting
- Peppers are still crunchy: Bake them covered for an extra 5-10 minutes. Some pepper varieties are thicker and need more time.
- Filling is leaking out: You didn’t pack it in tight enough. Next time, press the mixture down firmly. Or, just eat the leaks with a spoon—it’s the best part.
- Too spicy: Serve with a dollop of sour cream or extra ranch. It’s the classic fix.
Expert Tips & Tricks
Here’s everything I’ve learned from making this dozens of times. These tips will save you from my mistakes.
Use Rotisserie Chicken for Speed — If you’re short on time, skip cooking the chicken. Just shred a store-bought rotisserie chicken. It saves 20 minutes and tastes just as good. I do this on busy weeknights all the time.
Don’t Skip the Cream Cheese — I know, it’s extra calories. But it’s what holds the filling together. Without it, you’ll have a pile of chicken and sauce at the bottom of the dish. The cream cheese creates a cohesive, creamy texture that’s addictive.
Toast the Peppers First? No. — Some recipes call for blanching or roasting peppers before stuffing. I’ve tried it, and it makes them too soft and watery. Raw peppers hold up better in the oven and develop a nice roasted flavor without turning to mush.
Freeze the Toppings — If you’re meal prepping, make the filling ahead of time. Store it in the fridge for up to 2 days. Stuff the peppers and bake when ready. The flavors actually meld and get better overnight.
Use a Mix of Cheeses — I sometimes swap half the cheddar for mozzarella. Mozzarella stretches more and looks prettier. Cheddar has more flavor. Use both for the best of both worlds.
Variations & Substitutions
Once you’ve nailed the basic version, here’s how you can mix it up. I’ve tried all of these.
Turkey Version — Use ground turkey instead of chicken breast. It’s leaner and has a slightly different texture. Works great, especially if you add a bit more cream cheese for moisture.
Veggie-Loaded — Add diced bell peppers, onions, and celery to the filling. It’s like a buffalo chicken dip in a pepper. Adds crunch and volume. I do this to stretch the recipe further.
Low-Carb — Use cauliflower rice instead of any rice (if you add it). Or just skip any filler. The base recipe is already low-carb. Serve with celery sticks on the side for dipping.
Spicy Jalapeño — Add diced jalapeños to the filling and use pepper jack cheese. For those who really love heat. My brother requests this version.
BBQ Style — Swap the buffalo sauce for BBQ sauce. Use smoked gouda instead of cheddar. It’s a totally different vibe but just as delicious.
Serving & Storage
How to Serve: I usually serve these straight from the baking dish. They look rustic and inviting. Pair them with a simple green salad or celery sticks with ranch for dipping. It’s a complete meal.
Side Dishes:
- Celery sticks (classic buffalo wing side)
- Coleslaw (the crunch pairs well with the soft peppers)
- Rice or quinoa (if you want a heartier meal)
- Corn on the cob (summer vibe)
Refrigerator: Store leftovers in an airtight container for up to 4 days. The peppers will soften further in the fridge, which some people prefer. The flavor stays strong.
Reheating: Microwave for 1-2 minutes until heated through. Or bake in the oven at 350°F for 15 minutes to restore the crispness of the cheese. Avoid the microwave if you want the cheese to stay bubbly and browned.
Freezing: I don’t recommend freezing stuffed peppers. The peppers get mushy when thawed, and the cheese separates. Make them fresh. It’s worth the 45 minutes.
Nutrition Information
I’m not a nutritionist, but here’s the breakdown if you’re tracking. Per serving (based on 4 servings, without extra ranch/blue cheese topping):
| Nutrient | Amount |
|---|---|
| Calories | 320 |
| Protein | 28g |
| Carbs | 12g |
| Fat | 18g |
| Fiber | 3g |
| Sugar | 6g |
| Sodium | 680mg |
What’s Good: High protein, decent fiber from the peppers. It’s a balanced meal. What to Know: Sodium can be high depending on the hot sauce and ranch mix. Use low-sodium ranch and check your hot sauce label. Overall, it’s a solid weeknight dinner that’s not too heavy.
Final Thoughts
So that’s my go-to Buffalo chicken stuffed peppers! I’ve probably talked your ear off at this point, but when you make a recipe this often, you have a lot to say about it.
This has saved weeknight dinners more times than I can count. It’s my answer to “what’s for dinner?” when I’m tired, don’t want takeout, and still want something that tastes really good. My kids are happy, my husband’s happy, and I’m happy because I’m not stressed about cooking.
Make it yours! Try different add-ins, swap in your favorite vegetables, adjust the garlic (though more is always better in my opinion). The best recipes are the ones you adapt to your family’s tastes.
If you make this, drop a comment and let me know what you think! I love hearing how recipes turn out in your kitchen. And if something doesn’t work, tell me that too—I’m here to help troubleshoot.
Happy cooking! And I hope your kitchen smells half as good as mine does right now.
Frequently Asked Questions
Can I use green peppers instead of red?
Absolutely. Green peppers are more bitter and have a crunchier texture. Red peppers are sweeter and softer. I prefer red for their flavor, but green works great if you like a bit of bite. Just be aware that green peppers might take a few minutes longer to soften.
Why did my peppers leak filling?
Usually, this happens if the peppers aren’t sitting flat or if the filling is too loose. Make sure you slice a tiny bit off the bottom of the pepper so it stands upright. Also, press the filling down firmly. If it’s too wet, add more cheese or cream cheese to bind it.
Can I make this ahead of time?
Yes! Prep the peppers and make the filling up to 2 days ahead. Store them separately in the fridge. When ready to cook, stuff the peppers, top with cheese, and bake. It saves time on busy nights. Just don’t bake them ahead and reheat; the texture suffers.
What if I don’t have ranch seasoning mix?
You can make your own! Mix 1 tablespoon dried parsley, 1 teaspoon garlic powder, 1 teaspoon onion powder, 1 teaspoon dried dill, 1 teaspoon salt, and 1 teaspoon black pepper. It’s not exactly the same, but it’s close. Or just skip it and add a little extra salt and garlic.
Can I use ground chicken instead of breast?
Yes, ground chicken works well. It’s juicier but has a different texture. You’ll need to cook the ground chicken first before mixing it with the sauces. Brown it in a pan, drain any excess fat, then mix with the cream cheese and sauces. It’s delicious, just a bit heavier.
How do I reheat leftovers without drying them out?
Add a splash of water or chicken broth to the baking dish before reheating in the oven. Cover with foil to trap steam. Microwave in 30-second intervals, stirring if possible, or just heating the whole pepper. If the cheese has hardened, a quick broil at the end helps bring it back to life.
Are these gluten-free?
Yes, the base recipe is naturally gluten-free. Just check your hot sauce and ranch seasoning mix to ensure they don’t contain hidden gluten. Most hot sauces are GF, and many ranch mixes are too, but always read the label.
Pin This Recipe!
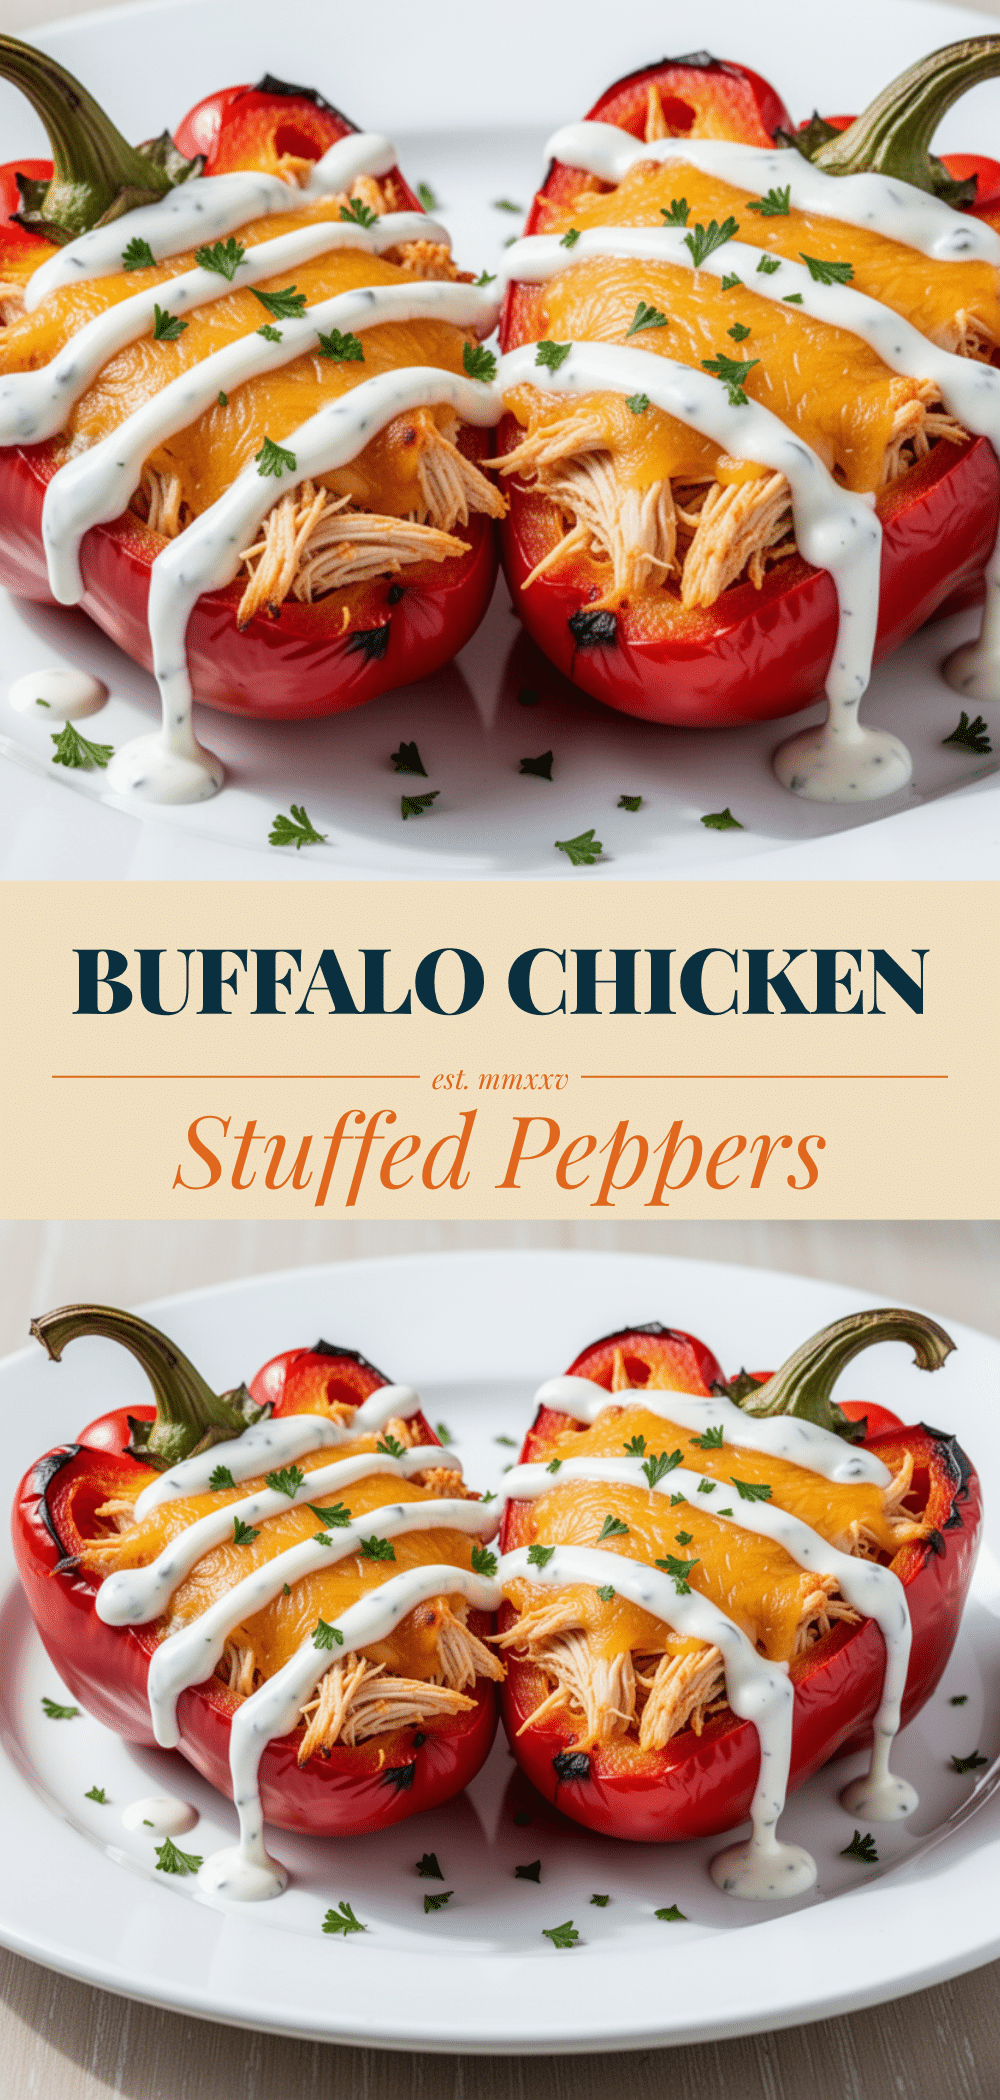

Buffalo Chicken Stuffed Peppers: 5-Step Spicy Dinner
- Total Time: 45 minutes
- Yield: 4 servings 1x
Description
A bold, fast, and spicy weeknight dinner featuring bell peppers stuffed with a creamy buffalo chicken mixture, baked until tender and topped with melted cheddar cheese.
Ingredients
- 4 large bell peppers (any color)
- 1.5 lbs boneless, skinless chicken breast (cooked and shredded/chopped) or rotisserie chicken
- ½ cup Frank’s RedHot buffalo hot sauce
- 2 tablespoons butter (melted)
- 4 oz full-fat cream cheese (softened)
- 1 cup shredded sharp cheddar cheese
- 1 teaspoon garlic powder
- 1 teaspoon onion powder
- 1 packet (1 oz) ranch dressing mix
- 2 stalks green onions (sliced, for garnish)
- Blue cheese or ranch dressing (optional, for serving)
- Aluminum foil (for covering)
Instructions
- Preheat oven to 375°F (190°C).
- Wash peppers, slice off the tops, and scoop out seeds and white membranes to create hollow shells. Slice a tiny sliver off the bottom if needed so they sit flat.
- In a mixing bowl, combine shredded chicken, softened cream cheese, buffalo hot sauce, melted butter, garlic powder, onion powder, and ranch seasoning mix. Mash with a fork until well combined.
- Place peppers upright in a 9×13 inch baking dish. Pack the chicken mixture firmly into each pepper.
- Sprinkle shredded cheddar cheese evenly over the top of each pepper.
- Cover the baking dish loosely with aluminum foil and bake for 15 minutes.
- Remove foil and bake for another 10-15 minutes, or until peppers are tender and cheese is melted and slightly browned.
- Let rest for 5 minutes before serving. Garnish with green onions and serve with blue cheese or ranch if desired.
Notes
For best results, use full-fat cream cheese to bind the filling. If peppers are still crunchy, bake covered for an extra 5-10 minutes. Do not freeze stuffed peppers as the texture suffers upon thawing. Can be made ahead by prepping peppers and filling separately in the fridge for up to 2 days.
- Prep Time: 15 minutes
- Cook Time: 30 minutes
- Category: Main Course
- Cuisine: American
Nutrition
- Serving Size: 1 stuffed pepper
- Calories: 320
- Sugar: 6
- Sodium: 680
- Fat: 18
- Saturated Fat: 9
- Carbohydrates: 12
- Fiber: 3
- Protein: 28
Keywords: buffalo chicken, stuffed peppers, spicy dinner, weeknight meals, gluten-free, meal prep, chicken breast, bell peppers, comfort food


