It was 7:45 PM on a rainy Tuesday in November, and I was staring into the open fridge like it held the secrets to the universe. It didn’t. It held half a jar of pickles, some sad spinach, and a package of chicken breasts that had been in there since Sunday. I was exhausted. My brain was fried from work, my body was tired, and the last thing I wanted to do was stand over a stove for an hour. But I also knew that ordering takeout would cost me twenty bucks and leave me feeling sluggish by morning.
I wanted comfort. I wanted something warm, filling, and creamy, but I didn’t have the energy to chop vegetables or manage five different pans. That’s when I remembered an old casserole recipe my mom used to make, but with a twist. I decided to skip the canned soup and make a chicken and rice casserole from scratch, using ingredients I actually had on hand. I threw everything into one baking dish, set it in the oven, and finally sat down.
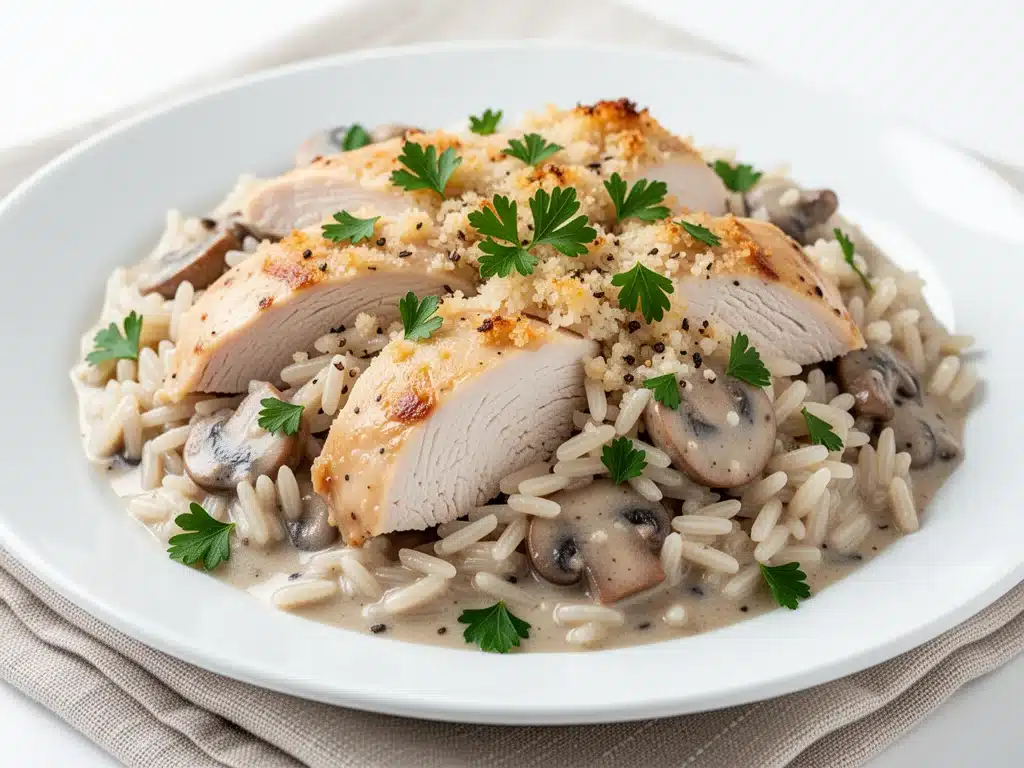
When the timer went off forty minutes later, the smell filled the entire house. It smelled like safety. It smelled like Sunday dinner. My kids ran into the kitchen before I even pulled it out, forks in hand. That night, I realized something important: I didn’t need to be a gourmet chef to feed my family well. I just needed a reliable, one-dish meal that worked when I was at my lowest. This chicken and rice casserole has been my lifeline ever since. It’s not fancy, but it’s consistent, it’s cheap, and it tastes like home. I’ve made this dish at least thirty times in the last year, tweaking it slightly each time until it became the ultimate weeknight savior.
Why You’ll Love This Chicken and Rice Casserole
There are a million dinner ideas floating around, but this one sticks. It’s the dish I make when I have zero energy but still want to eat something homemade. Here is why this recipe has earned a permanent spot in my weekly rotation:
- One Dish, Zero Stress — Seriously, this is the ultimate low-effort meal. You mix everything in one bowl or dish, and it bakes hands-off. I can actually sit on the couch and watch a show while this cooks. No stirring, no monitoring, no panic.
- Uses Up Leftovers — I love making this with leftover rotisserie chicken, but raw chicken works too. It’s also perfect for using up that extra rice in your fridge. It’s basically a cleanup meal for your leftovers.
- Kid-Approved Comfort — My picky eater, who usually refuses to touch “mystery meat,” asks for this specifically. The creamy sauce and soft rice make it approachable for even the fussiest eaters. Plus, the cheese on top? Undeniable.
- Budget-Friendly — Chicken, rice, and a few pantry staples. This feeds four to six people for under $15. That’s a miracle in today’s grocery market. It’s cheaper than delivery and healthier than fast food.
- Freezer-Friendly — I often make double batches. Half I bake immediately, and half I freeze raw. When I’m too tired to cook later in the week, I just thaw it and bake. It’s meal prep made easy.
This isn’t just food; it’s peace of mind. When life gets chaotic, this casserole is the one thing I know will turn out perfectly. It’s warm, it’s filling, and it requires almost no skill to make. That’s the kind of recipe that keeps me sane.
Ingredients You’ll Need
Here’s the best part about this chicken and rice casserole: you probably have most of this already in your pantry. I’m not asking you to hunt down obscure spices or expensive cuts of meat. It’s simple, honest cooking. Here is what you need to make it right.
For the Base
Chicken (2 pounds / 900g) — I use boneless, skinless chicken thighs for extra flavor and juiciness, but breasts work fine if you don’t overcook them. Dice them into bite-sized pieces so they cook evenly. If you’re using leftover rotisserie chicken, chop it up and add it at the end so it doesn’t dry out.
White Rice (1 ½ cups / 300g) — Use long-grain white rice like Jasmine or Basmati. Do not use brown rice or instant rice; the texture and cooking time will be wrong. Long-grain gets fluffy and absorbs the sauce perfectly. Rinse it briefly to remove excess starch.
Cream of Mushroom Soup (1 can / 10.5 oz) — I know, it’s canned. But it’s the classic shortcut for a reason. It provides that creamy, savory base. If you want to avoid processed ingredients, see the substitution section below for a homemade roux method.
Chicken Broth (1 cup / 240ml) — Use low-sodium broth so you can control the saltiness. Vegetable broth works if you want a lighter version, but chicken adds that deep savory flavor.
For the Flavor
Onion (1 medium / 150g) — Diced yellow onion. It adds sweetness and depth. Don’t skip it; it’s the aromatic base.
Garlic (3 cloves / 1 tablespoon) — Minced fresh garlic. Jarred garlic is okay in a pinch, but fresh makes a huge difference in this dish. I always have it minced if I’m planning to cook.
Thyme (1 teaspoon dried) — Dried thyme is perfect here. It’s earthy and pairs beautifully with chicken. Fresh thyme works too, but use twice the amount.
Salt and Black Pepper — To taste. I usually start with 1 teaspoon of salt and half a teaspoon of pepper, but adjust based on your broth’s sodium level.
For the Topping
Shredded Cheese (1 cup / 100g) — I love a mix of cheddar and mozzarella. Cheddar gives flavor, mozzarella gives the stretch. You can use whatever cheese you have on hand.
Frozen Peas and Carrots (1 cup / 150g) — This is the “hidden veggies” section. I throw in a handful of frozen mixed vegetables. They cook right in the casserole and add color and texture without much effort. You can swap these for broccoli florets or corn if you prefer.
Panko Breadcrumbs (½ cup / 50g) — Optional, but I highly recommend them. Sprinkling panko on top before baking gives you that crunchy contrast to the soft, creamy inside. It’s the texture upgrade this dish needs.
Equipment Needed
You don’t need anything fancy for this. Here’s what I actually use in my kitchen:
9×13 Inch Baking Dish — A standard ceramic or glass baking dish works best. I use a Pyrex dish because I can see the edges browning. Metal pans work too, but glass distributes heat evenly.
Large Mixing Bowl — You need a big bowl to combine the raw rice, chicken, soup, and broth. A 4-quart bowl is ideal so nothing spills when you stir.
Knife and Cutting Board — For dicing the chicken and onion. Sharp knives are safer and faster.
Measuring Cups and Spoons — Standard stuff. I keep a set on my counter for easy access.
Wooden Spoon or Spatula — For stirring the mixture and spreading it into the baking dish.
Aluminum Foil — You’ll need this to cover the casserole for the first part of baking. This traps the steam and helps the rice cook through without burning the top.
How to Make It: Step-by-Step
Alright, let’s get this into the oven. This process is straightforward, but there are a few tricks to ensure the rice gets cooked perfectly and doesn’t end up crunchy or mushy. I’m walking you through exactly how I do it.
Step 1: Prep the Chicken and Veggies (5 minutes)
Start by preheating your oven to 375°F (190°C). While the oven heats up, dice the chicken into bite-sized pieces. If you’re using raw chicken, this is the time to do it. Dice the onion and mince the garlic. If you’re using frozen vegetables, keep them frozen until you add them; it saves time.
Step 2: Mix the Base (5 minutes)
In your large mixing bowl, combine the diced chicken, uncooked rice, diced onion, minced garlic, dried thyme, salt, and pepper. Stir these dry ingredients together first. Then, pour in the can of cream of mushroom soup and the chicken broth. Stir everything until the rice and chicken are evenly coated in the creamy mixture. It will look thick and clumpy—that’s normal. The liquid will expand as the rice cooks.
Step 3: Transfer to Baking Dish (2 minutes)
Spread the mixture evenly into your 9×13 baking dish. Use the back of your spoon to smooth it out. If you’re adding frozen peas and carrots now, fold them in gently or layer them on top. I like layering them on top so they get a bit of color, but mixing them in works too.
Step 4: Cover and Bake (30 minutes)
Cover the baking dish tightly with aluminum foil. This is crucial. The foil traps the steam, which is what cooks the rice. If the rice doesn’t get enough steam, it stays hard. Place the dish in the preheated oven and bake for 30 minutes. Do not open the oven during this time. Trust the process.
Step 5: Add Cheese and Uncover (15-20 minutes)
After 30 minutes, carefully remove the dish from the oven. Peel off the foil—watch out for the steam! Sprinkle the shredded cheese evenly over the top. If you’re using panko breadcrumbs, sprinkle those over the cheese now for extra crunch. Return the dish to the oven, uncovered, and bake for another 15-20 minutes. You’re looking for the cheese to be bubbly and golden brown, and the rice to be tender.
Step 6: Rest and Serve (5 minutes)
Once it comes out of the oven, let it rest for 5 minutes before serving. This allows the sauce to thicken up slightly. If you cut into it immediately, the sauce might be a bit runny. Resting makes it creamy and cohesive. Serve hot, straight from the dish.
Expert Tips & Tricks
Here’s everything I’ve learned from making this dozens of times. These tips will save you from my early mistakes.
Don’t Skip the Foil — I know it’s tempting to just bake it open, but the rice needs that trapped steam to cook properly. If you bake it uncovered from the start, the top will burn before the rice is done. Cover it tight for the first 30 minutes.
Check the Rice Texture — After 45 minutes total baking time, check a grain of rice. If it’s still hard, cover it again and bake for another 10 minutes. Different rice brands absorb liquid differently, so keep an eye on it.
Use Thighs for Juiciness — Chicken breasts can dry out in the oven, especially if you overcook them. Thighs stay juicy and flavorful even after 45 minutes of baking. If you must use breasts, cut them into smaller pieces so they cook faster.
Add Fresh Herbs at the End — Dried thyme is great for the long bake, but fresh parsley or chives added right before serving brighten up the dish. It adds a fresh pop of color and flavor.
Don’t Stir After Baking — Once it comes out of the oven, resist the urge to stir it vigorously. Let it rest. Stirring too much can make the rice mushy. Gentle mixing is better.
Variations & Substitutions
Once you’ve nailed the basic version, here’s how you can mix it up. I’ve tried all of these, and they all work.
Vegetarian Version — Skip the chicken and add 1 cup of cooked lentils or chickpeas for protein. Use vegetable broth instead of chicken broth. Add extra veggies like mushrooms or zucchini.
Gluten-Free — Most cream of mushroom soup is gluten-free, but check the label. Use gluten-free broth and rice. Some brands add wheat flour to the soup, so look for a certified GF version.
Homemade Cream Sauce — If you want to avoid canned soup, make a quick roux. Melt 3 tablespoons of butter, whisk in 3 tablespoons of flour, cook for 1 minute, then slowly whisk in 1 cup of chicken broth and 1 cup of milk. Simmer until thickened, then use this instead of the soup.
Spicy Kick — Add ½ teaspoon of cayenne pepper or a diced jalapeño to the mix. Top with pepper jack cheese instead of cheddar.
Herb-Infused — Swap thyme for rosemary or sage. These earthy herbs pair beautifully with chicken and rice.
Leftover Chicken — If using rotisserie chicken, reduce the baking time to 25 minutes covered, then 10 minutes uncovered. The chicken is already cooked, so you just need to heat it through and cook the rice.
Serving & Storage
This casserole is best served hot, straight from the oven. I usually pair it with a simple green salad or steamed broccoli to balance the richness. Garlic bread is a classic side, but honestly, the casserole is so filling that you might not need anything else.
Storage — Store leftovers in an airtight container in the refrigerator for up to 4 days. The rice will continue to absorb the sauce, so it might get thicker in the fridge. That’s normal.
Reheating — To reheat, add a splash of chicken broth or milk to the casserole before warming it. This helps restore the creamy texture. Microwave individual portions for 2-3 minutes, stirring halfway. Or reheat in the oven at 350°F for 15-20 minutes, covered with foil.
Freezing — You can freeze this casserole, but it’s best to freeze it before baking. Assemble the dish, cover tightly with foil and plastic wrap, and freeze for up to 3 months. When ready to cook, thaw in the fridge overnight, then bake as directed, adding 10-15 minutes to the cooking time.
Pro Tip — If you’re meal prepping, portion it out into individual containers. It reheats beautifully in the microwave for a quick lunch.
Nutrition Information
I’m not a nutritionist, but here’s the breakdown if you’re tracking. This is per serving, based on 6 servings.
Calories: 450
Protein: 28g
Carbs: 42g
Fiber: 2g
Sugar: 3g
Fat: 18g
Saturated Fat: 8g
Cholesterol: 85mg
Sodium: 650mg
Calcium: 200mg
This dish is a good source of protein and calcium from the cheese and chicken. It’s higher in calories due to the creamy sauce, but it’s balanced by the rice and vegetables. If you want to lighten it up, use low-fat soup and reduced-fat cheese, or swap half the rice for cauliflower rice.
Final Thoughts
So that’s my go-to chicken and rice casserole! I’ve probably talked your ear off at this point, but when you make a recipe this often, you have a lot to say about it. This dish has saved me on countless weeknights when I was too tired to think. It’s warm, it’s comforting, and it tastes like it came from a slow Sunday afternoon, even though it’s ready in under an hour.
Make it yours! Add more veggies, swap the cheese, or try different herbs. The best recipes are the ones you adapt to your family’s tastes. If you make this, drop a comment and let me know what you think! I love hearing how recipes turn out in your kitchen. And if something doesn’t work, tell me that too—I’m here to help troubleshoot.
Happy cooking! And I hope your kitchen smells half as good as mine does right now.
Frequently Asked Questions
Can I use instant rice?
I don’t recommend it. Instant rice cooks too quickly and can turn mushy in the casserole. Long-grain white rice is the best choice because it holds its shape and absorbs the sauce nicely. If you’re in a huge rush, you can par-cook the instant rice, but it’s not worth the texture risk.
Why is my rice still crunchy?
This usually means the rice didn’t get enough liquid or steam. Make sure you’re using the correct ratio of liquid to rice (usually 1.5 to 2 cups of liquid per cup of rice). Also, ensure your foil is sealed tightly to trap the steam. If the rice is still hard after 45 minutes, add a little more broth, cover, and bake for another 10-15 minutes.
Can I make this ahead of time?
Yes! You can assemble the casserole up to 24 hours in advance. Keep it covered in the fridge, then bake it when you’re ready. You might need to add 5-10 minutes to the baking time since the dish will be cold from the fridge.
What can I substitute for cream of mushroom soup?
You can make a homemade version by sautéing mushrooms, making a roux with butter and flour, and adding chicken broth. Or, use cream of chicken soup if you prefer that flavor. For a healthier option, use a mixture of Greek yogurt and broth, but add it at the end of cooking to prevent curdling.
Can I freeze this casserole after baking?
You can, but the texture of the rice might change slightly upon reheating. It’s better to freeze the unbaked casserole. If you must freeze it after baking, let it cool completely, portion it out, and freeze in airtight containers. Reheat gently with added liquid.
Is this recipe gluten-free?
It can be! Check your cream of mushroom soup label, as some brands contain wheat flour. Use a certified gluten-free soup, gluten-free broth, and rice. The rest of the ingredients are naturally gluten-free.
Can I add other vegetables?
Absolutely. Broccoli, cauliflower, corn, and bell peppers all work well. Just make sure they’re cut into small pieces so they cook evenly. If using fresh vegetables that take longer to cook, like carrots, sauté them briefly before adding to the mix.
Pin This Recipe!
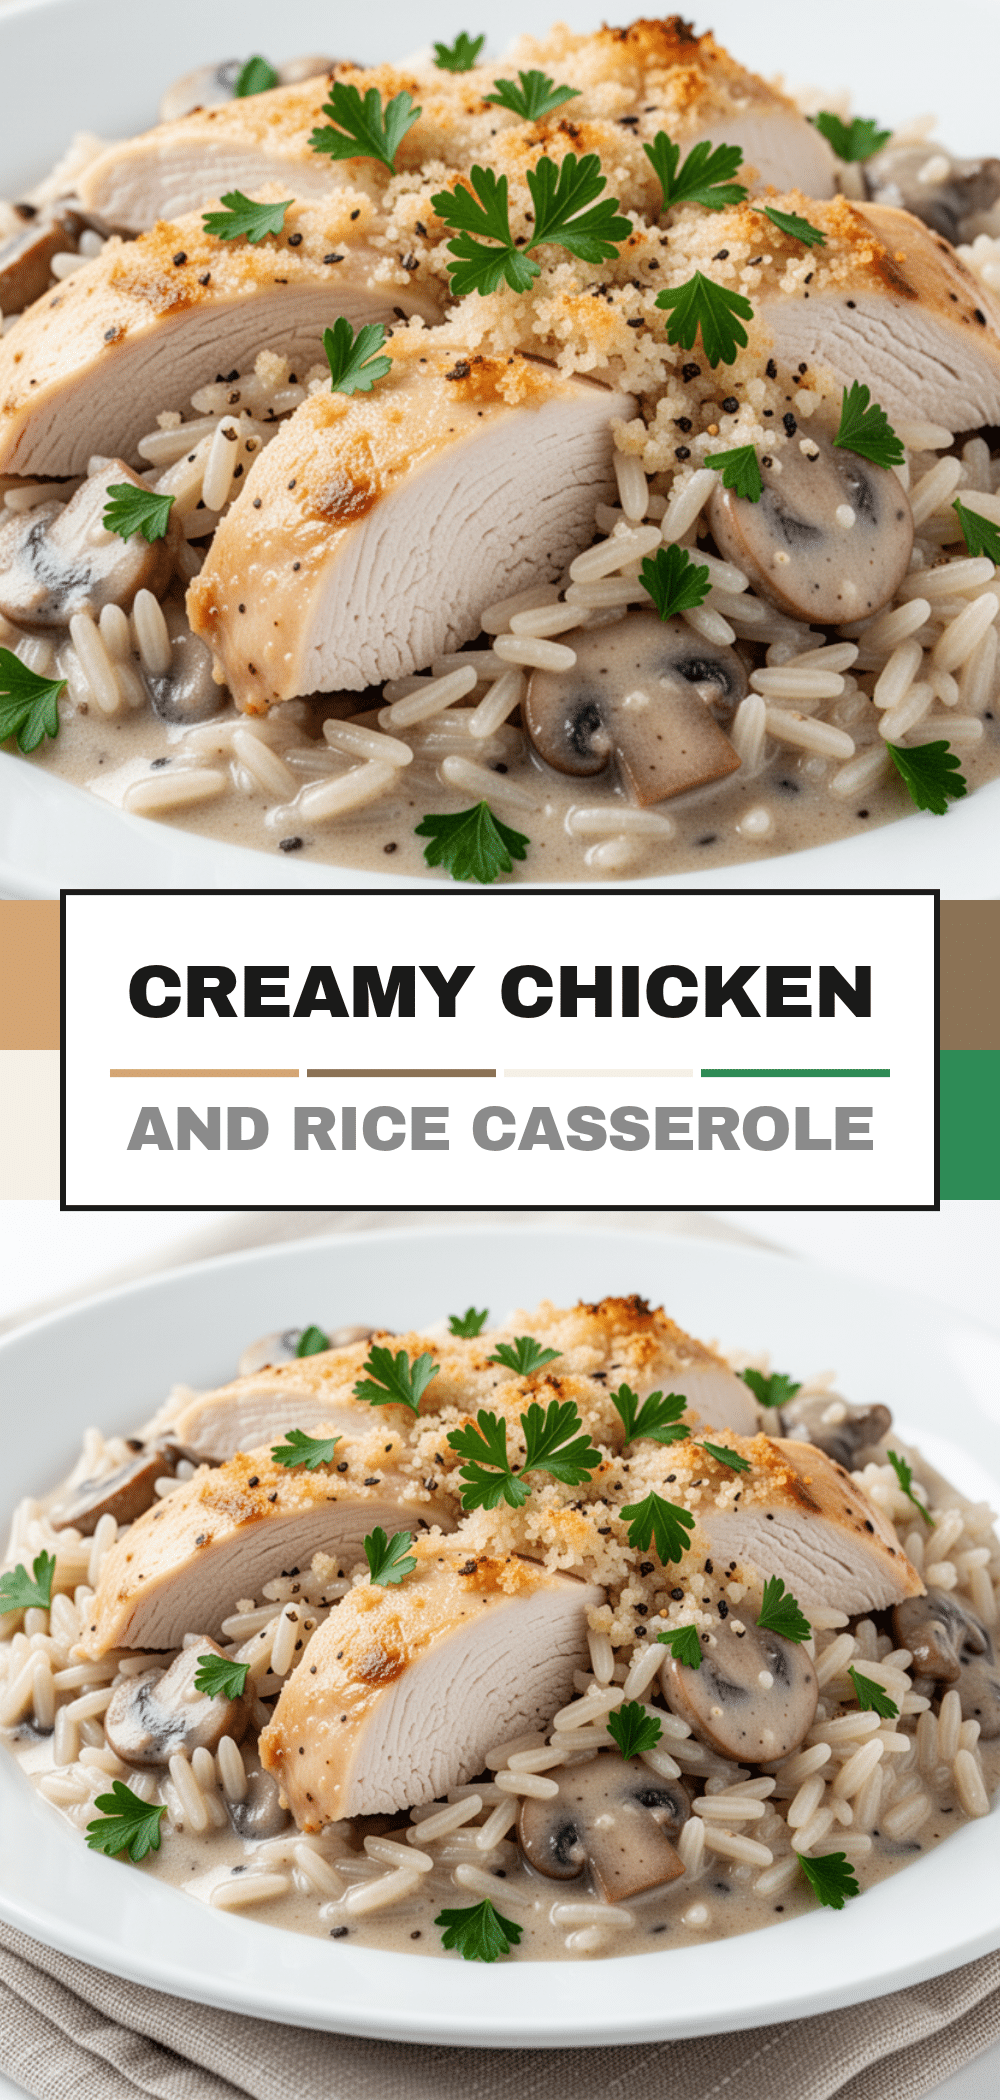

Chicken and Rice Casserole: Easy Weeknight Dinner
- Total Time: 55 minutes
- Yield: 6 servings 1x
Description
A comforting, one-dish chicken and rice casserole that is perfect for busy weeknights. It uses simple pantry ingredients, requires minimal prep, and yields a creamy, cheesy meal that the whole family will love.
Ingredients
- 2 pounds boneless, skinless chicken thighs or breasts, diced
- 1 ½ cups long-grain white rice (Jasmine or Basmati)
- 1 can (10.5 oz) cream of mushroom soup
- 1 cup low-sodium chicken broth
- 1 medium yellow onion, diced
- 3 cloves garlic, minced
- 1 teaspoon dried thyme
- 1 teaspoon salt (adjust to taste)
- ½ teaspoon black pepper
- 1 cup shredded cheese (cheddar and mozzarella mix)
- 1 cup frozen peas and carrots
- ½ cup panko breadcrumbs (optional)
Instructions
- Preheat oven to 375°F (190°C).
- In a large mixing bowl, combine diced chicken, uncooked rice, diced onion, minced garlic, dried thyme, salt, and pepper.
- Pour in the cream of mushroom soup and chicken broth. Stir until all ingredients are evenly coated.
- Transfer the mixture to a 9×13 inch baking dish and spread evenly. Add frozen peas and carrots on top or mix in.
- Cover the baking dish tightly with aluminum foil.
- Bake covered for 30 minutes.
- Remove from oven, carefully peel off the foil, and sprinkle shredded cheese and panko breadcrumbs (if using) over the top.
- Return to oven uncovered and bake for another 15-20 minutes, until cheese is bubbly and golden, and rice is tender.
- Let rest for 5 minutes before serving to allow sauce to thicken.
Notes
Do not skip the foil during the first 30 minutes of baking; it traps the steam necessary to cook the rice. If using rotisserie chicken, reduce baking time to 25 minutes covered and 10 minutes uncovered. For a vegetarian version, substitute chicken with lentils or chickpeas and use vegetable broth.
- Prep Time: 10 minutes
- Cook Time: 45 minutes
- Category: Main Course
- Cuisine: American
Nutrition
- Serving Size: 1 serving
- Calories: 450
- Sugar: 3
- Sodium: 650
- Fat: 18
- Saturated Fat: 8
- Carbohydrates: 42
- Fiber: 2
- Protein: 28
Keywords: chicken and rice casserole, easy weeknight dinner, one pot meal, comfort food, family friendly, budget friendly, freezer friendly


