Last February, I was standing in my kitchen at 8:15 PM, staring at a half-empty pantry and a guest list that included my husband’s boss, his wife (who is apparently a “serious foodie”), and three of their friends. We had planned a casual dinner, but somehow, I had forgotten to plan for dessert. I panicked. I considered ordering takeout from that fancy French place down the street, but I knew I wouldn’t get it in time, and quite honestly, I didn’t want to look like the host who didn’t try.
I had exactly fifteen minutes before everyone would be asking for something sweet. I rummaged through the cupboards, found some semi-sweet chocolate chips, a stick of butter, eggs, sugar, and a bit of flour. I didn’t have time to bake a cake. I didn’t even have time to make brownies. So, I did what I always do when I’m stressed: I improvised.
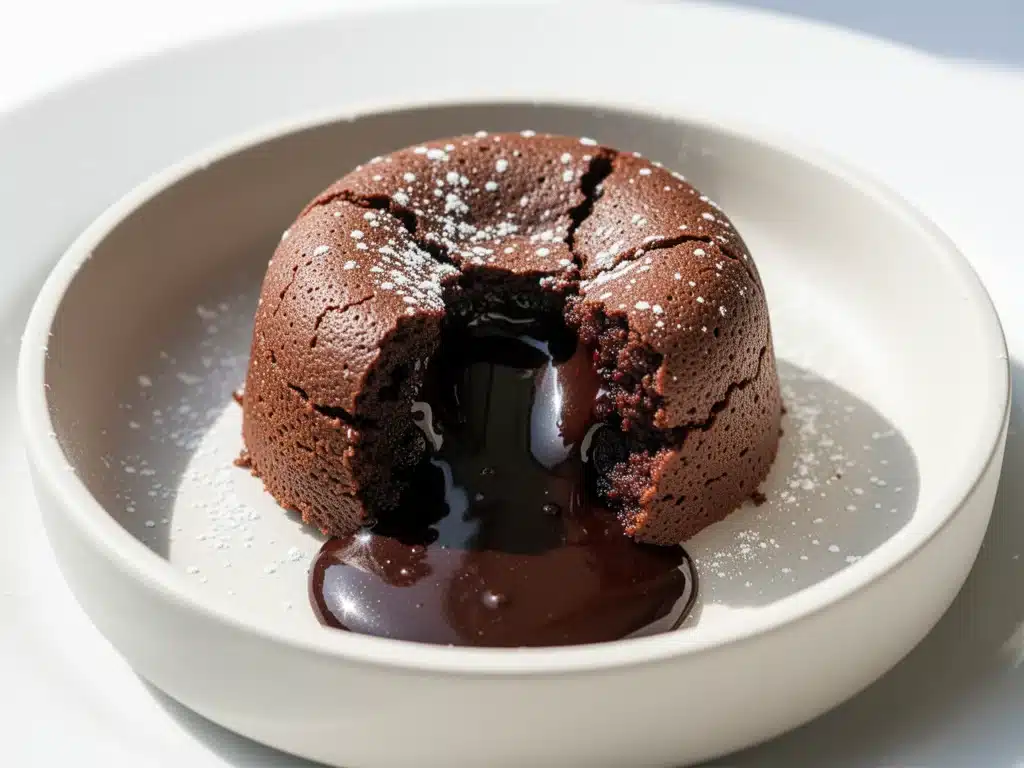
I melted the chocolate and butter, whisked in the eggs and sugar, folded in the flour, and dumped the batter into ramekins. I shoved them into the oven at 425°F and set a timer for exactly 12 minutes. I paced the kitchen like a nervous parent. At 12 minutes, I pulled them out. They looked like little cakes. I flipped one onto a plate, took a cautious bite, and then—oh my god—the center was liquid. It was warm, gooey, rich, and absolutely perfect.
My husband’s boss took one bite, closed her eyes, and said, “This is incredible. Did you make this?” I nodded, trying to look nonchalant while internally screaming because I had almost ordered Uber Eats. That was the night I discovered that the best 15-minute chocolate lava cake isn’t about fancy techniques or expensive ingredients. It’s about knowing exactly when to pull the pan out of the oven.
Since that night, I’ve made this dessert dozens of times. It’s become my secret weapon for last-minute guests, my reward for a hard week, and my go-to comfort food on rainy Sundays. It’s not just a recipe; it’s a lifeline. And the best part? You can make it from scratch in less time than it takes to drive to a bakery.
Why You’ll Love This 15-Minute Chocolate Lava Cake
Look, I get it. You’re tired. You don’t want to spend an hour whisking egg whites or tempering chocolate. You want something that tastes like it came from a high-end Parisian patisserie but requires the effort of opening a jar of peanut butter. This chocolate lava cake is exactly that.
Here’s why this specific version has earned a permanent spot in my rotation:
It’s Actually Fast — Not “preheating the oven” fast. I mean fifteen minutes from bowl to bite. I’ve timed it. If you prep your ingredients (which takes 2 minutes), the oven does the rest. It’s perfect for when you have a craving at 10 PM and don’t want to wait.
Zero Fuss Ingredients — You don’t need vanilla extract, baking powder, or a dozen exotic spices. Just chocolate, butter, eggs, sugar, and flour. If you can find those, you can make this. It’s pantry-friendly in the best way possible.
Restaurant-Quality Drama — There is nothing quite like the moment you cut into the cake and that warm, molten center spills out. It’s visually stunning and feels incredibly indulgent. My guests always think I bought it from a fancy shop. (Shhh, don’t tell them.)
Individual Portions — Making individual cakes means no slicing, no messy plating, and no arguments over who gets the biggest piece. Everyone gets their own perfect, gooey masterpiece.
Make-Ahead Friendly — You can prep the batter, cover it, and put it in the fridge for up to 24 hours. When your guests arrive, you just pop them in the oven. This saved me more than once when dinner ran late.
Ingredients You’ll Need
The beauty of this 15-minute chocolate lava cake is that the ingredient list is short. But because there are so few ingredients, quality matters. You can’t hide behind excessive sugar or artificial flavors. Here’s what you need to get that perfect, gooey center.
The Chocolate Base
Semi-sweet chocolate chips (6 ounces / 170g) — I use high-quality chips like Ghirardelli or Guittard. You can use chopped chocolate bars, but chips are easier because they melt evenly without burning. Avoid the cheap baking chips that are mostly wax; they won’t get that smooth, liquid center.
Unsalted butter (½ cup / 113g) — This adds richness and helps create that silky texture. I always use unsalted so I can control the saltiness. If you only have salted butter, reduce the added salt in the recipe by half.
Vanilla extract (1 teaspoon) — Just a splash to round out the chocolate flavor. It’s optional if you’re out, but it adds that warm, bakery smell.
The Structure
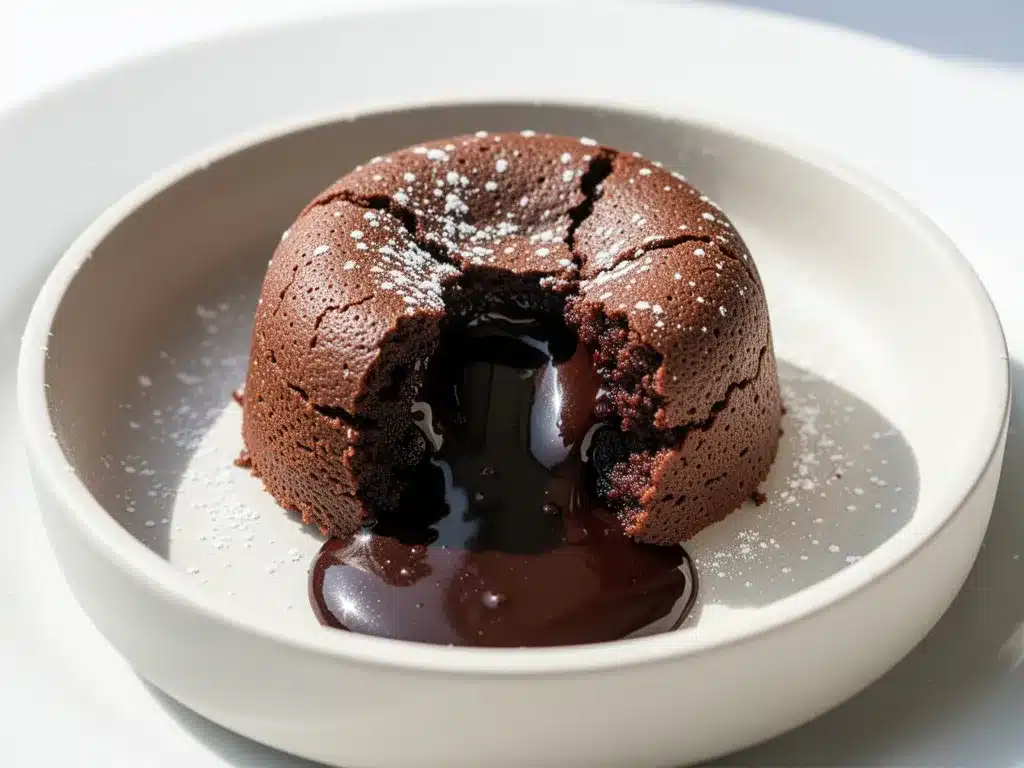
Large eggs (2 whole + 2 yolks) — This is the secret to the lava texture. The whole eggs provide structure, but the extra yolks add fat and richness, which keeps the center soft and gooey. Don’t skip the extra yolks! They make all the difference.
Granulated sugar (½ cup / 100g) — Standard white sugar. It dissolves into the batter and creates that slight crust on top while keeping the inside sweet.
All-purpose flour (2 tablespoons / 15g) — Just a little bit. You need enough to hold the cake together, but not enough to make it dense. Too much flour and you’ll end up with a brownie, not a lava cake.
Salt (¼ teaspoon) — A pinch of salt enhances the chocolate flavor. It’s non-negotiable. I use kosher salt.
Butter for ramekins — You’ll need a little extra butter and cocoa powder to grease your molds. Don’t use flour for greasing; it can make the cake stick or taste dry.
Optional Toppings
Vanilla ice cream — Cold ice cream against hot lava cake is a texture dream. I always keep a pint of good-quality vanilla bean ice cream in the freezer for this.
Raspberries — A few fresh raspberries on the side cut through the richness and add a pop of color. They look beautiful on the plate.
Powdered sugar — For a dusting on top. It makes it look fancy, even if it’s just from your pantry.
Equipment Needed
You don’t need fancy gadgets for this. Here’s what I actually use in my home kitchen.
6 Ramekins (6-ounce size) — These are the standard size for lava cakes. They hold the right amount of batter so the center stays liquid. I use ceramic ramekins because they distribute heat evenly. If you don’t have ramekins, you can use a few small muffin tins, but the timing might vary slightly.
Microwave-safe bowl or double boiler — For melting the chocolate and butter. I prefer the microwave because it’s faster. Just do it in 30-second intervals to avoid burning the chocolate.
Mixing bowls — Two medium bowls. One for the chocolate mixture, one for the eggs and sugar.
Whisk — You need a good whisk to aerate the eggs and sugar. This step is crucial for the cake’s texture.
Spatula — A silicone spatula is best for folding the flour into the batter gently. You don’t want to deflate the eggs too much.
Oven — Obviously. Preheat it to 425°F (220°C). Make sure your oven is actually at that temperature; an oven thermometer is a cheap investment that saves failed cakes.
How to Make It: Step-by-Step
Alright, let’s make this! I’m walking you through exactly how I do it, including the little tricks I’ve picked up over the years.
Step 1: Prep Your Ramekins (2 minutes)
Butter the inside of each ramekin generously. Use your fingers or a pastry brush to coat every nook and cranny, especially the bottom. Then, dust them with cocoa powder. Tap out the excess. This prevents the cake from sticking and adds a nice chocolate flavor to the crust. If you skip the cocoa powder, the cake might stick, and nobody wants that drama.
Step 2: Melt the Chocolate and Butter (2 minutes)
Combine the chocolate chips and butter in a microwave-safe bowl. Microwave in 30-second intervals, stirring in between, until completely smooth. If you’re using a double boiler, melt them over low heat, stirring constantly. The mixture should be glossy and smooth, not grainy. Set it aside to cool slightly.
Step 3: Whisk the Eggs and Sugar (2 minutes)
In a separate bowl, whisk the whole eggs, egg yolks, and sugar together. You need to whisk vigorously for about 2-3 minutes until the mixture is pale, thick, and slightly fluffy. This incorporates air, which helps the cake rise and creates a tender crumb. Don’t rush this step! It’s the foundation of the texture.
Step 4: Combine the Mixtures (1 minute)
Pour the melted chocolate mixture into the egg mixture. Whisk gently to combine. Then, sift in the flour and salt. Fold them in with a spatula until just combined. Be careful not to overmix. You want the batter to be smooth and glossy, but if you stir too much, you’ll develop gluten and make the cake tough.
Step 5: Fill the Ramekins (1 minute)
Distribute the batter evenly among the prepared ramekins. They should be about ¾ full. Smooth the tops with a spatula. If you’re making them ahead, cover them tightly with plastic wrap and refrigerate for up to 24 hours. If you’re baking now, move to the next step.
Step 6: Bake the Lava Cakes (12-13 minutes)
Place the ramekins on a baking sheet and put them in the preheated oven. Bake for 12-13 minutes. Here’s the critical part: the edges should be firm and puffed up, but the center should still look soft and jiggly when you shake the pan. If the center looks set, you’ve overbaked them, and you’ll get a solid cake, not a lava cake. Trust your eyes. If in doubt, pull them out. They’ll continue to cook slightly from residual heat.
Step 7: Invert and Serve (1 minute)
Remove the ramekins from the oven. Let them cool for exactly 1 minute. This is just enough time for the cake to set slightly so it doesn’t fall apart when you flip it. Place a plate upside down over the ramekin, then quickly flip both over. Lift the ramekin off. The cake should slide out cleanly. If it sticks, you didn’t grease it enough next time. Serve immediately while the center is still warm and liquid.
Expert Tips & Tricks
Here’s everything I’ve learned from making this dozens of times. These tips will save you from my mistakes.
The Timing is Everything
I cannot stress this enough. 12 minutes is the sweet spot for most ovens. 11 minutes might be too runny (though some people love that), and 14 minutes will give you a fully baked cake. Test your oven with one cake first to dial in the perfect time for your kitchen. Every oven is different.
Don’t Skimp on the Egg Yolks
Using just whole eggs will make the cake drier. The extra yolks add fat, which keeps the center molten. It’s the science of the lava. If you’re worried about cholesterol, use all whites, but know that the texture will be more like a soufflé than a lava cake.
Chill the Batter
If you’re having guests, prep the batter ahead and refrigerate. The cold batter takes a few extra minutes to bake, but it ensures the outside cooks before the inside sets. It also makes the inversion easier. Just add 2-3 minutes to the baking time if baking from cold.
Use High-Quality Chocolate
Since chocolate is the star, don’t use the cheapest chips you can find. Look for chips with at least 50% cocoa content. Dark chocolate (60-70%) adds a sophisticated bitterness that balances the sweetness. Milk chocolate might be too sweet for some palates.
Serve Immediately
Lava cakes wait for no one. They start to solidify as they cool. Have your plates, ice cream, and toppings ready before you pull them out of the oven. I usually serve them right away, even if it means eating while standing up.
Variations & Substitutions
Once you’ve nailed the basic version, here’s how you can mix it up. I’ve tried all of these.
White Chocolate Lava Cake
Swap the semi-sweet chocolate for white chocolate chips. Add 1 teaspoon of raspberry extract to the batter. The result is a sweet, creamy cake with a hint of fruit. It’s less intense but equally delicious.
Peanut Butter Lava Cake
Drop a teaspoon of peanut butter into the center of each ramekin before adding the batter. The peanut butter stays warm and gooey, creating a salted-caramel-like effect. It’s my husband’s favorite variation.
Coffee Lava Cake
Add 1 teaspoon of instant espresso powder to the melted chocolate. It enhances the chocolate flavor without making it taste like coffee. Perfect for coffee lovers.
Gluten-Free
Use gluten-free flour in the same amount. I’ve used Bob’s Red Mill 1-to-1 flour, and it works perfectly. The texture is identical to the original.
Dairy-Free
Use dairy-free chocolate chips and coconut oil instead of butter. The texture might be slightly less rich, but it’s still delicious. Serve with coconut whipped cream.
Vegan
This is trickier because eggs are key to the structure. Use flax eggs (1 tbsp ground flax + 3 tbsp water per egg) and dairy-free chocolate. The center might be less liquid, but it’s still a great treat. I’ve tested this with chickpea flour for extra structure.
Serving & Storage
How to Serve:
I usually serve these straight out of the oven, inverted onto a white plate for contrast. A scoop of vanilla ice cream on the side is classic. A dusting of powdered sugar and a few fresh raspberries add color and balance. I also like to drizzle a little warm caramel or salted caramel sauce over the top for extra indulgence.
Side Dishes:
Since these are rich, I don’t usually serve them with a full dessert course. They are the main event. But if you need something lighter, a simple arugula salad with lemon vinaigrette cuts through the richness beautifully.
Storage Instructions:
Refrigerator: You can store the unbaked batter in the ramekins, covered with plastic wrap, for up to 24 hours. Do not store baked cakes in the fridge; they will become dry and lose their gooey center. If you must store leftovers, let them cool completely, then place them in an airtight container for up to 2 days. Reheat gently in the microwave for 10-15 seconds to soften the center.
Freezing: I don’t recommend freezing baked lava cakes. The texture changes, and they won’t have that fresh-baked gooeyness. However, you can freeze the batter in the ramekins for up to 1 month. Thaw in the fridge overnight and bake as usual, adding 2-3 minutes to the baking time.
Pro Tip: If you’re making them for a party, prep the batter in the morning. Cover and refrigerate. When guests arrive, you can bake them in under 15 minutes. It’s the ultimate stress-free dessert.
Nutrition Information
I’m not a nutritionist, but here’s the breakdown if you’re tracking. Keep in mind that these are estimates and can vary based on the specific chocolate and butter you use.
Per Serving (1 cake):
– Calories: 380
– Protein: 7g
– Carbs: 35g
– Fiber: 2g
– Sugar: 24g
– Fat: 24g
– Saturated Fat: 14g
– Cholesterol: 160mg
– Sodium: 120mg
What’s Good:
– Decent protein from eggs
– Iron from dark chocolate
– Satisfying sweetness without needing extra sugar
What to Know:
– High in calories and fat due to butter and chocolate
– Contains dairy and gluten (unless modified)
– Moderate sugar content
My Take:
Look, this is a dessert. It’s meant to be indulgent. It’s not a health food. But it’s way better than store-bought because you control the ingredients. When I want to make it slightly lighter, I use 70% dark chocolate and reduce the sugar by 1 tablespoon. It’s still sweet, but less cloying.
Final Thoughts
So that’s my go-to 15-minute chocolate lava cake! I’ve probably talked your ear off at this point, but when you make a recipe this often, you have a lot to say about it.
This has saved me more times than I can count. It’s my answer to “what’s for dessert?” when I’m tired, don’t want to bake a whole cake, and still want something that tastes really good. My guests are always impressed, and I’m always relieved that I didn’t have to order takeout.
Make it yours! Try different add-ins, swap in your favorite chocolate, or experiment with different toppings. The best recipes are the ones you adapt to your tastes.
If you make this, drop a comment and let me know what you think! I love hearing how recipes turn out in your kitchen. And if something doesn’t work, tell me that too—I’m here to help troubleshoot.
Happy baking! And I hope your kitchen smells half as good as mine does right now.
Frequently Asked Questions
Can I make this ahead of time?
Yes! Prep the batter, fill the ramekins, cover them tightly with plastic wrap, and refrigerate for up to 24 hours. When you’re ready to serve, bake them directly from the fridge. You may need to add 2-3 minutes to the baking time. Do not bake the batter at room temperature if you prepped it earlier; the structure might collapse.
Why did my lava cake turn out solid instead of gooey?
You likely overbaked it. Lava cakes cook very quickly. Check them at 12 minutes. The edges should be firm, but the center should still jiggle slightly when you shake the ramekin. If it looks set, it’s overbaked. Next time, pull them out 1 minute earlier. Also, ensure your oven is at the correct temperature; an oven that runs hot will bake them too fast.
Can I use milk chocolate instead of semi-sweet?
You can, but the cake will be much sweeter and less rich. Semi-sweet or dark chocolate (60-70%) provides a better balance of sweetness and bitterness. If you use milk chocolate, consider reducing the sugar in the recipe by 1-2 tablespoons to compensate.
Do I have to use ramekins?
Ramekins are ideal because they provide the right shape and size for even cooking. If you don’t have them, you can use a muffin tin. Grease the muffin cups well and bake for 11-12 minutes. The cakes will be smaller and might cook faster, so keep a close eye on them.
Can I freeze the baked cakes?
I don’t recommend freezing baked lava cakes. The texture will suffer, and they won’t have that fresh-baked gooeyness. However, you can freeze the unbaked batter in the ramekins for up to 1 month. Thaw in the fridge overnight and bake as usual.
What if I don’t have egg yolks?
You can use 4 whole eggs instead of 2 whole eggs plus 2 yolks. However, the center will be less rich and gooey. It will still be delicious, but it will be more like a soft cake than a lava cake. For the best texture, stick with the extra yolks.
How do I reheat leftovers?
Place the leftover cake on a microwave-safe plate and heat for 10-15 seconds. This will warm the center without overcooking it. Avoid the oven, as it will dry out the cake. If you don’t have a microwave, let it sit at room temperature for 10 minutes; it will soften slightly.
Pin This Recipe!
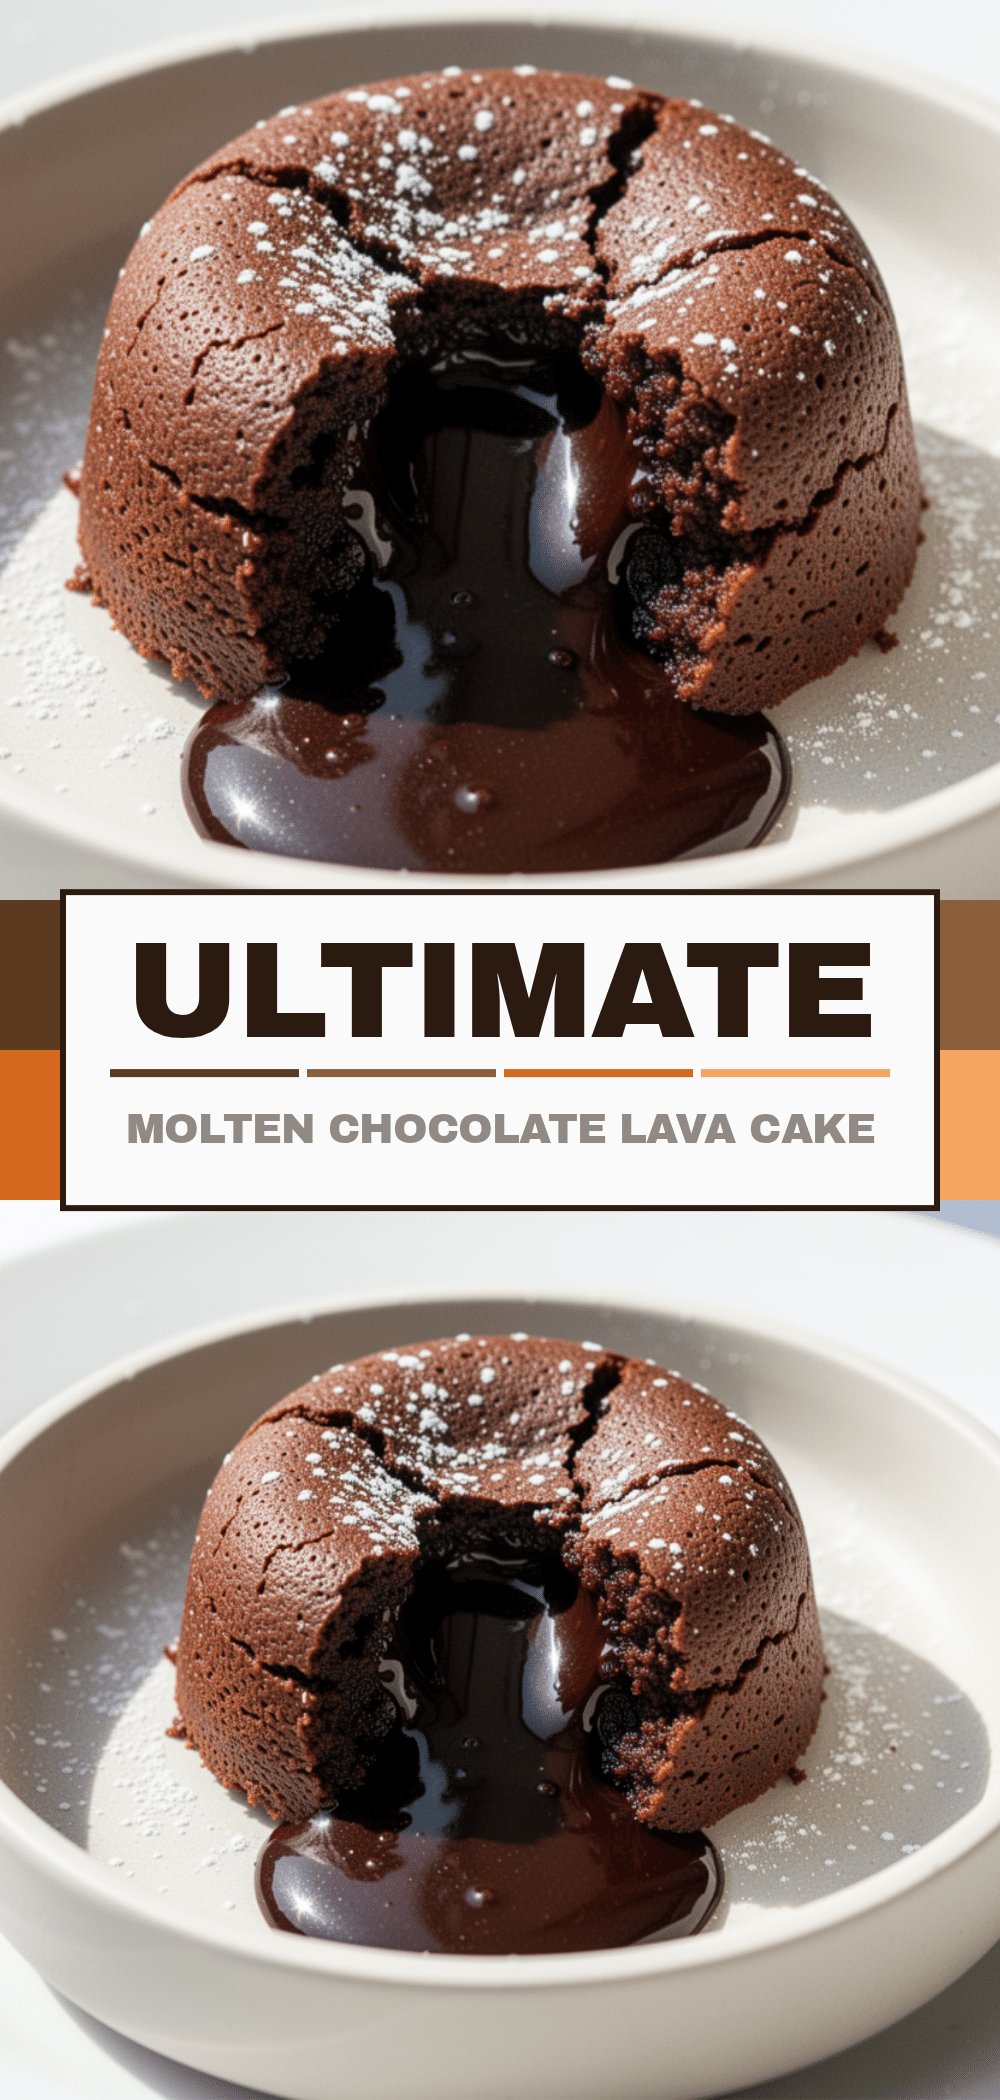
15-Minute Chocolate Lava Cake
- Total Time: 27 minutes
- Yield: 4 servings 1x
Description
A quick, restaurant-quality dessert featuring a warm, gooey molten center, made with simple pantry ingredients in just 15 minutes.
Ingredients
- 6 ounces semi-sweet chocolate chips
- 1/2 cup unsalted butter
- 1 teaspoon vanilla extract
- 2 large eggs
- 2 large egg yolks
- 1/2 cup granulated sugar
- 2 tablespoons all-purpose flour
- 1/4 teaspoon salt
- Butter and cocoa powder for greasing ramekins
- Vanilla ice cream (optional, for serving)
- Fresh raspberries (optional, for serving)
- Powdered sugar (optional, for dusting)
Instructions
- Preheat oven to 425°F (220°C). Generously butter the inside of six 6-ounce ramekins and dust with cocoa powder, tapping out excess.
- Melt chocolate chips and butter together in a microwave-safe bowl in 30-second intervals, stirring until smooth. Set aside to cool slightly.
- In a separate bowl, whisk whole eggs, egg yolks, and sugar vigorously for 2-3 minutes until pale, thick, and fluffy.
- Pour the melted chocolate mixture into the egg mixture and whisk gently to combine. Sift in flour and salt, then fold in gently with a spatula until just combined.
- Divide the batter evenly among the prepared ramekins, filling them about 3/4 full.
- Bake for 12-13 minutes until the edges are firm and puffed but the center still looks soft and jiggly.
- Let cool for exactly 1 minute, then invert onto plates and serve immediately.
Notes
Timing is critical; 12 minutes is the sweet spot for most ovens. Do not overbake or the center will not be liquid. You can prep the batter ahead and refrigerate for up to 24 hours, adding 2-3 minutes to baking time if baking from cold. Use high-quality chocolate for best results.
- Prep Time: 15 minutes
- Cook Time: 12 minutes
- Category: Dessert
- Cuisine: French
Nutrition
- Serving Size: 1 cake
- Calories: 380
- Sugar: 24
- Sodium: 120
- Fat: 24
- Saturated Fat: 14
- Carbohydrates: 35
- Fiber: 2
- Protein: 7
Keywords: chocolate lava cake, 15 minute dessert, molten chocolate cake, easy dessert, last minute dessert, individual cakes, gluten-free option


