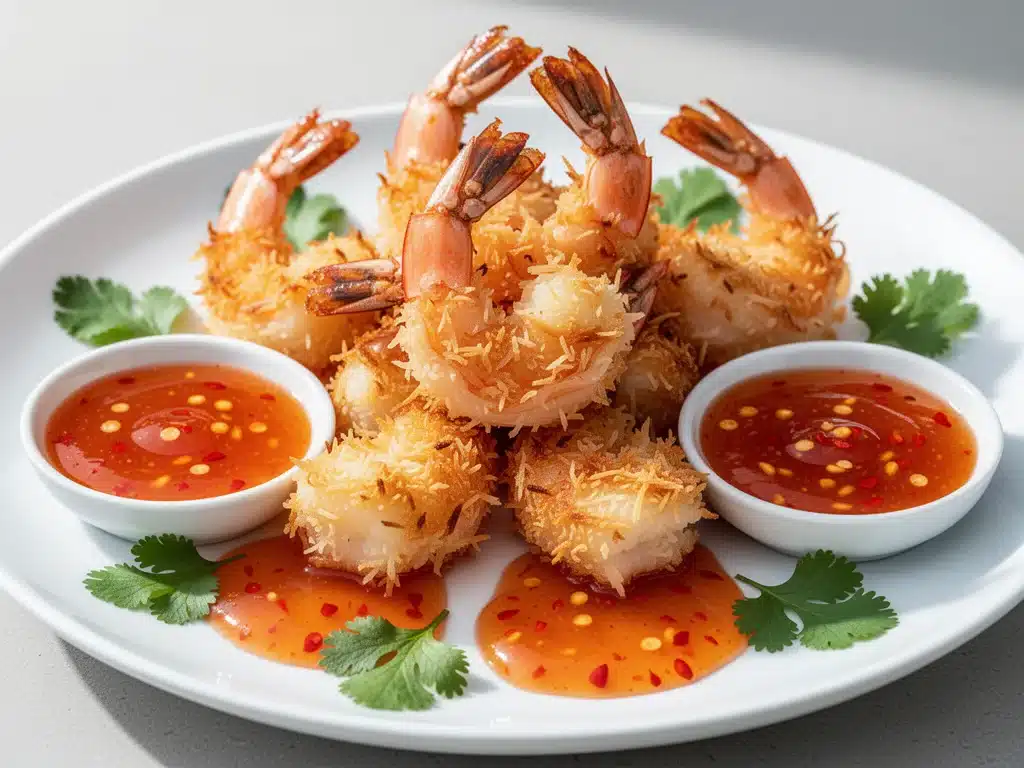
Last Friday night, I was sitting on my couch, staring at a $28 bill for a plate of coconut shrimp that had gone soggy in the delivery box. The rice was cold. The sweet chili sauce was just a puddle of sugar at the bottom of the container. And I was still hungry. It was one of those evenings where I promised myself I’d meal prep on Sunday, but Sunday had come and gone, and now I was resorting to ordering from a place that definitely doesn’t care if the breading falls off.
That’s when I decided enough was enough. I had shrimp in the freezer, coconut flakes in the pantry, and a desperate need for something crispy, sweet, and satisfying without breaking the bank or waiting 45 minutes for a driver. I threw together what I thought would be a mediocre attempt at restaurant-style coconut shrimp. I didn’t have buttermilk for the marinade, so I improvised. I didn’t have panko, so I used crushed cornflakes (yes, really).
Thirty minutes later, my kitchen smelled like a tropical vacation, and my partner walked in asking what smelled so good. We dipped a piece into the homemade sweet chili sauce, waited for the crunch… and then immediately went back for more. It was better than takeout. It was actually better than most Asian restaurants I’ve paid double for.
That accidental Friday night dinner became a weekly tradition. This coconut shrimp with sweet chili sauce recipe is my answer to “I want something fancy but I’m too tired to cook.” It’s crispy, it’s juicy, and it comes together faster than you can say “delivery app.” I’ve tested this version about a dozen times to get the coating just right—crunchy on the outside, tender on the inside, and not greasy at all. If you’ve ever been disappointed by rubbery, soggy coconut shrimp, this is the recipe that will change your mind.
Why You’ll Love This Recipe
I know what you’re thinking. “Coconut shrimp? Isn’t that just fried seafood?” Yes, but this version is different. It’s not heavy, it’s not complicated, and it doesn’t require a degree in chemistry to pull off. Here’s why this has become my go-to for date nights, game days, and random Tuesday cravings:
- Stupid Simple Technique — Seriously, if you can dip and roll, you can make this. There’s no fancy piping or complex batter management. I’ve walked my teenage nephew through this over FaceTime while he was at college. He didn’t burn the kitchen down.
- Lightning Fast — 20 minutes from start to finish. That’s it. The shrimp cook in 2-3 minutes. The sauce takes 5. The rest is prep. I make this on weeknights when I get home at 7pm and just want to sit down by 8.
- Crunch That Lasts — Most coconut shrimp recipes turn soggy within minutes. I use a double-dip method with cornflakes and panko that keeps the crunch intact even if you let them sit for 10 minutes. (Though they rarely last that long.)
- Sauce from Scratch — The sweet chili sauce is made in the microwave or on the stove in 3 minutes. No bottles to buy. No high-fructose corn syrup. Just real flavor.
- Crowd-Pleaser — I’ve served this to picky eaters, seafood lovers, and people who claim they “don’t like fried food.” Everyone asks for the recipe. It’s the perfect appetizer or light dinner.
- Budget-Smart — Feeds 4 people for under $15. That’s less than two slices of pizza. And honestly, it feels more special than pizza.
This is my go-to when I need dinner to just work. No complicated techniques, no weird ingredients, just reliable, delicious food that makes everyone happy. And the best part? It’s light enough that you won’t feel like a blob on the couch afterward.
Ingredients You’ll Need
Here’s the best part: you probably have most of this already. Coconut shrimp ingredients are simple, but a few specific choices make the difference between “meh” and “wow.” I’m particular about three things here: the shrimp size, the coconut type, and the sweetness balance in the sauce.
For the Shrimp
Large shrimp (1.5 lbs / 700g, peeled and deveined) — Look for “U-15” or “21-25 count” shrimp. These are large enough to be satisfying but small enough to cook quickly. If they’re still in the shell, buy “peeled and deveined” to save time. If you buy whole shrimp, it takes 15 minutes to peel, and we’re trying to keep this fast. Pat them DRY. Seriously, use paper towels. Wet shrimp = soggy breading.
All-purpose flour (½ cup / 60g) — This creates the first layer of adhesion. Don’t skip it. It helps the egg wash stick to the slippery shrimp.
Eggs (2 large) — Beaten. I use a fork. No need for a whisk unless you’re feeling fancy.
Milk (2 tablespoons / 30ml) — Any milk works. Whole milk gives richer flavor, but skim is fine. This thins the egg wash so it coats evenly without being too thick.
Panko breadcrumbs (1 cup / 80g) — These are crucial. They’re flaky and airy, creating that signature shatteringly crisp texture. Regular breadcrumbs are too dense and powdery. If you can’t find panko, crushed cornflakes work surprisingly well (trust me, I’ve used them).
Shredded coconut (1 cup / 70g, unsweetened) — Unsweetened is key here because the sauce is sweet. If you use sweetened coconut, the whole dish will be cloying. Look for “flaked” or “shredded” coconut, not the fine coconut flour.
Salt and pepper — To taste. Simple seasoning for the shrimp.
For the Sweet Chili Sauce
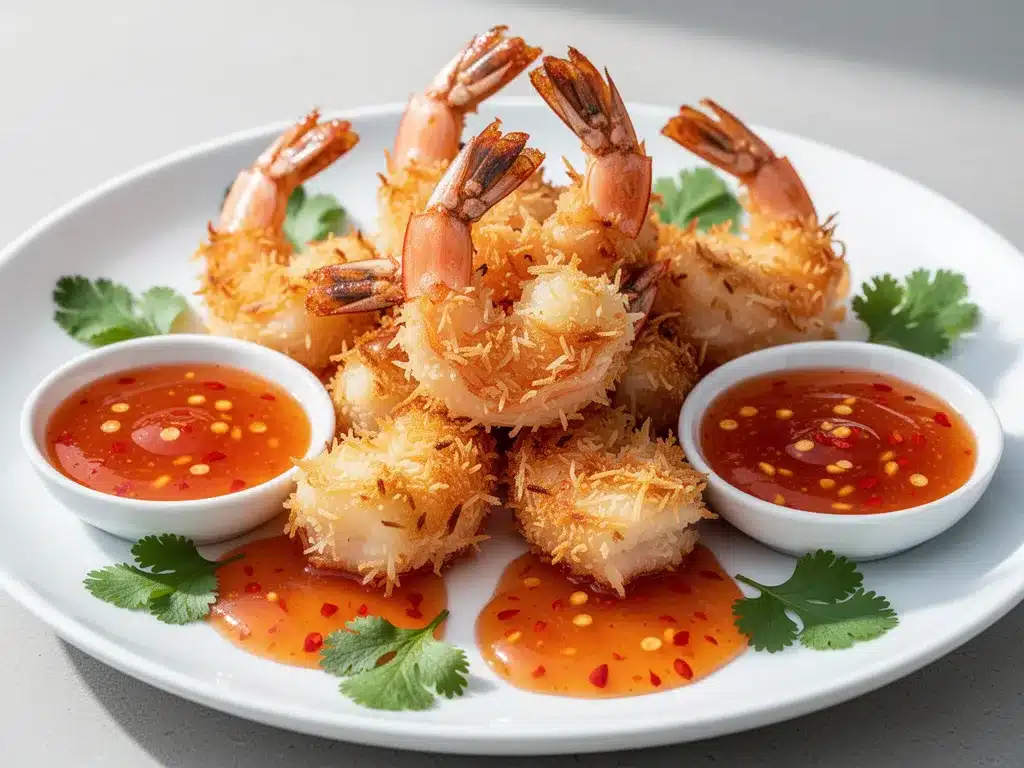
White vinegar (¼ cup / 60ml) — Rice vinegar is traditional, but white vinegar works fine and is cheaper. It provides the tangy bite that cuts through the sweetness.
Water (¼ cup / 60ml) — Just to thin it out.
Sugar (½ cup / 100g) — Granulated white sugar dissolves easiest. Brown sugar adds depth but might make it too dark.
Ketchup (2 tablespoons / 30g) — This is the secret ingredient. It adds tomato depth, color, and body. You won’t taste “ketchup,” but you’ll taste “restaurant sauce.”
Minced garlic (1 clove) — Fresh is best. Jarred works in a pinch, but fresh garlic smells better.
Minced ginger (1 teaspoon) — Fresh ginger is ideal. Ground ginger works but tastes different. I use fresh because I always have it.
Cornstarch (1 tablespoon / 8g) — Mixed with 1 tablespoon cold water. This thickens the sauce so it clings to the shrimp instead of running off.
For Frying
Vegetable oil (2 cups / 480ml) — You need enough to shallow fry about ½ inch deep. Vegetable, canola, or peanut oil all work. Peanut oil gives the most authentic flavor, but it’s expensive. Vegetable oil is fine.
Equipment Needed
You don’t need fancy equipment for this. Here’s what I actually use.
Large skillet or Dutch oven — I use a 12-inch cast iron skillet. It holds heat well and has high sides to prevent splatter. If you’re frying in batches, a standard skillet works. If you want to do it all at once, use a Dutch oven.
Shallow bowls or plates — You’ll need three: one for flour, one for egg wash, one for coconut mixture. I use pie plates because they’re wide and shallow, making dipping easy.
Wire rack — This is non-negotiable. Place a wire rack over a baking sheet. As you fry the shrimp, put them on the rack. This keeps them crispy by letting air circulate underneath. If you put them on a paper towel, they steam and get soggy. I learned this the hard way with a pile of sad, soggy shrimp.
Cooking thermometer — Optional but helpful. Oil should be 350°F (175°C). If you don’t have one, drop a breadcrumb in. If it sizzles and rises to the top in 30 seconds, it’s ready.
Tongs — For flipping shrimp. Forks work but tongs are easier and less messy.
Small saucepan — For making the sauce. Or just use a microwave-safe bowl if you’re in a hurry.
How to Make It: Step-by-Step
Alright, let’s make this! I’m walking you through exactly how I do it, including the little tricks I’ve picked up over the years.
Step 1: Prep Your Shrimp (5 minutes)
Pat the shrimp completely dry with paper towels. This is the most important step. Wet shrimp won’t stick to the coating. Season them lightly with salt and pepper. Set aside.
Step 2: Set Up Your Dipping Station (3 minutes)
Set out three shallow bowls. Bowl 1: Flour. Bowl 2: Beaten eggs and milk. Bowl 3: Mix panko and shredded coconut together. I like to toast the coconut slightly in a dry pan for 2 minutes before mixing it with panko—it adds extra flavor and crunch. If you’re short on time, skip toasting, but don’t skip the mix.
Step 3: Coat the Shrimp (5 minutes)
Dip a shrimp in flour, shaking off excess. Dip it in the egg wash, letting the excess drip off. Then press it into the coconut-panko mixture, making sure it’s fully coated. Press gently so it sticks. Place on a plate. Repeat with all shrimp. They can sit while you fry.
Step 4: Heat the Oil (5 minutes)
Pour oil into your skillet to a depth of about ½ inch. Heat over medium-high heat until it reaches 350°F. If you don’t have a thermometer, wait until the oil shimmers and a wooden chopstick inserted into the oil bubbles vigorously around it.
Step 5: Fry the Shrimp (3-4 minutes)
Carefully place 4-5 shrimp in the oil. Don’t overcrowd the pan! If you crowd them, the oil temperature drops, and the shrimp absorb oil instead of frying. Fry for 2-3 minutes per side until golden brown and crispy. The coconut should be toasted, not burnt. Flip once. Remove to the wire rack. Repeat with remaining batches.
Step 6: Make the Sauce (3 minutes)
While the shrimp fry, make the sauce. In a small saucepan, combine vinegar, water, sugar, ketchup, garlic, and ginger. Heat over medium, stirring until sugar dissolves. Mix cornstarch with cold water until smooth. Stir into the sauce. Cook for 1-2 minutes until thickened. It should coat the back of a spoon. Remove from heat.
Step 7: Serve
Serve the hot, crispy coconut shrimp immediately with the warm sweet chili sauce on the side. Garnish with sesame seeds or chopped cilantro if you want to look fancy. But honestly? Just eat them. They’re that good.
Expert Tips & Tricks
Here’s everything I’ve learned from making this dozens of times. These tips will save you from my mistakes.
Keep the Oil Hot
The biggest mistake people make is letting the oil cool down between batches. After removing a batch of shrimp, let the oil come back to 350°F before adding the next batch. If you add them to cool oil, they’ll be greasy. I keep the burner on medium-high and wait 30 seconds between batches.
Don’t Skip the Wire Rack
I cannot stress this enough. Paper towels trap steam. Wire racks let steam escape. Crispy shrimp need air flow. If you don’t have a wire rack, prop the shrimp up on a cooling rack set over a baking sheet. It’s worth the cleanup.
Toasted Coconut is Better
Spreading the shredded coconut on a dry skillet for 2-3 minutes until it’s lightly golden adds a nutty depth that raw coconut doesn’t have. It’s a small step that makes a big difference. Just watch it closely—it burns fast.
Double-Dip for Extra Crunch
If you want restaurant-level crunch, dip the shrimp in egg wash, then coconut, then egg wash again, then coconut. It creates a thicker, crunchier shell. It takes more time, but it’s worth it for special occasions.
Sauce Consistency
The sauce should be thick enough to coat the shrimp, not thin enough to run off. If it’s too thin, cook it longer. If it’s too thick, add a splash of water. You can always adjust it at the end.
Common Mistakes (and how to avoid them)
Mistake: Shrimp are greasy. Fix: Oil wasn’t hot enough. Use a thermometer. Fry in smaller batches.
Mistake: Coating falls off. Fix: Shrimp weren’t dry enough. Or you didn’t press the coating on firmly enough. Pat dry, press hard.
Mistake: Coconut burns before shrimp cook. Fix: Heat is too high. Lower to medium. Coconut browns quickly, so watch it closely.
Variations & Substitutions
Once you’ve nailed the basic version, here’s how you can mix it up. I’ve tried all of these.
Baked Version (Lighter)
Instead of frying, spray the coated shrimp with cooking oil and bake at 400°F (200°C) for 10-12 minutes, flipping halfway. They won’t be as crunchy as fried, but they’re much lighter. I use this version when I’m trying to be “healthy,” though the fried version is definitely better.
Spicy Version
Add 1 teaspoon of sriracha or red pepper flakes to the sweet chili sauce. Or mix crushed red pepper into the coconut coating. If you like heat, this is the way to go.
Gluten-Free
Use gluten-free panko or crushed rice cereal instead of regular panko. Use gluten-free flour. Everything else is naturally gluten-free. I’ve used Gluten-Free Panko from store brands and it works great.
Dairy-Free
This recipe is already dairy-free! Just make sure your ketchup is dairy-free (most are). Serve with a dairy-free dipping sauce if needed.
Different Proteins
Try this with scallops, fish fillets, or even chicken tenders. The coating works on anything that’s breaded and fried. I’ve done it with salmon, and it’s amazing.
Serving & Storage
How to Serve:
I usually serve this straight from the skillet with the sauce in a small bowl in the center for dipping. It looks rustic and stays warm. But here are other ways I’ve enjoyed it:
Side Dishes:
- Steamed jasmine rice or fried rice
- Asian slaw with sesame dressing
- Edamame with sea salt
- Cucumber salad with rice vinegar
Toppings Bar:
When I have guests, I put out: toasted sesame seeds, chopped cilantro, lime wedges, and extra sweet chili sauce. Everyone customizes their plate.
Storage Instructions:
Refrigerator: Store leftover shrimp in an airtight container for up to 2 days. The coating will soften, but they’re still good cold or reheated.
Reheating: Best method: Reheat in an air fryer at 375°F for 3-4 minutes. This restores the crunch. Oven method: Bake at 375°F for 5-7 minutes. Microwave method: It works, but the coating will be chewy, not crispy. I avoid the microwave unless I’m in a huge hurry.
Freezing: You can freeze uncooked, coated shrimp on a baking sheet, then transfer to a bag. Fry from frozen, adding 1-2 minutes to cook time. Do not freeze cooked shrimp—the texture suffers.
Nutrition Information
I’m not a nutritionist, but here’s the breakdown if you’re tracking. This is per serving (based on 4 servings, 6-8 shrimp each).
Per Serving:
- Calories: 380
- Protein: 28g
- Carbs: 35g
- Fiber: 2g
- Sugar: 18g
- Fat: 16g
- Saturated Fat: 10g
- Cholesterol: 180mg
- Sodium: 450mg
What’s Good: High protein, relatively low carb if you skip the sauce. The shrimp are lean.
What to Know: Higher in sugar from the sauce and coconut. Contains gluten (unless modified). Moderate sodium. It’s indulgent, but not a daily meal.
My Take: Look, this is fried food. It’s not a diet recipe. But it’s way better than takeout, costs less, and I know exactly what’s in it. When I want to make it lighter, I use the baked version and reduce the sugar in the sauce by half. But usually? I just eat a reasonable portion and enjoy it.
Final Thoughts
So that’s my go-to coconut shrimp with sweet chili sauce! I’ve probably talked your ear off at this point, but when you make a recipe this often, you have a lot to say about it. This has saved weeknight dinners more times than I can count. It’s my answer to “I want something fancy but I’m too tired to cook.” My kids are happy, my partner’s happy, and I’m happy because I’m not stressed about cooking.
Make it yours! Try different add-ins, swap in your favorite vegetables, adjust the spice level. The best recipes are the ones you adapt to your family’s tastes. If you make this, drop a comment and let me know what you think! I love hearing how recipes turn out in your kitchen. And if something doesn’t work, tell me that too—I’m here to help troubleshoot.
Happy cooking! And I hope your kitchen smells half as good as mine does right now.
Frequently Asked Questions
Can I bake the coconut shrimp instead of frying?
Yes! Spray the coated shrimp generously with cooking oil spray and bake at 400°F (200°C) for 10-12 minutes, flipping halfway. They won’t be as crunchy as fried, but they’re much lighter and easier. I use this version when I’m trying to be “healthy,” though the fried version is definitely better for texture.
Why did my coconut burn while frying?
Coconut burns very quickly because it’s thin and high in fat. If your oil was too hot (above 375°F), the coconut would burn before the shrimp cooked. Keep your oil at 350°F and watch the shrimp closely. If they’re browning too fast, lower the heat. The shrimp should be golden, not dark brown.
Can I make the sweet chili sauce ahead?
Absolutely! Make the sauce up to 3 days ahead and store in the fridge. Reheat gently before serving. The flavors actually meld and improve overnight. I often make a big batch on Sunday and use it for this recipe, grilled chicken, or as a dip for spring rolls.
What kind of shrimp should I buy?
Look for “large” or “extra large” shrimp, labeled as 21-25 count per pound. They’re big enough to be satisfying but small enough to cook quickly. Peeled and deveined is best for convenience. If you buy whole shrimp, it takes 15 minutes to peel, and we’re trying to keep this fast.
Can I use sweetened coconut instead of unsweetened?
You can, but the sauce will be very sweet. If you use sweetened coconut, reduce the sugar in the sauce by half. I prefer unsweetened because it balances the sweetness of the sauce better. It’s a matter of taste, but unsweetened is safer if you’re unsure.
How do I reheat leftovers without losing crunch?
The air fryer is your best friend for reheating. 375°F for 3-4 minutes restores the crunch perfectly. The oven works too (375°F for 5-7 minutes). Avoid the microwave—it makes the coating chewy and soggy. If you must use the microwave, do it in short bursts and let it rest for a minute after.
Can I freeze the uncooked shrimp?
Yes! Place the coated, uncooked shrimp on a baking sheet and freeze for 1 hour until solid. Then transfer to a freezer bag. They’ll keep for 1-2 months. Fry from frozen, adding 1-2 minutes to cook time. Do not freeze cooked shrimp—the texture suffers.
Pin This Recipe!
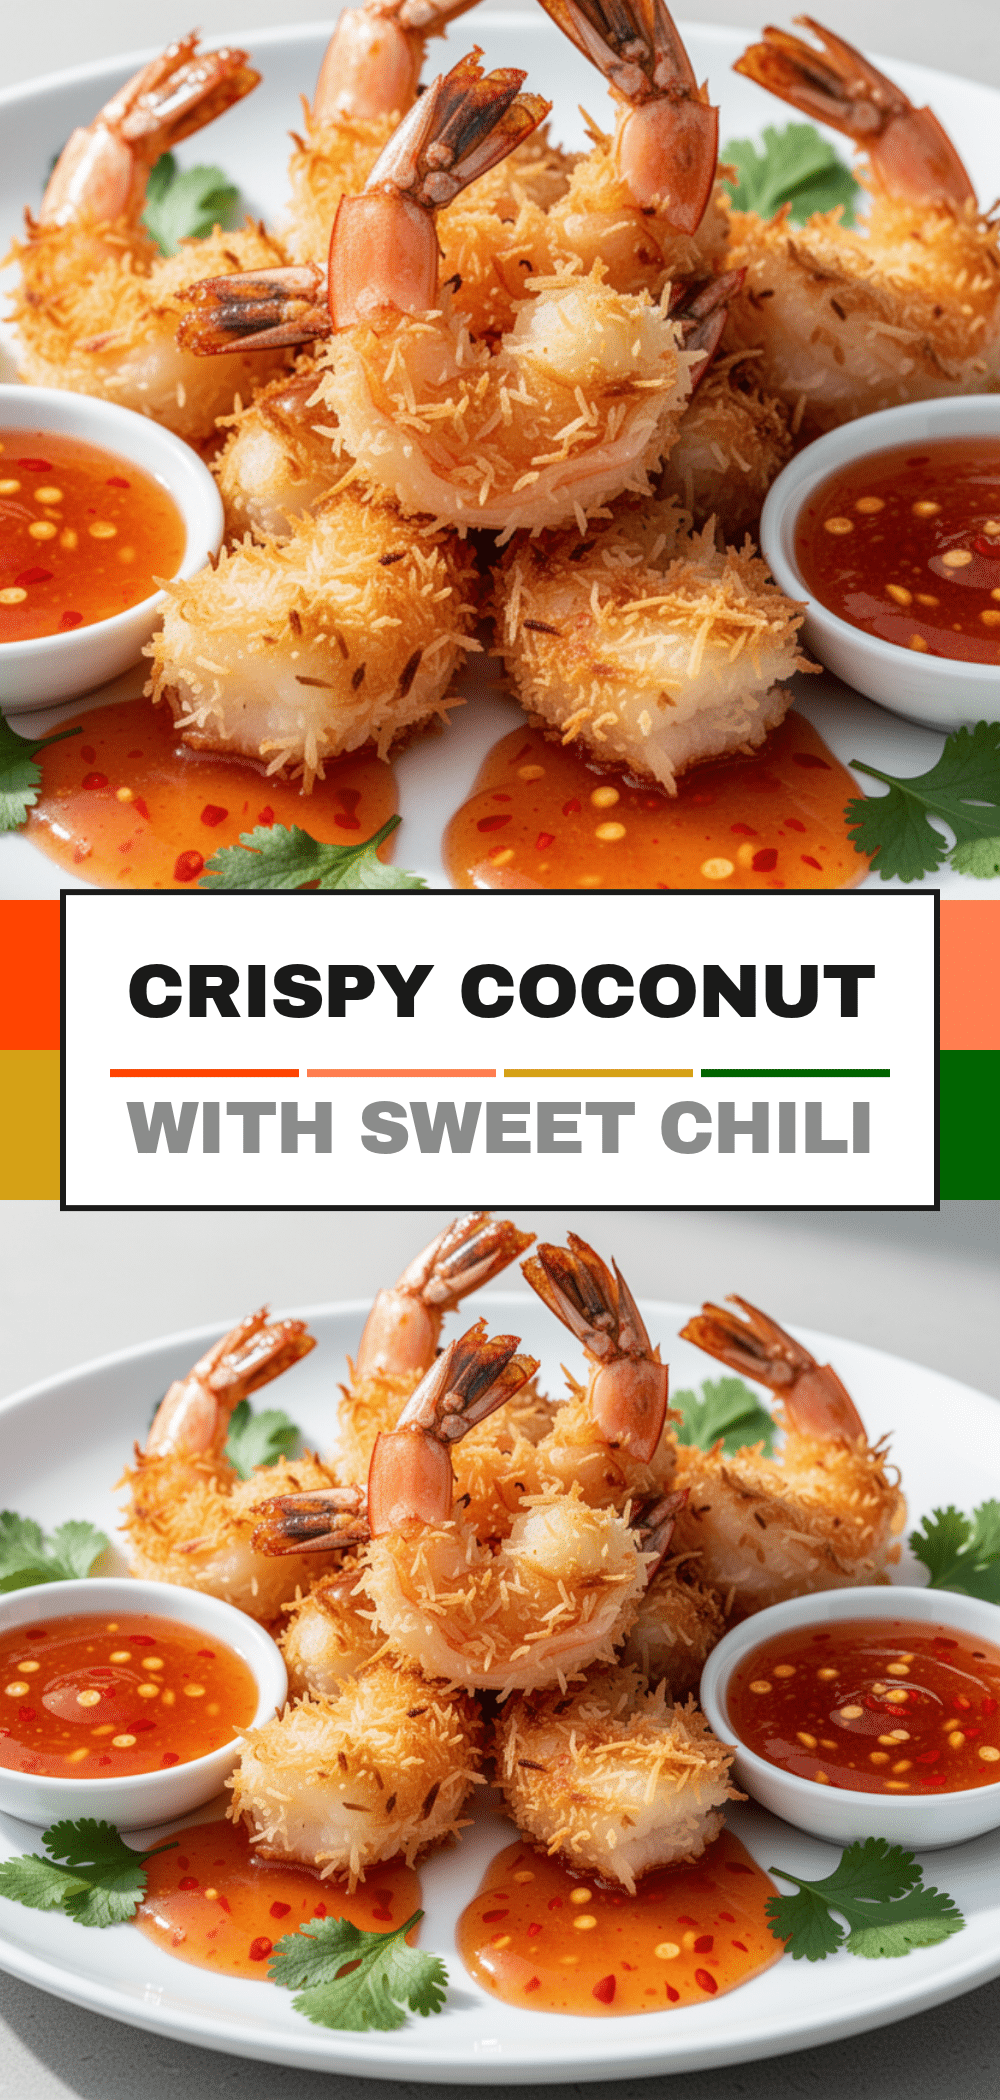
Coconut Shrimp: Best 20-Min Crispy Recipe
- Total Time: 20 minutes
- Yield: 4 servings 1x
Description
Crispy, juicy coconut shrimp coated in panko and shredded coconut, served with a homemade sweet chili sauce. This recipe is faster than takeout, budget-friendly, and delivers restaurant-quality crunch without the grease.
Ingredients
- 1.5 lbs large shrimp, peeled and deveined
- ½ cup all-purpose flour
- 2 large eggs, beaten
- 2 tablespoons milk
- 1 cup panko breadcrumbs
- 1 cup unsweetened shredded coconut
- Salt and pepper to taste
- ¼ cup white vinegar
- ¼ cup water
- ½ cup granulated sugar
- 2 tablespoons ketchup
- 1 clove garlic, minced
- 1 teaspoon fresh ginger, minced
- 1 tablespoon cornstarch mixed with 1 tablespoon cold water
- 2 cups vegetable oil (for frying)
Instructions
- Pat the shrimp completely dry with paper towels and season lightly with salt and pepper.
- Set up three shallow bowls: one with flour, one with beaten eggs and milk, and one with panko mixed with shredded coconut.
- Dip each shrimp in flour, shaking off excess, then into the egg wash, and finally press into the coconut-panko mixture to coat fully.
- Heat vegetable oil in a large skillet or Dutch oven to 350°F (175°C).
- Fry shrimp in batches (do not overcrowd) for 2-3 minutes per side until golden brown and crispy.
- Remove fried shrimp to a wire rack set over a baking sheet to keep them crispy.
- While shrimp fry, combine vinegar, water, sugar, ketchup, garlic, and ginger in a small saucepan over medium heat.
- Stir in the cornstarch slurry and cook for 1-2 minutes until the sauce thickens.
- Serve the hot shrimp immediately with the warm sweet chili sauce on the side.
Notes
Ensure shrimp are completely dry before coating to prevent soggy breading. Use a wire rack instead of paper towels to maintain crispiness. Toasting the coconut lightly before mixing adds extra flavor. For a lighter version, bake at 400°F for 10-12 minutes. Do not freeze cooked shrimp as texture suffers.
- Prep Time: 15 minutes
- Cook Time: 5 minutes
- Category: Appetizer
- Cuisine: Asian
Nutrition
- Serving Size: 6-8 shrimp per servi
- Calories: 380
- Sugar: 18
- Sodium: 450
- Fat: 16
- Saturated Fat: 10
- Carbohydrates: 35
- Fiber: 2
- Protein: 28
Keywords: coconut shrimp, sweet chili sauce, crispy shrimp, quick dinner, seafood recipe, Asian appetizer, homemade sauce, fried shrimp


