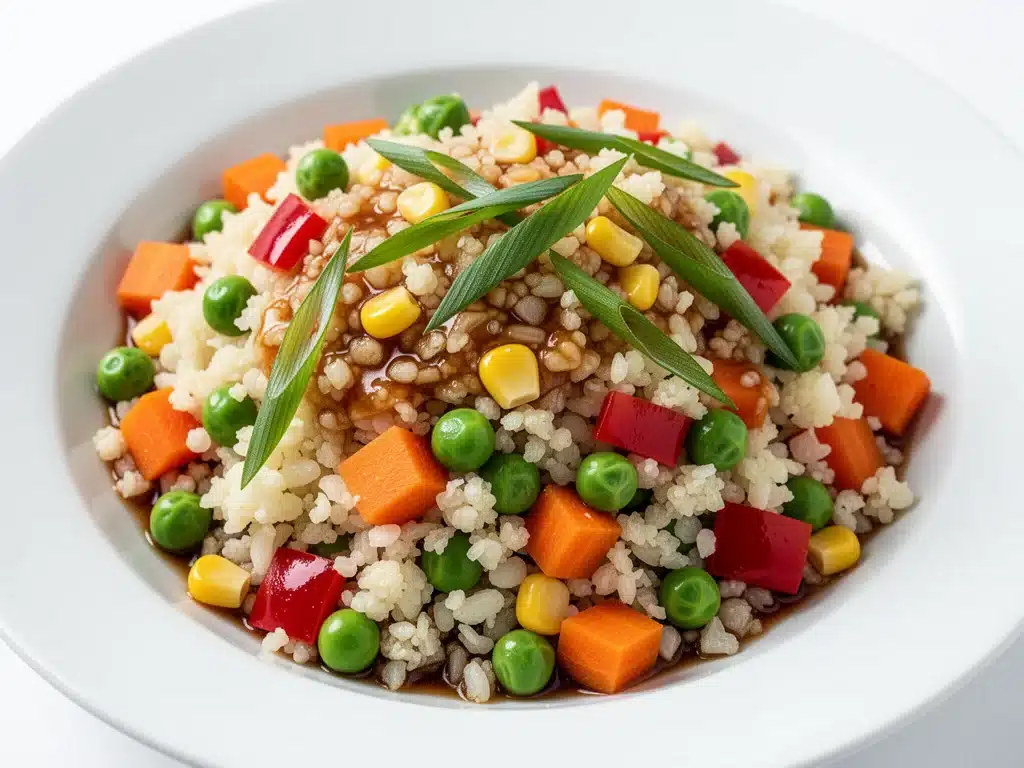
Last Thursday, I was standing in front of my open freezer at 6:45 PM, staring at a bag of frozen peas with the intensity of a bomb disposal expert. My brain was fried. I had survived a 10-hour workday that involved three unexpected Zoom calls and a printer jam that felt personally designed to ruin my mood. I didn’t want to cook. I definitely didn’t want to order out—my budget was already screaming at me—but I wanted comfort food. I wanted the salty, savory, chewy comfort of fried rice.
But then I remembered the “food coma” I’d been in for two days straight after eating restaurant takeout. You know that heavy, sluggish feeling where you just want to lie on the couch and stare at the ceiling? I was done with that. I wanted to feel energized, not stuffed. I wanted something that tasted indulgent but actually supported the healthy habits I’d been trying to build for the last month.
That’s when I remembered the half-head of cauliflower sitting in my crisper drawer, slowly turning into a fuzzy white blob. It was either use it or throw it out. I decided to try something I’d seen on Pinterest a million times but never actually attempted because I thought it sounded like a sad, watery compromise. I called it the Healthy Cauliflower Fried Rice.
Fast forward 20 minutes: The kitchen smelled like garlic and sesame oil. The pan was sizzling. I took the first bite, and I nearly dropped my spatula. It wasn’t just “good for cauliflower rice.” It was genuinely delicious. It had the right texture, the right crunch, and that addictive umami flavor that makes regular fried rice so hard to quit. My husband, who is a certified carb-aholic and usually rolls his eyes at my “healthier” experiments, asked for seconds. And not the polite “I’m full, thanks” seconds, but the “let me dig into the bottom of the pan” seconds.
This recipe has become my secret weapon. It’s quick, it’s low carb, and it saves me from the takeout trap. I’ve made this Healthy Cauliflower Fried Rice at least four times in the last two weeks. It’s the kind of meal that proves you don’t need to sacrifice flavor to eat well. If you’re tired of feeling heavy after dinner or just looking for a quick low carb dinner that doesn’t taste like rabbit food, you need to try this. Seriously. It’s a game-changer.
Why You’ll Love This Cauliflower Fried Rice
Look, I get it. Switching from real rice to cauliflower can feel intimidating. You might be worried it’ll be mushy, bland, or just weird. But here’s the thing: once you master the technique, this Healthy Cauliflower Fried Rice becomes my absolute favorite weeknight meal. It’s not just a substitution; it’s an upgrade in terms of how your body feels after eating it.
Here’s why this recipe has earned a permanent spot in our rotation:
It’s Ready in 15 Minutes — Seriously. If you can chop a vegetable, you can make this. I time myself on weeknights when I’m starving, and this consistently comes together in under 15 minutes. It’s faster than waiting for a delivery driver who’s somehow “five minutes away” for the last 20 minutes.
Low Carb Without Being Boring — I’ve tried low carb diets before, and they often feel restrictive. This doesn’t. The cauliflower absorbs all those savory flavors—soy sauce, ginger, garlic—so you don’t miss the rice at all. It’s fluffy, it’s textured, and it’s satisfying.
Packed with Veggies (You Won’t Taste Them) — This is my Trojan horse for getting my kids to eat vegetables. I dice the carrots and peas small, and they blend right in. My daughter ate three bowls and had no idea she was eating a full serving of cauliflower and carrots. Victory.
Perfect for Meal Prep — Unlike regular fried rice, which gets soggy in the fridge, cauliflower fried rice holds up surprisingly well. I make a big batch on Sunday, and it’s my go-to lunch for the next few days. It reheats beautifully in the microwave without turning into a paste.
Budget-Friendly — Cauliflower is cheap, especially if you buy it fresh rather than pre-riced. A whole head costs less than a pound of rice, and you get way more volume. Plus, you can toss in whatever leftover veggies you have in the fridge. It’s the ultimate “clean out the crisper” recipe.
This is my go-to when I need dinner to just work. No complicated techniques, no weird ingredients, just reliable, delicious food that makes everyone happy. It’s proof that healthy eating doesn’t have to be complicated or expensive.
Ingredients You’ll Need
Here’s the best part: you probably have most of this already in your pantry. This isn’t a recipe that requires a special trip to the grocery store for obscure items. It’s simple, accessible, and effective.
For the Base:
Cauliflower (1 large head, about 4-5 cups riced / 600g) — You can buy pre-riced cauliflower to save time, but I strongly recommend ricing it yourself. Pre-riced bags often have excess moisture that makes your fried rice soggy. A food processor works great for this. Pulse until it looks like grains of rice, but don’t puree it.
Eggs (2 large) — Scrambled and chopped. This adds protein and makes the dish feel more substantial. If you’re vegan, you can skip this or use chickpea flour scramble, but I find the eggs add a nice richness.
Vegetable Oil (2 tablespoons) — I use avocado oil or light olive oil. Sesame oil is for flavor at the end, not for cooking, because it burns easily. Don’t skimp on the oil; cauliflower needs a little fat to cook properly.
For the Flavor:
Garlic (4 cloves, minced / about 2 tablespoons) — Fresh garlic is non-negotiable here. It gives that punchy, aromatic base that defines fried rice. If you’re in a rush, you can use jarred, but fresh tastes way better.
Fresh Ginger (1 tablespoon, grated) — This is the secret weapon. Grated ginger adds a warm, spicy depth that makes the dish taste restaurant-quality. I grate it on a microplane so it melts into the sauce. If you don’t have fresh, 1 teaspoon of ground ginger works, but it’s not as bright.
Soy Sauce (3 tablespoons, low-sodium) — I use low-sodium soy sauce so I can control the salt level. Regular soy sauce is fine if you rinse your veggies well, but low-sodium gives you more flexibility. For a gluten-free option, use tamari.
Sesame Oil (1 teaspoon) — This is the finisher. Add it at the very end. It provides that iconic nutty aroma. Don’t cook with it; just drizzle it on.
Green Onions (3-4 stalks, sliced) — Both the white and green parts. The whites go in early for flavor, the greens go on top for color. They add a fresh, oniony bite that cuts through the richness.
For the Veggies:
Carrots (1 medium, finely diced / about 100g) — Dice these small so they cook quickly and blend in with the cauliflower texture. Don’t leave them in big chunks; they’ll be crunchy in a weird way.
Frozen Peas (½ cup / 75g) — No need to thaw them. They cook fast and add a pop of sweetness and color. I keep a bag in the freezer at all times for this.
Optional Add-ins:
Shredded Chicken (1 cup, cooked) — Leftover rotisserie chicken is perfect here. It makes the meal more filling and adds protein.
Shrimp (½ lb, peeled and deveined) — Shrimp cooks in 2 minutes, so add it at the very end just to warm through. It’s a delicious variation.
White or Brown Rice (½ cup, cooked) — If you’re not strictly low carb, mix in ½ cup of cooked rice for a hybrid version. It gives you the best of both worlds.
Equipment Needed
You don’t need fancy equipment for this. Here’s what I actually use in my kitchen.
Large Skillet or Wok — I use a 12-inch stainless steel skillet. You need enough surface area so the cauliflower isn’t steaming in a pile. A wok is traditional and great, but a big skillet works perfectly. If your pan is too small, cook in batches.
Food Processor — For ricing the cauliflower. It’s the fastest method. If you don’t have one, you can use a box grater, but it takes longer and is harder on your wrists.
Sharp Knife — For dicing carrots and slicing green onions. Dull knives make you cry more—literally, with the onions. Learn to sharpen yours.
Measuring Spoons — For the soy sauce and sesame oil. Consistency helps you learn what tastes right to you.
Spatula — A flat-edged silicone or metal spatula is best for stirring and scraping the bottom of the pan. You want to get all those crispy bits.
Colander — If you rice your cauliflower, you might want to squeeze out excess moisture. A colander helps, but a clean kitchen towel works too.
Optional: Microplane — For grating fresh ginger. It makes it so easy and eliminates the fibrous chunks you get with a regular grater.
How to Make It: Step-by-Step
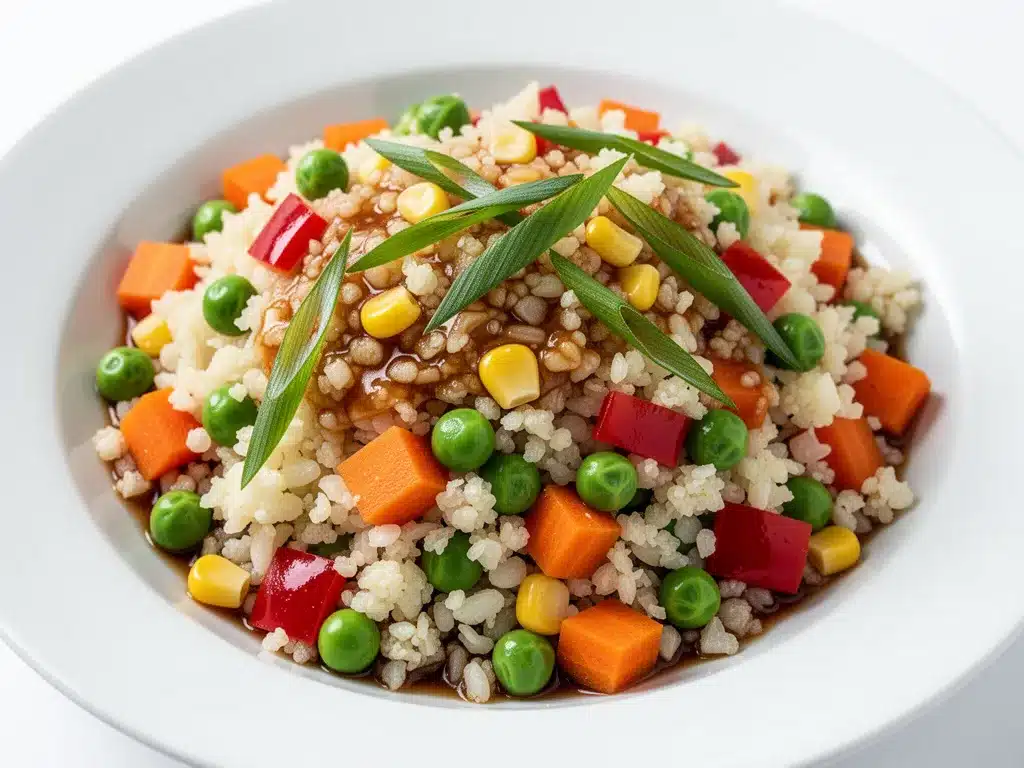
Alright, let’s make this! I’m walking you through exactly how I do it, including the little tricks I’ve picked up over time. This Healthy Cauliflower Fried Rice comes together fast, so have your ingredients prepped before you turn on the heat.
Step 1: Rice the Cauliflower (5 minutes)
Remove the leaves and tough stem from the cauliflower head. Cut it into florets. Place the florets in a food processor and pulse until the pieces are the size of rice grains. Do not over-process, or you’ll end up with cauliflower mash. If you don’t have a food processor, grate the florets using the large holes of a box grater.
Step 2: Remove Excess Moisture (Crucial Step!)
This is the most important step for texture. Cauliflower holds a lot of water. Place the riced cauliflower in a clean kitchen towel or several layers of paper towels. Squeeze tightly over the sink to wring out as much liquid as possible. You’ll be amazed at how much water comes out. If you skip this, your fried rice will be soggy and steamed, not fried. Trust me on this.
Step 3: Scramble the Eggs (2 minutes)
Heat 1 tablespoon of oil in your large skillet over medium-high heat. Crack the eggs into the pan and scramble them quickly with a spatula. Once they’re cooked but still slightly soft, remove them to a plate. Set aside. This prevents them from overcooking while you fry the veggies.
Step 4: Sauté the Aromatics and Veggies (3-4 minutes)
Add the remaining 1 tablespoon of oil to the same skillet. Add the diced carrots and cook for 2 minutes until they start to soften. Then add the minced garlic and grated ginger. Cook for 30 seconds, stirring constantly, until fragrant. Be careful not to burn the garlic—it turns bitter quickly.
Step 5: Fry the Cauliflower (5-7 minutes)
Add the squeezed cauliflower rice to the pan. Spread it out in an even layer. Let it sit for 1-2 minutes without stirring. You want it to get a little crispy and browned on the bottom. Then, stir and continue cooking for another 3-4 minutes. The cauliflower should be tender but still have a slight bite (al dente). It will look like cooked rice.
Step 6: Combine and Season (2 minutes)
Return the scrambled eggs to the pan. Add the frozen peas. Pour the soy sauce over everything. Stir well to combine. Cook for 1-2 minutes until the peas are heated through and the sauce is evenly distributed. The cauliflower will absorb the soy sauce and turn a nice golden color.
Step 7: Finish and Serve
Remove the pan from the heat. Drizzle with the sesame oil and toss in the sliced green onions (save some for garnish). Taste and adjust salt if needed. Serve immediately while hot.
Total Time: About 15-20 minutes (5 minutes prep, 15 minutes cooking)
Expert Tips & Tricks
Here’s everything I’ve learned from making this dozens of times. These tips will save you from my mistakes.
Squeeze That Water Out!
I cannot stress this enough. Wet cauliflower = sad fried rice. If you buy pre-riced cauliflower, it’s even more important to squeeze it. I use a clean tea towel and twist it like I’m wringing out a wet shirt. Get every drop you can.
High Heat is Your Friend
Fried rice needs a good sear. Keep your heat at medium-high. If it’s too low, the cauliflower will steam instead of fry. You want those little crispy bits. It’s the best part.
Don’t Overcrowd the Pan
If you’re cooking for a crowd, double the recipe but cook it in two batches. Crowding the pan lowers the temperature and leads to steaming. Better to have two small pans of crispy rice than one big pan of mush.
Use Day-Old Rice (If Adding)
If you’re adding real rice to the mix, use cold, day-old rice. Freshly cooked rice is too sticky and will clump up the cauliflower. Cold rice fries up nicely.
Room Temperature Ingredients
If you’re adding chicken or shrimp, make sure it’s not ice-cold from the fridge. It’ll drop the pan temperature. Let it sit out for 10 minutes before cooking.
Common Mistakes (and how to avoid them):
Mistake: Sauce is too salty
Fix: Use low-sodium soy sauce and taste before adding more. You can always add more, but you can’t take it away. I also rinse canned veggies if I use them.
Mistake: Cauliflower is mushy
Fix: You didn’t squeeze the water out, or you cooked it too long. Cook it just until tender. It should still have a bit of crunch.
Mistake: Flavor is bland
Fix: Cauliflower needs seasoning. Don’t be shy with the soy sauce and ginger. Taste as you go.
Variations & Substitutions
Once you’ve nailed the basic version, here’s how you can mix it up. I’ve tried all of these.
Chicken Fried Rice
Add 1 cup of diced cooked chicken (rotisserie works great) when you add the peas. My husband prefers this version—makes it more filling.
Shrimp Fried Rice
Sauté ½ lb of raw shrimp in the oil before adding the carrots. Cook until pink, then remove. Add back in at the end. Shrimp cooks fast, so don’t overcook it.
Veggie-Loaded
Add diced bell peppers, zucchini, or corn. Bell peppers add a nice crunch. Zucchini needs to be squeezed dry like the cauliflower, or it’ll make the dish watery.
Egg Drop Style
Instead of scrambling the eggs first, pour beaten eggs into the pan while the cauliflower is cooking. Stir gently to create ribbons of egg. It’s a different texture but delicious.
Spicy Version
Add 1 teaspoon of sriracha or chili garlic sauce with the soy sauce. Top with chili crisp for extra heat and crunch.
Gluten-Free
Use tamari instead of soy sauce. Everything else is naturally gluten-free, so this is easy to adapt.
Low-Fat Version
Sauté the veggies in vegetable broth instead of oil. It’s less rich but still flavorful. I make this when I’m trying to cut back on calories.
Serving & Storage
How to Serve
I usually serve this straight from the skillet at the dinner table—it looks rustic and stays warm. But here are other ways I’ve enjoyed it:
Side Dishes:
– Simple edamame sprinkled with sea salt
– Miso soup (for a complete meal)
– Cucumber salad with rice vinegar
– Steamed bok choy with garlic
Toppings Bar:
When I have guests, I put out: extra green onions, sesame seeds, chili crisp, lime wedges, and extra soy sauce. Everyone customizes their bowl.
Storage Instructions
Refrigerator:
Store in an airtight container for up to 4 days. The cauliflower will soften slightly in the fridge, but it’s still good. I actually think it tastes better the next day as the flavors meld.
Reheating:
Best method: Add to a skillet with a splash of water or broth over medium heat. Stir until heated through. This revives the texture better than the microwave.
Microwave method: Heat in 30-second intervals, stirring between. Add a splash of water to prevent drying out.
Never works: Trying to reheat in the oven. It’ll dry out the cauliflower. Stick to the stove or microwave.
Freezing:
I don’t recommend freezing this. The cauliflower changes texture when frozen and thawed—it can become watery and soft. It’s best eaten fresh or stored in the fridge for a few days.
Pro tip: If leftovers are drying out, stir in a teaspoon of butter or a splash of sesame oil when reheating. Brings back that richness.
Nutrition Information
I’m not a nutritionist, but here’s the breakdown if you’re tracking. This is approximate per serving (based on 4 servings).
– Calories: 180
– Protein: 10g
– Carbs: 12g
– Fiber: 4g
– Sugar: 5g
– Fat: 10g
– Sodium: 580mg (varies by soy sauce)
What’s Good:
– High in fiber from the cauliflower and veggies
– Low in net carbs (great for keto or low carb diets)
– Good source of Vitamin C and K from the cauliflower
– Packed with antioxidants
What to Know:
– Sodium can be high depending on soy sauce used. Use low-sodium tamari to reduce.
– Contains eggs (not vegan unless modified).
– Lower in calories than traditional fried rice, which is usually 300-400 calories per cup.
My Take:
Look, this is comfort food with a healthy twist. It’s not a diet recipe, but it’s way better than takeout, costs less, and I know exactly what’s in it. When I want to make it lighter, I add extra veggies and use less oil. But usually? I just eat a reasonable portion and enjoy it.
Final Thoughts
So that’s my go-to Healthy Cauliflower Fried Rice! I’ve probably talked your ear off at this point, but when you make a recipe this often, you have a lot to say about it.
This has saved weeknight dinners more times than I can count. It’s my answer to “what’s for dinner” when I’m tired, don’t want takeout, and still want something that tastes really good. My kids are happy, my husband’s happy, and I’m happy because I’m not stressed about cooking or feeling sluggish afterward.
Make it yours! Try different add-ins, swap in your favorite vegetables, adjust the garlic (though more is always better in my opinion). The best recipes are the ones you adapt to your family’s tastes. If you’re looking for other quick low carb dinner ideas, this is a great starting point. You can also pair it with dishes like crispy garlic chicken for a complete meal.
If you make this, drop a comment and let me know what you think! I love hearing how recipes turn out in your kitchen. And if something doesn’t work, tell me that too—I’m here to help troubleshoot.
Happy cooking! And I hope your kitchen smells half as good as mine does right now.
Frequently Asked Questions
Can I use pre-riced cauliflower?
Yes, you can! It saves time. However, pre-riced cauliflower often has more moisture. You MUST squeeze it in a towel to remove excess water. If you don’t, your fried rice will be soggy. I’ve done it both ways, and fresh-riced is better, but pre-riced works if you squeeze well.
Why did my cauliflower fried rice turn out mushy?
Usually, this happens for two reasons: 1) You didn’t squeeze out enough water, or 2) You cooked it on too low heat. Cauliflower needs high heat to fry, not steam. Make sure your pan is hot before adding the cauliflower, and squeeze it thoroughly.
Can I make this ahead for a dinner party?
Sort of. You can prep the cauliflower rice and chop the veggies ahead of time. Store them in separate containers in the fridge. When it’s time to eat, just cook it. It comes together in 15 minutes, so it’s not too late to make it fresh.
Is this keto-friendly?
Yes! This Healthy Cauliflower Fried Rice is naturally low carb and keto-friendly. Just make sure to use a keto-approved soy sauce or tamari, and avoid adding sugar. It’s about 2-3 net carbs per cup, which fits well into most keto diets.
Can I use frozen cauliflower rice?
You can, but it’s even wetter than fresh. You have to squeeze it really hard. I find it’s harder to get the right texture with frozen, but it’s a good emergency option. Fresh or frozen-from-scratch is best.
How do I reheat leftovers without it getting dry?
Add a splash of water or broth to the pan when reheating. This creates steam and helps revive the texture. Microwave reheating can dry it out, so if you use the microwave, cover it and add a little liquid.
Can I double this recipe?
Absolutely! Double everything and use your biggest skillet or a wok. You might need to cook in two batches to avoid overcrowding. Crowding leads to steaming, which ruins the texture. I double this for meal prep all the time.
Pin This Recipe!
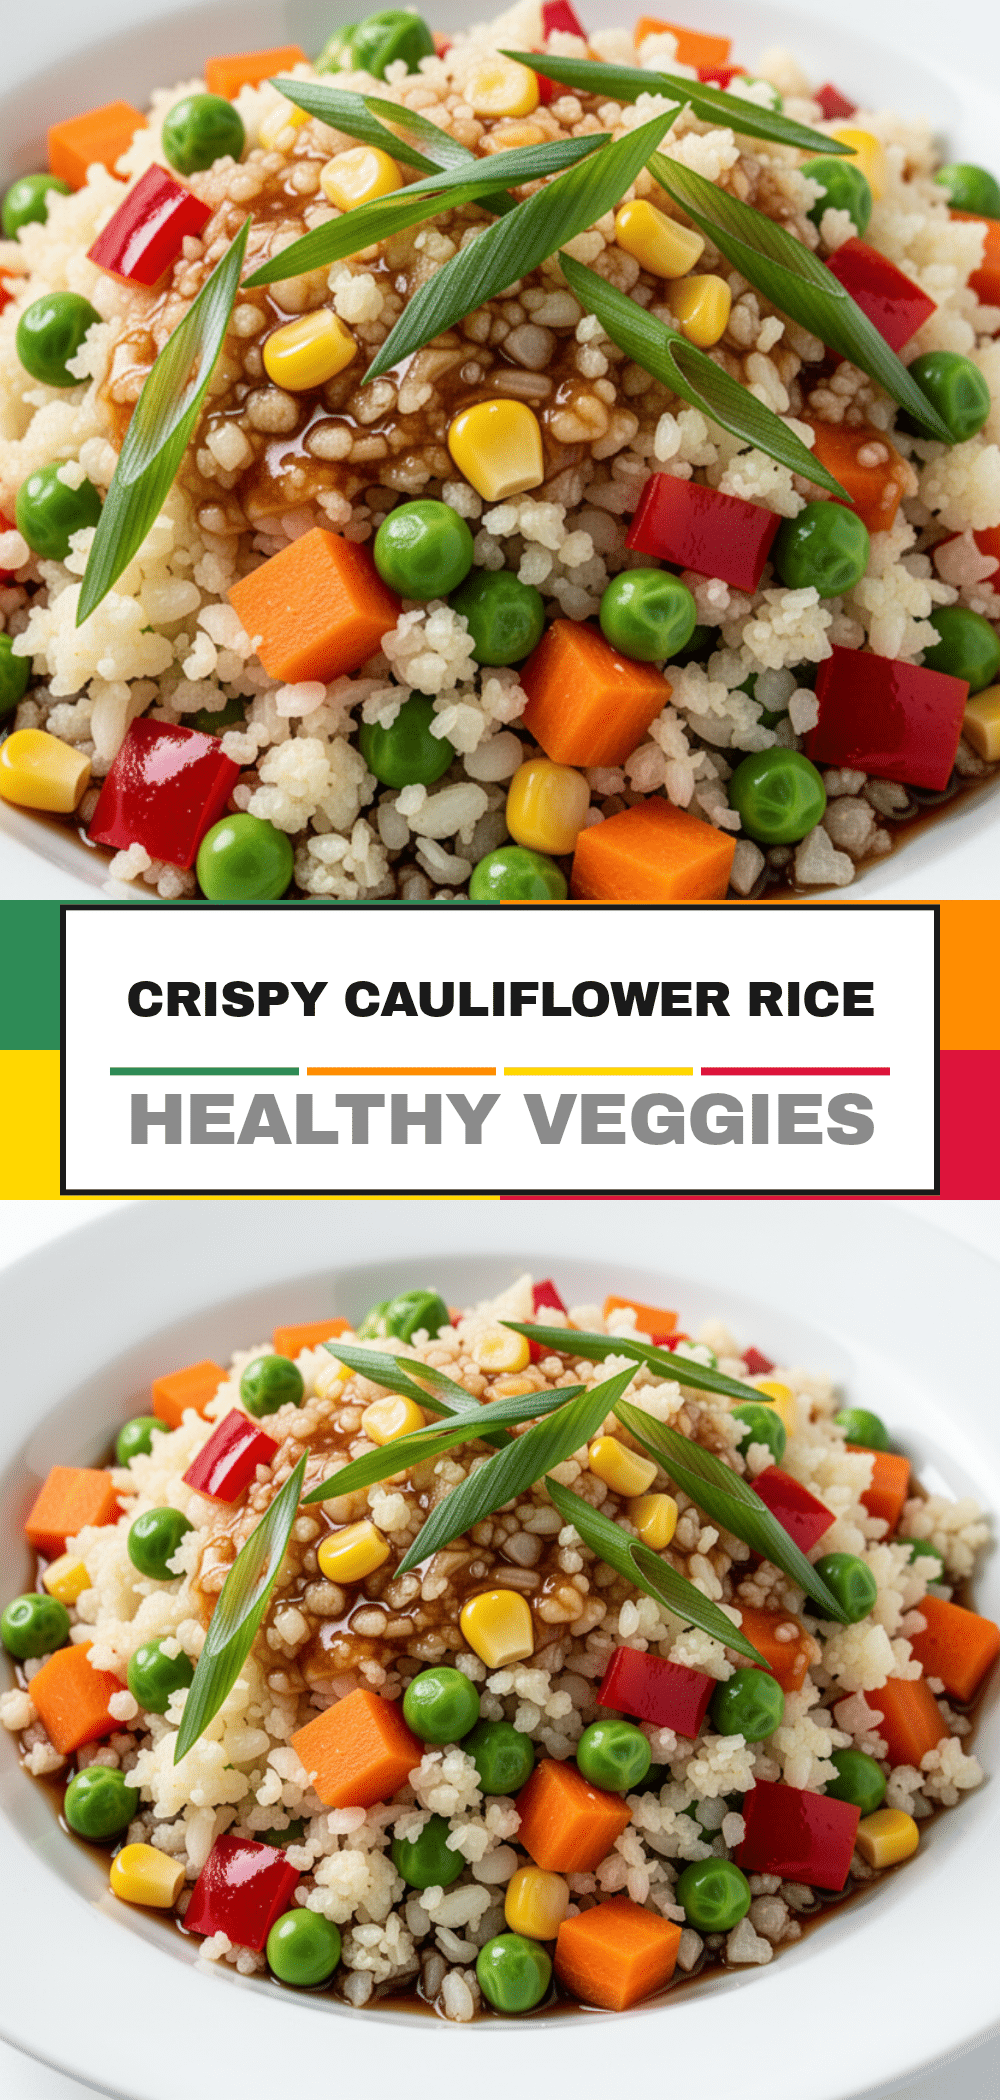
Healthy Cauliflower Fried Rice: Easy Low Carb Dinner
- Total Time: 20 minutes
- Yield: 4 servings 1x
Description
A quick, low-carb alternative to traditional fried rice made with riced cauliflower, eggs, and vegetables. This recipe is ready in under 20 minutes, budget-friendly, and perfect for meal prep.
Ingredients
- 1 large head cauliflower (about 4–5 cups riced / 600g)
- 2 large eggs, scrambled and chopped
- 2 tablespoons vegetable oil (avocado or light olive oil)
- 4 cloves garlic, minced
- 1 tablespoon fresh ginger, grated
- 3 tablespoons low-sodium soy sauce (or tamari for gluten-free)
- 1 teaspoon sesame oil
- 3–4 stalks green onions, sliced
- 1 medium carrot, finely diced
- ½ cup frozen peas
- Optional: 1 cup cooked shredded chicken or ½ lb shrimp
Instructions
- Rice the cauliflower by pulsing florets in a food processor until they resemble rice grains. Do not puree.
- Place the riced cauliflower in a clean kitchen towel or paper towels and squeeze tightly to remove excess moisture. This is crucial for texture.
- Heat 1 tablespoon of vegetable oil in a large skillet or wok over medium-high heat. Scramble the eggs quickly and remove them to a plate.
- Add the remaining 1 tablespoon of oil to the pan. Add diced carrots and cook for 2 minutes until softened.
- Add minced garlic and grated ginger; cook for 30 seconds until fragrant, being careful not to burn the garlic.
- Add the squeezed cauliflower rice to the pan. Spread it out and let it sit for 1-2 minutes to brown slightly before stirring. Cook for another 3-4 minutes until tender but still having a slight bite.
- Return the scrambled eggs to the pan and add the frozen peas. Pour in the soy sauce and stir to combine. Cook for 1-2 minutes until peas are heated through.
- Remove from heat. Drizzle with sesame oil and toss in sliced green onions. Taste and adjust salt if needed. Serve immediately.
Notes
Squeezing excess moisture from the cauliflower is the most important step to prevent soggy rice. Use high heat to ensure the cauliflower fries rather than steams. If adding meat, ensure it is not ice-cold to maintain pan temperature. For leftovers, reheat in a skillet with a splash of water or broth to revive texture.
- Prep Time: 5 minutes
- Cook Time: 15 minutes
- Category: Main Course
- Cuisine: Asian
Nutrition
- Serving Size: 1 cup
- Calories: 180
- Sugar: 5
- Sodium: 580
- Fat: 10
- Saturated Fat: 2
- Carbohydrates: 12
- Fiber: 4
- Protein: 10
Keywords: cauliflower fried rice, low carb dinner, healthy fried rice, keto friendly, quick dinner, meal prep, gluten free option


