I still remember the first time I made lemon bars. I was twenty-two, living in a tiny apartment with a hot plate and a questionable sense of independence. I followed a recipe from a magazine that promised “tangy perfection.” What I got was a soggy, sandy mess that tasted more like sweetened lemon juice than actual dessert. I ate two bites, felt guilty, and threw the rest in the trash. That was the day I decided I would never make lemon bars again.
Fast forward fifteen years. I’m standing in my kitchen, flour on my apron, staring at a pan of what I thought was another failure. The crust looked golden, the filling was set, and the smell of fresh zest was filling the house. I took a bite. And then another. And then I realized: this isn’t just good for homemade. This is better than any bakery I’ve ever paid $4 for a single square.
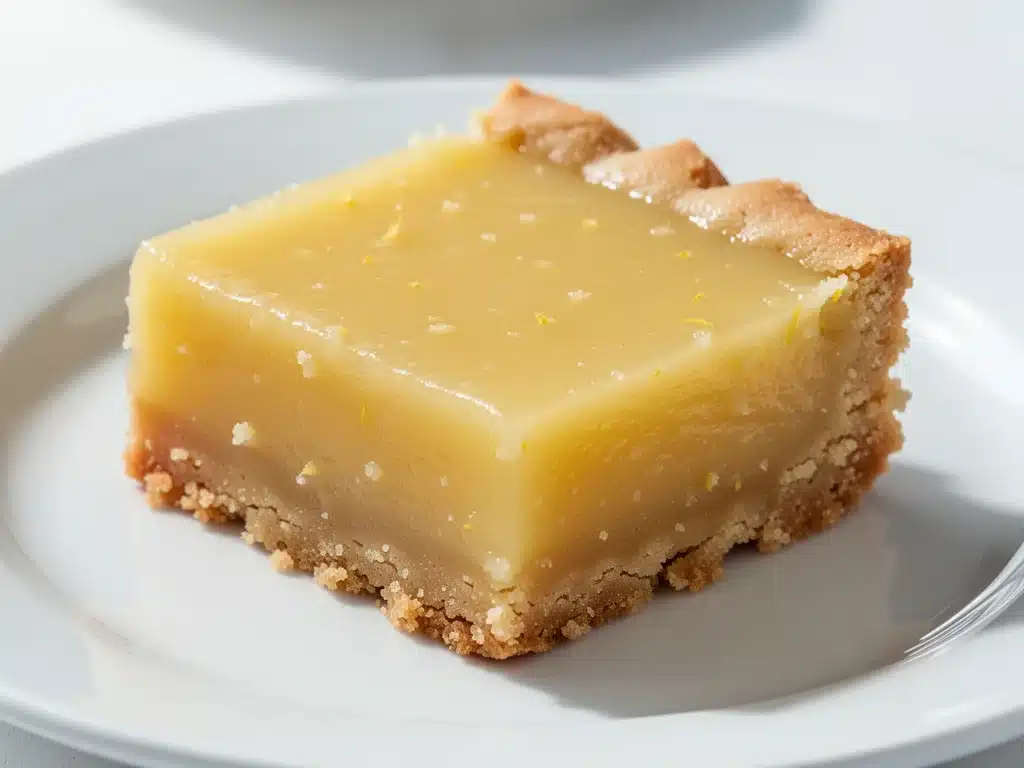
That was the moment I cracked the code. The secret isn’t in the filling—it’s in the crust. Most recipes treat the shortbread layer as an afterthought, a mere vehicle for the lemon. But this lemon bars with buttery shortbread crust recipe treats the crust like the star it deserves to be. It’s crisp, sandy, and rich enough to balance the sharp acidity of the curd perfectly. It’s the kind of dessert that makes people stop mid-chew and ask, “Wait, you made this?”
I’ve tested this classic dessert recipe at least twelve times over the last six months. I’ve burned the edges, undermixed the batter, and even tried using margarine (don’t—just don’t). Each mistake taught me something. And now, I’m sharing the version that actually works. It’s easy, it’s reliable, and it’s going to become your new favorite weekend project. Seriously, if you’ve ever been intimidated by baking, this is the recipe to start with. It’s forgiving, it’s delicious, and it’s going to make your kitchen smell like a high-end patisserie.
Why You’ll Love This Lemon Bars Recipe
Look, I get it. There are a million lemon bar recipes out there. So why this one? Here’s the honest truth about why this specific version has taken over my house (and likely will take over yours too).
- The Crust Actually Stays Crisp — This is the biggest pain point with homemade lemon bars. You cut them, you put them in the fridge, and two hours later, the bottom is soggy because the moisture from the filling seeped down. Not here. Because we press the shortbread firmly and pre-bake it properly, it acts as a barrier. The crust stays sandy and crisp even after days in the fridge. I know, I’ve tested it. It’s a game-changer.
- Perfectly Tangy, Not Sour — I hate lemon bars that taste like battery acid. This recipe strikes the perfect balance. The fresh lemon juice provides that bright, zingy kick, but the sugar and eggs mellow it out just enough so it’s refreshing, not painful. It’s the kind of tartness that makes you want another bite, not a glass of milk.
- Only One Pan — Clean-up is usually the part of baking I dread. With this easy shortbread crust recipe, everything happens in a 9×13 inch pan. You mix the crust, press it, bake it. Mix the filling, pour it, bake it. Dust with sugar. Done. No separate bowls for crust and filling, no complex assembly. Just pure, simple dessert making.
- Make-Ahead Friendly — These bars actually get better after sitting in the fridge for 24 hours. The flavors meld together, the crust firms up, and the texture becomes even more cohesive. I love making them on Sunday so I can grab one for lunch during the week. They keep well for up to a week, covered.
- Visually Stunning — Let’s be real, we eat with our eyes first. The bright yellow curd against the pale golden crust, finished with a delicate dusting of powdered sugar? It’s Instagram gold. But more importantly, it looks impressive when you bring it to a potluck or a dinner party. People assume you bought them at a fancy bakery. The surprise on their faces when you say, “Nope, homemade,” is worth every minute of prep.
This isn’t just a dessert; it’s a confidence booster. It’s proof that you can bake something that looks professional and tastes incredible without needing a degree in pastry arts. Once you master this lemon bars with buttery shortbread crust, you’ll never look at a boxed mix or a store-bought tray the same way again.
Ingredients You’ll Need for the Best Lemon Bars
Here’s the beauty of this recipe: you probably have most of these ingredients in your pantry right now. It’s simple, honest food. No weird extracts, no fancy flours you can only find in specialty shops. Just good, solid ingredients.
For the Buttery Shortbread Crust
Unsalted Butter (1 cup / 226g, softened) — This is non-negotiable. I know it’s tempting to use salted butter to save a step, but you lose control over the salt level. Plus, high-quality European-style butter makes a noticeable difference in flavor. Let it sit out for 30 minutes so it’s easy to cream.
Granulated Sugar (½ cup / 100g) — Just regular white sugar. It helps create that crisp, sandy texture. Don’t substitute with brown sugar here; you want that classic shortbread look and taste.
All-Purpose Flour (2 cups / 250g) — The foundation. Don’t over-measure it! Spoon it into the cup and level it off. If you scoop directly from the bag, you’ll pack it down and end up with a tough, bread-like crust instead of a tender shortbread.
Powdered Sugar (¼ cup / 30g) — This adds a touch of sweetness to the crust and helps with the texture. It’s what gives the crust its pale, sandy color.
Lemon Zest (1 teaspoon) — Yes, even the crust gets a little lemon. It adds a subtle background note that ties everything together. Use a microplane for the finest zest.
For the Tangy Lemon Filling
Granulated Sugar (1 ½ cups / 300g) — This might seem like a lot, but lemon is tart. The sugar balances the acidity. Don’t reduce it significantly, or the bars won’t set properly.
Whole Eggs (4 large) — Room temperature eggs are crucial here. If your eggs are cold, they’ll curdle the mixture when they hit the warm lemon juice. Take them out of the fridge an hour before you start.
Fresh Lemon Juice (½ cup / 120ml, about 3-4 lemons) — Bottled lemon juice has a metallic, flat taste. Please, for the love of all things delicious, use fresh lemons. It makes a world of difference. Squeeze them yourself, or buy fresh-squeezed juice from the grocery store if you’re in a pinch.
Lemon Zest (2 tablespoons) — More zest! The oils in the zest carry the most intense lemon flavor. Be generous here. If you’re a lemon lover, add even more.
Powdered Sugar (1 cup / 120g) — This sweetens the filling and helps stabilize the eggs. It also contributes to the smooth, custard-like texture.
All-Purpose Flour (¼ cup / 30g) — Just a little bit. It helps the filling set so it’s not runny. Don’t skip it, but don’t add extra, or it’ll become cakey.
Powdered Sugar (for dusting) — For the final touch. It’s optional, but it looks gorgeous and adds a tiny bit of sweetness to the top.
Equipment You’ll Need
You don’t need a fancy kitchen to make this. Here’s what I actually use, along with some honest notes on alternatives.
9×13 Inch Baking Pan — This is the standard size for this recipe. I use a glass Pyrex pan because it heats evenly and I can see the browning on the edges. Metal pans work too, but they might brown faster, so keep an eye on it. Line it with parchment paper for easy removal later.
Mixer — An electric hand mixer or a stand mixer makes short work of the crust. I prefer a stand mixer because it’s hands-free, but a whisk and some elbow grease will work if you’re trying to save money.
Mixing Bowls — You’ll need one medium bowl for the crust and one large bowl for the filling. I use stainless steel because they’re durable and easy to clean.
Microplane Zester — This is my favorite kitchen tool. It zests lemons quickly and finely, without getting the bitter white pith. If you don’t have one, a regular box grater works, but you’ll need to be careful.
Citrus Juicer or Hand Squeezer — If you’re squeezing by hand, a hand squeezer helps you get every last drop of juice. It’s satisfying, too.
Whisk — For the filling. You need to whisk vigorously to incorporate air and ensure the eggs and sugar are fully combined. A fork works in a pinch, but a whisk is much better.
Offset Spatula — To spread the filling evenly over the crust. It helps you get into the corners without scratching the pan.
How to Make Lemon Bars with Buttery Shortbread Crust
Alright, let’s get baking! I’m going to walk you through exactly how I make this classic dessert, including the little tricks that keep the crust crisp and the filling smooth.
Step 1: Prep the Oven and Pan
Preheat your oven to 350°F (175°C). Line your 9×13 inch baking pan with parchment paper, leaving an overhang on the long sides. This is your “handles” for lifting the bars out later. It makes cutting and serving so much easier. Grease the parchment lightly with butter or cooking spray.
Step 2: Make the Shortbread Crust
In a medium bowl, beat the softened butter and granulated sugar together until light and fluffy. This takes about 2-3 minutes with a mixer. If you’re doing it by hand, whisk vigorously. Add the powdered sugar, lemon zest, and flour. Mix on low speed just until the dough comes together. It should look like wet sand. Do not overmix, or the crust will become tough.
Step 3: Press and Pre-Bake
Transfer the dough to your prepared pan. Use your fingers or the bottom of a measuring cup to press it firmly and evenly into the bottom of the pan. You want it tight! Any gaps will cause the filling to seep in and make the crust soggy. Bake for 18-20 minutes, or until the edges are lightly golden. Remove from the oven and let it cool slightly while you make the filling. Leave the oven on.
Step 4: Make the Lemon Filling
In a large bowl, whisk the granulated sugar and flour together. Add the eggs one at a time, whisking well after each addition. This ensures the eggs are fully incorporated and prevents curdling. Add the fresh lemon juice and lemon zest. Whisk until the mixture is smooth and pale yellow. It should look like a thin batter.
Step 5: Assemble and Bake
Pour the lemon filling over the partially baked crust. Use an offset spatula to spread it evenly. Place the pan back in the oven and bake for 20-25 minutes. The edges should be set, and the center should have a slight jiggle (like Jell-O), not a liquid wobble. It will firm up as it cools.
Step 6: Cool and Chill
Remove the pan from the oven and let it cool on a wire rack for 30 minutes. Then, cover it loosely with foil and refrigerate for at least 4 hours, or overnight. This chilling step is crucial. It sets the filling and makes the bars easy to cut. If you cut them warm, they’ll be a mess.
Step 7: Slice and Serve
Once chilled, lift the bars out of the pan using the parchment overhang. Peel off the parchment. Use a sharp knife to cut into squares. I like 2×2 inch squares, but adjust to your preference. Dust with powdered sugar just before serving. Enjoy!
Expert Tips for Perfect Lemon Bars
I’ve made these bars so many times that I’ve learned a few things the hard way. Here’s how to avoid my mistakes.
Room Temperature Eggs are Key — I can’t stress this enough. Cold eggs hit warm lemon juice and curdle. It’s physics. Take your eggs out of the fridge at least an hour before you start. If you forget, put them in a bowl of warm water for 5 minutes.
Don’t Skip the Pre-Bake — Some recipes skip pre-baking the crust, but I don’t recommend it. It helps the crust set and creates a barrier against the wet filling. It’s worth the extra 20 minutes.
Check the Center — The bars continue to cook after you take them out of the oven. If the center is still very liquidy, give it another 5 minutes. If it’s set with just a tiny jiggle, it’s done. Overbaking makes the filling dry and crumbly.
Chill Thoroughly — I know it’s tempting to eat them right away. Resist! The filling needs time to set. If you cut them too soon, they’ll fall apart. Overnight is best, but 4 hours works too.
Use a Sharp Knife — For clean cuts, use a sharp chef’s knife. Wipe the blade with a damp cloth between cuts to remove any sticky filling. This keeps the edges clean and the bars looking professional.
Store Properly — Keep them in an airtight container in the fridge. They’ll last up to a week. If you’re making them for a party, bring them to room temperature for 30 minutes before serving for the best flavor and texture.
Variations and Substitutions
Once you’ve mastered the base recipe, here are some fun ways to mix it up. I’ve tried all of these, and they all work.
Blueberry Lemon Bars — Add 1 cup of fresh or frozen blueberries to the filling before baking. The berries burst and create beautiful purple streaks. It’s a summer favorite.
Mint Lemon Bars — Add 1 teaspoon of peppermint extract to the filling. It’s like a minty lemonade in bar form. Great for spring.
Coconut Lemon Bars — Replace ½ cup of the flour in the crust with shredded coconut. It adds a tropical twist and extra chewiness.
Gluten-Free Option — Use a 1:1 gluten-free flour blend in both the crust and filling. I’ve tested this with Bob’s Red Mill, and it works perfectly. The texture is slightly more tender, but still delicious.
Vegan Version — This is trickier, but possible. Use vegan butter and flax eggs (1 tablespoon ground flaxseed + 3 tablespoons water per egg) in the filling. You might need to add a bit more cornstarch to help it set. It’s not exactly the same, but it’s a good start.
Serving and Storage
How do I serve these? Usually, I just put the whole pan on the table and let people dig in. But here are some ideas if you’re entertaining.
Side Dishes — These bars are rich, so they pair well with lighter sides. I love serving them with a simple green salad or some roasted asparagus. They also go great with a cup of hot tea or coffee.
Storage — Store in an airtight container in the fridge for up to one week. They do not freeze well because the filling can become watery when thawed. Stick to the fridge.
Reheating — You don’t need to reheat these. They’re best served cold or at room temperature. If you accidentally warm them up, just pop them in the fridge for 30 minutes to firm up again.
Nutrition Information
I’m not a nutritionist, but here’s the breakdown if you’re tracking. This is a treat, so enjoy it in moderation.
Per Serving (based on 16 bars):
Calories: 220
Protein: 3g
Carbs: 32g
Fiber: 0g
Sugar: 22g
Fat: 10g
Saturated Fat: 6g
Cholesterol: 45mg
Sodium: 90mg
These bars are high in sugar and fat, as expected for a dessert. But they’re also relatively low in protein and fiber. If you’re watching your sugar intake, consider cutting them into smaller pieces or sharing with friends.
Final Thoughts
So, that’s it! My go-to lemon bars with buttery shortbread crust recipe. I hope you try it. I really do. There’s something so satisfying about making a dessert from scratch that tastes better than anything you can buy. It’s a small victory, but it counts.
These bars have saved me at potlucks, dinner parties, and lazy Sunday afternoons. They’re reliable, delicious, and always a crowd-pleaser. So grab some lemons, preheat your oven, and let’s bake. Your kitchen will smell amazing, and your taste buds will thank you.
If you make this, I’d love to hear about it! Drop a comment below and let me know how they turned out. Did you add blueberries? Did you use fresh lemon juice? I read every comment, and I love hearing about your baking adventures. And if something goes wrong, don’t worry—just tell me what happened, and I’ll help you troubleshoot.
Happy baking! And I hope your lemon bars are as perfect as mine.
Frequently Asked Questions
Can I use bottled lemon juice?
I really don’t recommend it. Bottled lemon juice has preservatives that give it a flat, metallic taste. Fresh lemon juice is bright, acidic, and flavorful. It’s worth the extra five minutes of squeezing. If you absolutely must use bottled, choose a brand that says “from concentrate” and doesn’t have added sugar, but fresh is always better.
Why are my lemon bars runny?
This usually happens for two reasons: either the filling wasn’t baked long enough, or you used too much flour. The filling should have a slight jiggle when you take it out of the oven. It will firm up as it cools. If it’s still runny after chilling, you might have underbaked it next time. Also, make sure you’re measuring your flour correctly. Spooning and leveling is key.
Can I make these ahead of time?
Yes! These bars actually taste better after sitting in the fridge for a day or two. The flavors meld together, and the crust becomes even more crisp. You can make them up to three days ahead. Just keep them covered in the fridge. Bring them to room temperature for 30 minutes before serving for the best texture.
How do I store leftover lemon bars?
Store them in an airtight container in the refrigerator. They’ll last for up to a week. Do not freeze them, as the filling will become watery and separate when thawed. If you need to store them for longer, consider making a fresh batch instead.
Can I use a different pan size?
You can, but the baking time will change. If you use an 8×8 inch pan, the bars will be thicker, so you’ll need to bake them longer (maybe 30-35 minutes). If you use a larger pan, they’ll be thinner and bake faster. Keep an eye on them, and check for the jiggle test to know when they’re done.
What if I don’t have a mixer?
You can make the crust by hand. Just cream the butter and sugar together with a wooden spoon until it’s light, then mix in the flour. For the filling, a whisk will work fine. It might take a bit more elbow grease, but it’s totally doable. Just make sure the eggs are fully incorporated.
Can I add other fruits?
Absolutely! I love adding raspberries or blackberries. Just sprinkle them over the crust before pouring the filling. The fruit will bake into the bars and add a nice burst of flavor. You can also add a layer of jam or curd on top of the crust for extra fruitiness.
Pin This Recipe!
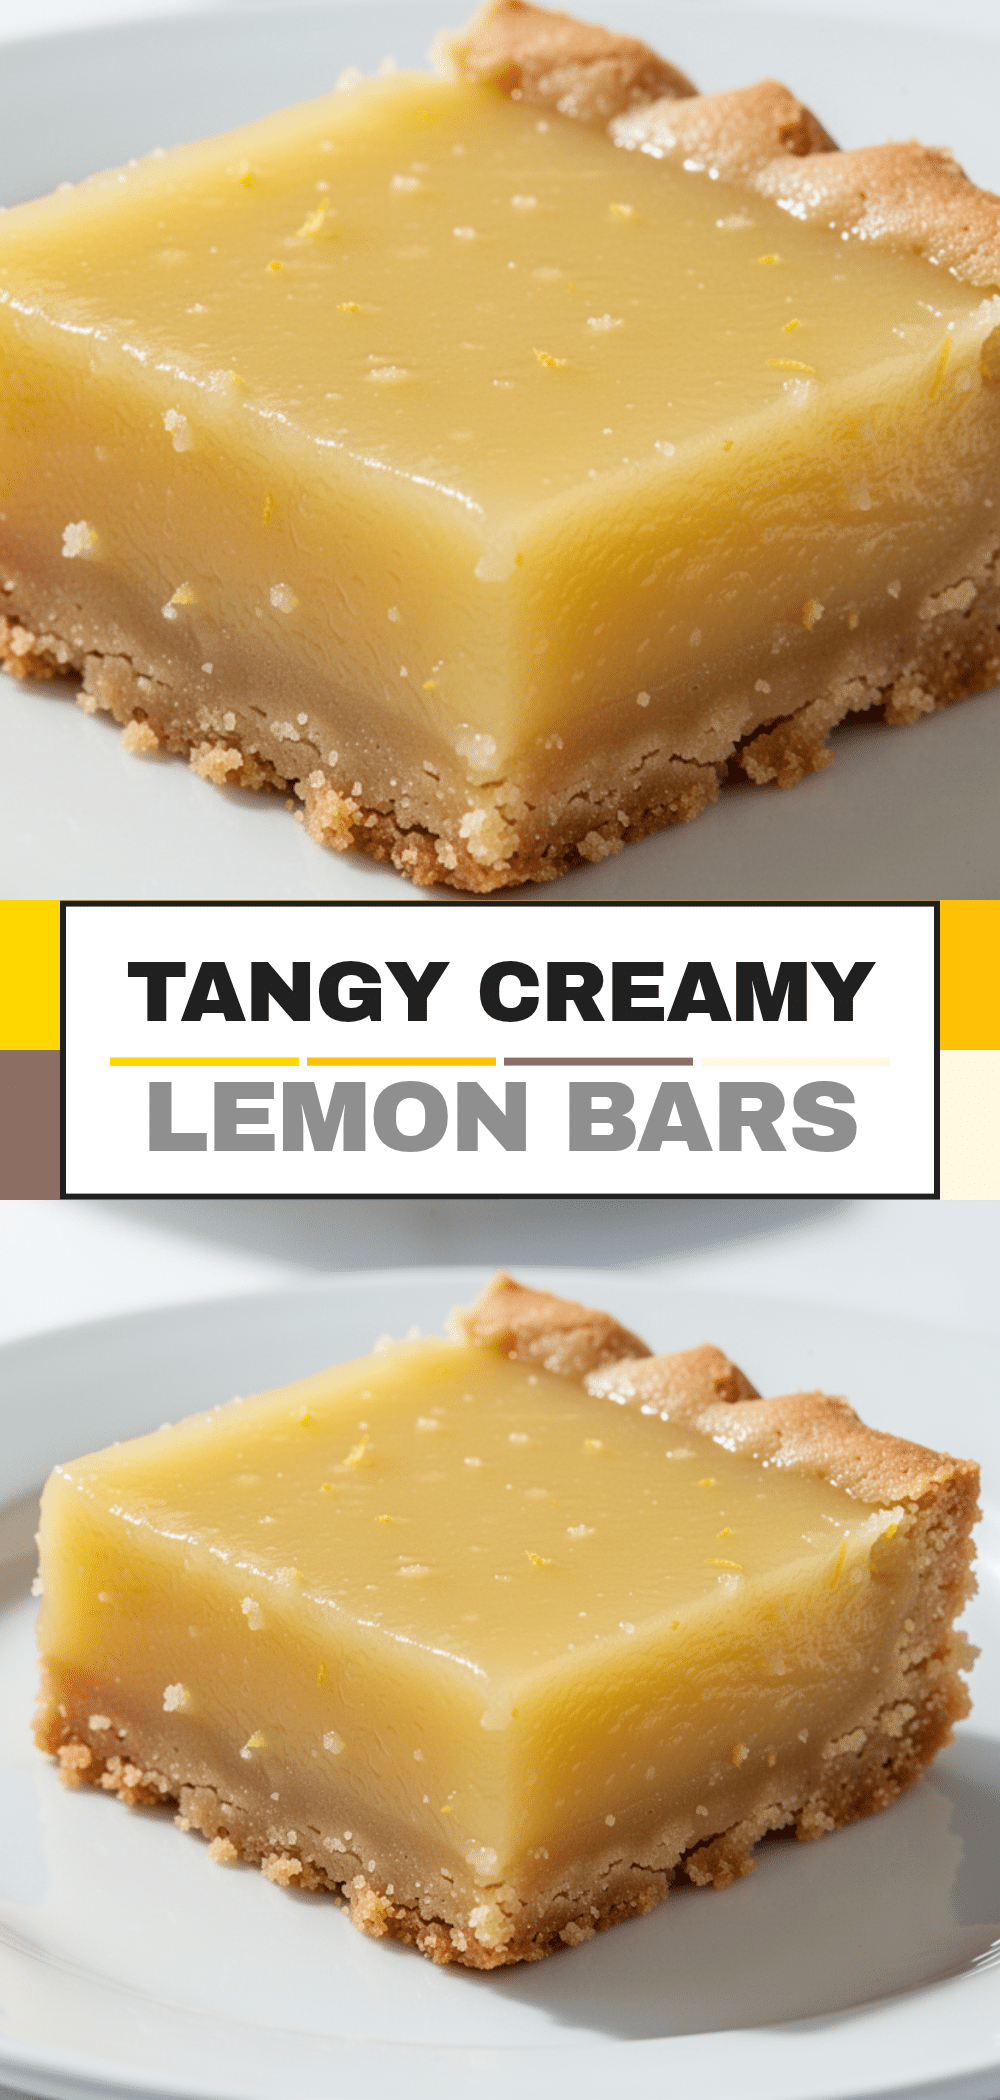

Lemon Bars: Best Easy Shortbread Crust Recipe
- Total Time: 65 minutes
- Yield: 16 servings 1x
Description
These lemon bars feature a crisp, buttery shortbread crust that stays sandy and never gets soggy, paired with a perfectly tangy, smooth lemon curd filling. It’s an easy, one-pan dessert that is make-ahead friendly and tastes better than bakery versions.
Ingredients
- 1 cup (226g) unsalted butter, softened
- 1/2 cup (100g) granulated sugar
- 2 cups (250g) all-purpose flour
- 1/4 cup (30g) powdered sugar
- 1 teaspoon lemon zest
- 1 1/2 cups (300g) granulated sugar
- 4 large eggs, room temperature
- 1/2 cup (120ml) fresh lemon juice
- 2 tablespoons lemon zest
- 1 cup (120g) powdered sugar
- 1/4 cup (30g) all-purpose flour
- Powdered sugar for dusting
Instructions
- Preheat oven to 350°F (175°C). Line a 9×13 inch baking pan with parchment paper, leaving an overhang on the long sides, and grease lightly.
- In a medium bowl, beat softened butter and 1/2 cup granulated sugar until light and fluffy (2-3 minutes).
- Add 1/4 cup powdered sugar, 1 teaspoon lemon zest, and 2 cups flour. Mix on low speed just until the dough resembles wet sand. Do not overmix.
- Press the dough firmly and evenly into the bottom of the prepared pan. Bake for 18-20 minutes until edges are lightly golden. Remove and let cool slightly while making the filling.
- In a large bowl, whisk 1 1/2 cups granulated sugar and 1/4 cup flour together.
- Add eggs one at a time, whisking well after each addition to prevent curdling.
- Add fresh lemon juice and 2 tablespoons lemon zest. Whisk until smooth and pale yellow.
- Pour the filling over the partially baked crust and spread evenly with an offset spatula.
- Bake for 20-25 minutes until edges are set and the center has a slight jiggle.
- Cool on a wire rack for 30 minutes, then cover loosely and refrigerate for at least 4 hours or overnight.
- Lift bars out using parchment overhang, peel off paper, and cut into squares. Dust with powdered sugar before serving.
Notes
Use room temperature eggs to prevent curdling. Do not skip pre-baking the crust to ensure it stays crisp. Chill thoroughly before cutting for clean slices. Store in an airtight container in the fridge for up to one week. Do not freeze as the filling may become watery.
- Prep Time: 20 minutes
- Cook Time: 45 minutes
- Category: Dessert
- Cuisine: American
Nutrition
- Serving Size: 1 square (2x2 inch)
- Calories: 220
- Sugar: 22
- Sodium: 90
- Fat: 10
- Saturated Fat: 6
- Carbohydrates: 32
- Protein: 3
Keywords: lemon bars, shortbread crust, easy dessert, homemade lemon bars, tangy lemon curd, make-ahead dessert, classic dessert


