Last Tuesday, I was staring at a jar of sourdough discard that had been sitting in my fridge for three weeks. It smelled a bit like old gym socks (don’t judge me, it happens), and I had zero intention of baking a loaf of bread. I was tired. I was craving something sweet. And I really, really didn’t want to order takeout.
So I did what any desperate home cook does: I threw the discard into a bowl with butter and sugar and hoped for the best. I wasn’t trying to create a masterpiece. I was trying to stop myself from eating cheese straight from the block.
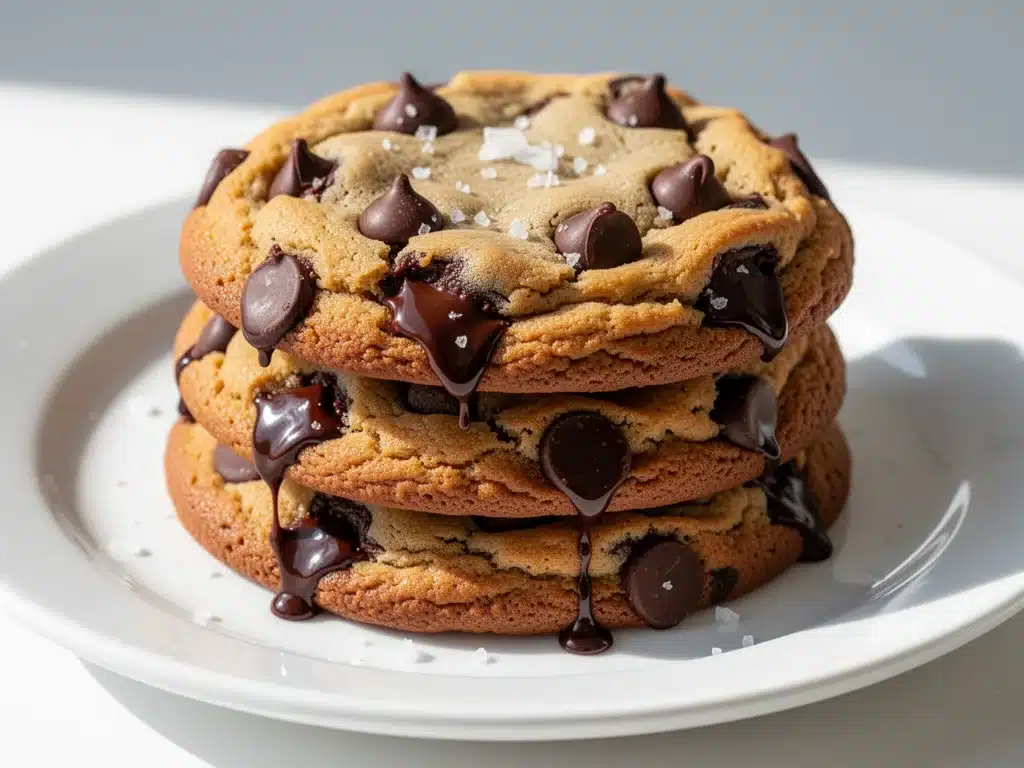
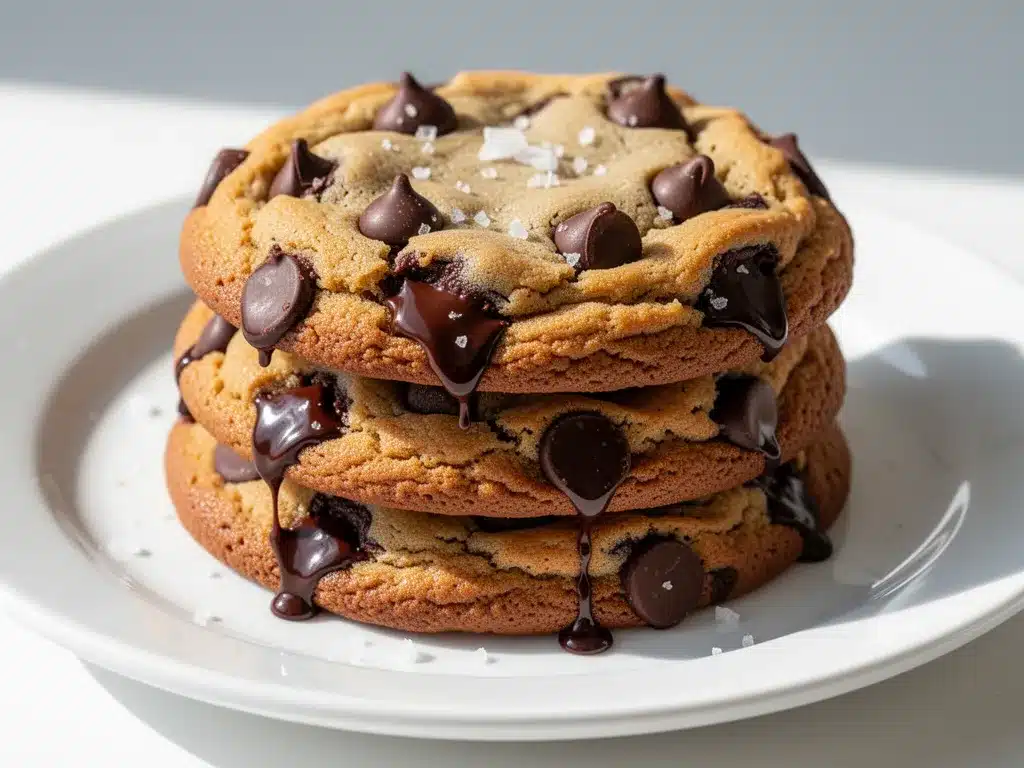
But then… something magical happened. The cookies spread just right. They got crispy edges but stayed chewy in the middle. And that tangy, fermented flavor? It didn’t taste like sourdough bread. It tasted like complexity. It tasted like those expensive cookies you get at a boutique bakery in Portland, but made with stuff I already had.
That was the moment I realized that sourdough discard chocolate chip cookies aren’t just a way to use up waste. They are hands-down the best way to upgrade a basic chocolate chip cookie. The acidity tenderizes the gluten in a way that baking soda alone just can’t match. The result? A cookie that stays soft for days. Literally days. I had one in my lunchbox on Friday, and it was still pillowy soft on Monday.
Here’s the thing about these cookies: they are incredibly forgiving. You don’t need to be a sourdough pro. You don’t even need to be a great baker. If you can mix butter and sugar, you can make these. I’ve tested this recipe at least a dozen times—sometimes with whole wheat flour, sometimes with dark chocolate chips, sometimes at 3 AM when I couldn’t sleep. And this version? This is the one that keeps coming back to my kitchen.
I’ve named them “The Discard Saviors” in my head because they solve two problems at once: they save your starter from going to waste, and they save your evening from being boring. Let me walk you through exactly why this works, what ingredients you need, and how to get that perfect crispy-chewy texture every single time.
Why You’ll Love These Sourdough Discard Cookies
There are about ten reasons I keep making these, but if I had to narrow it down to the ones that actually matter for your weeknight sanity, here they are.
They Turn “Trash” Into Gold — Seriously. That jar of discard in your fridge is usually destined for the sink. These cookies give it a purpose. It feels like a small win for sustainability, plus you get a delicious treat. My kids think I’m a genius because I’m “recycling” their dinner scraps into dessert.
Unbeatable Texture — This is the big one. Regular chocolate chip cookies can get hard after a day. But the lactic acid in the sourdough discard breaks down the flour proteins slightly, resulting in a cookie that stays tender and chewy for up to five days. I know this because I’ve kept a batch on my counter and checked them daily. It’s scary how good they stay.
Deep, Complex Flavor — You don’t taste “yeast.” You taste a subtle tang that balances the sweetness of the brown sugar and the bitterness of the chocolate. It makes the cookie taste more adult, more sophisticated, without being bitter. It’s like the difference between white bread and sourdough toast. Same ingredients, different depth.
Starter-Friendly — If you’re keeping a sourdough starter, you’re constantly in a cycle of feed-discard-feed. This recipe uses about 1 cup of discard, which is a perfect amount to use up before your next feeding. It fits seamlessly into your routine. No extra steps, no extra planning.
Quick and Easy — No fancy techniques. No tempering chocolate. No sourdough hydration calculations. Just cream, mix, scoop, bake. I can make these in about 20 minutes of active time. That’s faster than waiting for a pizza delivery.
Crowd-Pleaser — I’ve served these to my gluten-intolerant friend (using GF flour), my sugar-conscious neighbor (using coconut sugar), and my chocolate-hating husband (who ate three anyway). They are universally liked because they taste like “classic” cookies, just… better.
This is my go-to when I need comfort food that feels homemade but requires zero stress. No complicated rising times, no fear of under-proofed dough. Just reliable, delicious cookies that make your kitchen smell amazing.
Ingredients You’ll Need
Here’s the best part: you probably have most of this already. The sourdough discard is the star, but the rest are pantry staples. I’m particular about a few things here, and I’ll tell you exactly why.
For the Dough Base
Sourdough Discard (1 cup / 240g) — This is the unsalted, unfed starter sitting in your fridge. It should be active but not necessarily at its peak rise. If it’s been in there for a week, that’s fine. It just needs to be liquid enough to mix. If it’s super thick, add a teaspoon of water.
Unsalted Butter (1 cup / 226g) — I use European-style butter like Kerrygold or Plugrá because it has higher fat content, which means richer flavor. Room temperature is crucial. If you microwave it, it will melt and change the texture. Let it sit out for an hour.
Granulated Sugar (½ cup / 100g) — This helps with the crispy edges. White sugar spreads more than brown sugar, so this ratio is key for that lace-like edge. Don’t skip it.
Light Brown Sugar (1 cup / 200g, packed) — This is for the chewiness and the molasses flavor. Dark brown sugar works too if you want a deeper, toffee-like taste. I usually use light because it’s milder.
Large Egg (1) — Room temperature. Helps bind everything together. Don’t use straight-from-the-fridge eggs; they can shock the butter.
Vanilla Extract (2 teaspoons) — Use real vanilla, not imitation. It makes a huge difference in the aroma. I keep a bottle of Nielsen-Massey in my pantry.
For the Dry Mix
All-Purpose Flour (2 ½ cups / 315g) — I use Gold Medal or King Arthur. Cake flour makes them too tender; bread flour makes them too chewy. AP is the sweet spot. Spoon and level it—don’t scoop, or you’ll pack too much flour in.
Baking Soda (1 teaspoon) — This reacts with the acidity in the discard to create lift. It’s essential. Don’t use baking powder.
Salt (1 teaspoon) — Fine sea salt. It balances the sweet. Don’t skimp. If you taste plain dough and it doesn’t taste slightly salty, your cookies will taste flat.
For the Mix-Ins
Semi-Sweet Chocolate Chips (2 cups / 340g) — I use Ghirardelli 60% Cacao chips. They melt beautifully but hold their shape. Chocolate chunks are even better for a rustic look, but chips are easier to find.
Flaky Sea Salt (for topping) — Maldon salt. Sprinkle it on right after baking. It contrasts with the sweet dough and makes them taste fancy.
Optional: Walnuts or Pecans (½ cup, chopped) — I add these sometimes for crunch. Toast them first for extra flavor.
Pro Tip: I always measure my flour by weight if I have a scale (315g is perfect), but if you’re using cups, spoon the flour into the cup and level it off with a knife. Scooping directly from the bag packs it down and leads to dry, crumbly cookies.
Equipment Needed
You don’t need fancy gadgets for this. Here’s what I actually use in my kitchen.
Large Mixing Bowl — I use a 5-quart glass bowl. It’s sturdy and easy to see the consistency of the dough.
Electric Hand Mixer or Stand Mixer — Creaming the butter and sugar takes effort. A hand mixer is fine, but a stand mixer with a paddle attachment is less tiring. I’ve done it by hand, but my arms get tired.
Silicone Spatula — For folding in the chocolate chips. You need something that gets into the corners of the bowl.
Baking Sheets — Two standard half-sheet pans. I prefer light-colored aluminum pans. Dark pans can burn the bottoms.
Parchment Paper — Line your sheets. Do not skip this. Cleanup is a nightmare without it, and cookies stick to unlined pans.
Cooling Rack — Essential. If you let cookies cool on the hot pan, they keep cooking and get over-baked. Transfer them immediately.
Ice Cream Scoop or Cookie Scoop — This is my secret weapon. It ensures every cookie is the same size, so they bake evenly. I use a #40 scoop (about 2 tablespoons).
Optional: Kitchen Scale — For precise flour measurement. It changes your baking life.
How to Make It: Step-by-Step
Alright, let’s make this! I’m walking you through exactly how I do it, including the little tricks I’ve picked up over years of baking.
Step 1: Prep Your Station (5 minutes)
Preheat your oven to 350°F (175°C). Line two baking sheets with parchment paper. Make sure your butter is room temperature—it should yield slightly when you press it. If it’s melting, put it in the fridge for 10 minutes. Measure out your flour, baking soda, and salt. Have your chocolate chips ready. Once you start mixing, things move fast.
Step 2: Cream the Butter and Sugars (3-4 minutes)
In a large bowl, beat the softened butter, granulated sugar, and brown sugar together on medium-high speed. You want this to look pale, fluffy, and light in color. This usually takes about 3 minutes. Don’t rush this step. Incorporating air now is what helps the cookies rise slightly and get that tender crumb. Scrape down the sides of the bowl with your spatula.
Step 3: Add Wet Ingredients (1 minute)
Add the room temperature egg and the vanilla extract. Mix until combined. Then, add the 1 cup of sourdough discard. Mix on low speed just until incorporated. The dough might look a bit curdled or separated here—that’s normal because of the acidity and fat content. It will come together in the next step.
Step 4: Mix Dry Ingredients (2 minutes)
Reduce mixer speed to low. Add the flour, baking soda, and salt. Mix until just combined. Stop as soon as you no longer see streaks of flour. Overmixing develops gluten, which makes cookies tough. We want tender cookies, so be gentle. The dough will be thick and sticky.
Step 5: Fold in Chocolate Chips (2 minutes)
Switch to your spatula. Fold in the chocolate chips gently. Make sure they are distributed evenly. If you want to add nuts, do it now. At this point, you can scoop the dough onto the baking sheets, or you can chill it. Chilling is optional but recommended if you have time (see tips below).
Step 6: Scoop and Bake (12-14 minutes)
Scoop balls of dough (about 2 tablespoons each) onto the prepared baking sheets, spacing them 2 inches apart. They will spread. Bake one sheet at a time in the center of the oven for 12-14 minutes. You want the edges to be golden brown and crisp, but the centers to still look slightly soft and underdone. They will firm up as they cool. If you bake them until they look firm in the oven, they will be hard cookies.
Step 7: Cool and Salt (5 minutes)
Remove the pan from the oven. Let the cookies sit on the hot pan for 5 minutes. This allows them to set. Then, transfer them to a wire rack to cool completely. While they are still warm, sprinkle with flaky sea salt. The salt melts slightly into the cookie and adds that gourmet touch.
Troubleshooting During Baking:
- Cookies spread too much: Your butter was too warm, or the dough wasn’t chilled. Next time, chill the dough for 30 minutes.
- Cookies are flat: You might have used old baking soda. Test it by dropping a bit of vinegar on it—if it doesn’t fizz, replace it.
- Cookies are dry: You overbaked them or packed the flour. Next time, take them out when the edges are just golden.
Expert Tips & Tricks
Here’s everything I’ve learned from making this dozens of times. These tips will save you from my mistakes.
Chill the Dough (The Game Changer)
I know it’s an extra step, but chilling the dough for at least 30 minutes (or up to 24 hours) makes a massive difference. It solidifies the fat, so the cookies spread less and stay thicker. It also allows the flour to fully hydrate, which deepens the flavor. If you’re in a rush, 30 minutes is fine. If you want the best texture, chill overnight.
Don’t Overmix the Flour
Once you add the flour, mix only until it disappears. Overmixing leads to tough cookies. I’ve made tough cookies before, and my kids wouldn’t touch them. It was a sad day. Just mix until combined and stop.
Use a Scale for Flour
If you don’t have a scale, spoon and level. Cup measurements are notoriously inconsistent. One cup of flour can vary by 20 grams. That’s a lot when you’re baking chemistry. A scale ensures consistency every time.
Underbake Slightly
This is the most important tip for chewy cookies. Take them out when the centers look slightly soft. They will continue to cook on the hot pan. If you wait until they look fully set, they will be cakey or crunchy.
Room Temperature Ingredients
Butter and eggs should be room temperature. Cold eggs can cause the butter to seize up when mixing, leading to a grainy dough. Plan ahead and take them out an hour before you start.
Storage is Key
Store cookies in an airtight container with a slice of bread. The bread releases moisture and keeps the cookies soft for days. I do this all the time. It’s an old baker’s trick that works wonders.
Variations & Substitutions
Once you’ve nailed the basic version, here’s how you can mix it up. I’ve tried all of these.
Double Chocolate
Add ¼ cup cocoa powder to the dry ingredients and use dark chocolate chips. It’s intense and rich. Perfect for chocolate lovers.
White Chocolate Macadamia
Swap semi-sweet chips for white chocolate chips and add ½ cup macadamia nuts. The tang of the sourdough pairs beautifully with the sweetness of white chocolate.
Gluten-Free
Use a 1:1 gluten-free flour blend (like Bob’s Red Mill or King Arthur). Add ½ teaspoon xanthan gum if your blend doesn’t have it. The texture will be slightly more crumbly but still delicious.
Vegan
Use vegan butter (like Miyoko’s) and a flax egg (1 tbsp ground flax + 3 tbsp water). Use dairy-free chocolate chips. The discard adds moisture that helps bind the dough.
Reduced Sugar
Reduce both sugars by ¼ cup. The cookies will be less sweet and more tart. Good for those watching sugar intake, but they won’t spread as much.
Add-Ins
- Pretzels: Crushed pretzels add salt and crunch. Amazing with chocolate.
- Toffee Bits: Adds a buttery, caramel note.
- Orange Zest: Adds brightness. Pairs well with dark chocolate.
Serving & Storage
How to Serve:
I usually serve these warm, right off the baking sheet. They are best with a cold glass of milk. But they’re also great for lunchboxes or office potlucks because they travel well and don’t get soggy.
Storage Instructions:
- Room Temperature: Store in an airtight container for up to 5 days. Add a slice of bread to keep them soft.
- Refrigerator: Not recommended. Cookies can absorb odors and get stale faster in the fridge.
- Freezer: Yes! Freeze dough balls on a baking sheet, then transfer to a bag. Bake from frozen, adding 1-2 minutes to the bake time. Or freeze baked cookies for up to 3 months.
Reheating:
Warm in the microwave for 10-15 seconds. They’ll be soft and gooey again. Don’t overheat, or they’ll get hard.
Nutrition Information
I’m not a nutritionist, but here’s the breakdown if you’re tracking. Keep in mind that these are estimates.
Per Cookie (makes about 24 cookies):
- Calories: 180
- Protein: 2g
- Carbs: 24g
- Fiber: 1g
- Sugar: 16g
- Fat: 9g
- Saturated Fat: 5g
These are indulgent cookies, so enjoy them in moderation. But they are better than store-bought because you control the ingredients. No preservatives, no weird oils. Just real butter, real chocolate, and real sourdough.
Final Thoughts
So that’s my go-to sourdough discard chocolate chip cookies! I’ve probably talked your ear off at this point, but when you make a recipe this often, you have a lot to say about it.
This recipe has saved my starter from going to waste and my evenings from being boring. It’s my answer to “what’s for dessert” when I’m tired but want something homemade. My kids are happy, my husband’s happy, and I’m happy because I’m not stressed about baking.
Make it yours! Try different chocolates, add nuts, or play with the spices. The best recipes are the ones you adapt to your family’s tastes.
If you make this, drop a comment and let me know what you think! I love hearing how recipes turn out in your kitchen. And if something doesn’t work, tell me that too—I’m here to help troubleshoot.
Happy baking! And I hope your kitchen smells half as good as mine does right now.
Frequently Asked Questions
Can I use active sourdough starter instead of discard?
Yes, but you’ll need to adjust the liquid. Active starter has more yeast and gas, which can make the cookies rise too much. If using active starter, reduce the butter by 1 tablespoon to compensate for the extra moisture. But discard is easier because it’s already balanced.
Why did my cookies spread too thin?
This usually happens if the butter was too warm, the dough wasn’t chilled, or the baking soda was too fresh. Chill the dough for 30 minutes before baking. Also, make sure you’re using the right amount of flour. If you scoop the flour, you might be packing it, which leads to dry cookies, but if you don’t pack it enough, they spread. Spoon and level is the best method.
Can I freeze the dough?
Absolutely! Scoop the dough onto a baking sheet and freeze until solid. Then transfer to a bag. Bake from frozen, adding 1-2 minutes to the bake time. This is great for having fresh cookies on demand.
Why do my cookies taste tangy?
That’s the sourdough! If you want less tang, use a younger discard (1-2 days old). If you want more tang, use discard that’s been in the fridge for a week or two. The older the discard, the tangier the cookies.
Can I use whole wheat flour?
You can, but the cookies will be denser and nuttier. I recommend substituting only half the all-purpose flour with whole wheat to keep them tender. Whole wheat absorbs more liquid, so you might need to add a teaspoon of milk or water.
How long do these cookies last?
Up to 5 days at room temperature in an airtight container. They actually get chewier after day 2. If you want them soft, add a slice of bread to the container.
Can I make these without a mixer?
Yes, but it will be more work. You’ll need to cream the butter and sugars by hand with a wooden spoon or spatula for about 5-7 minutes. It’s tiring, but doable. Just make sure the butter is soft enough to mix easily.
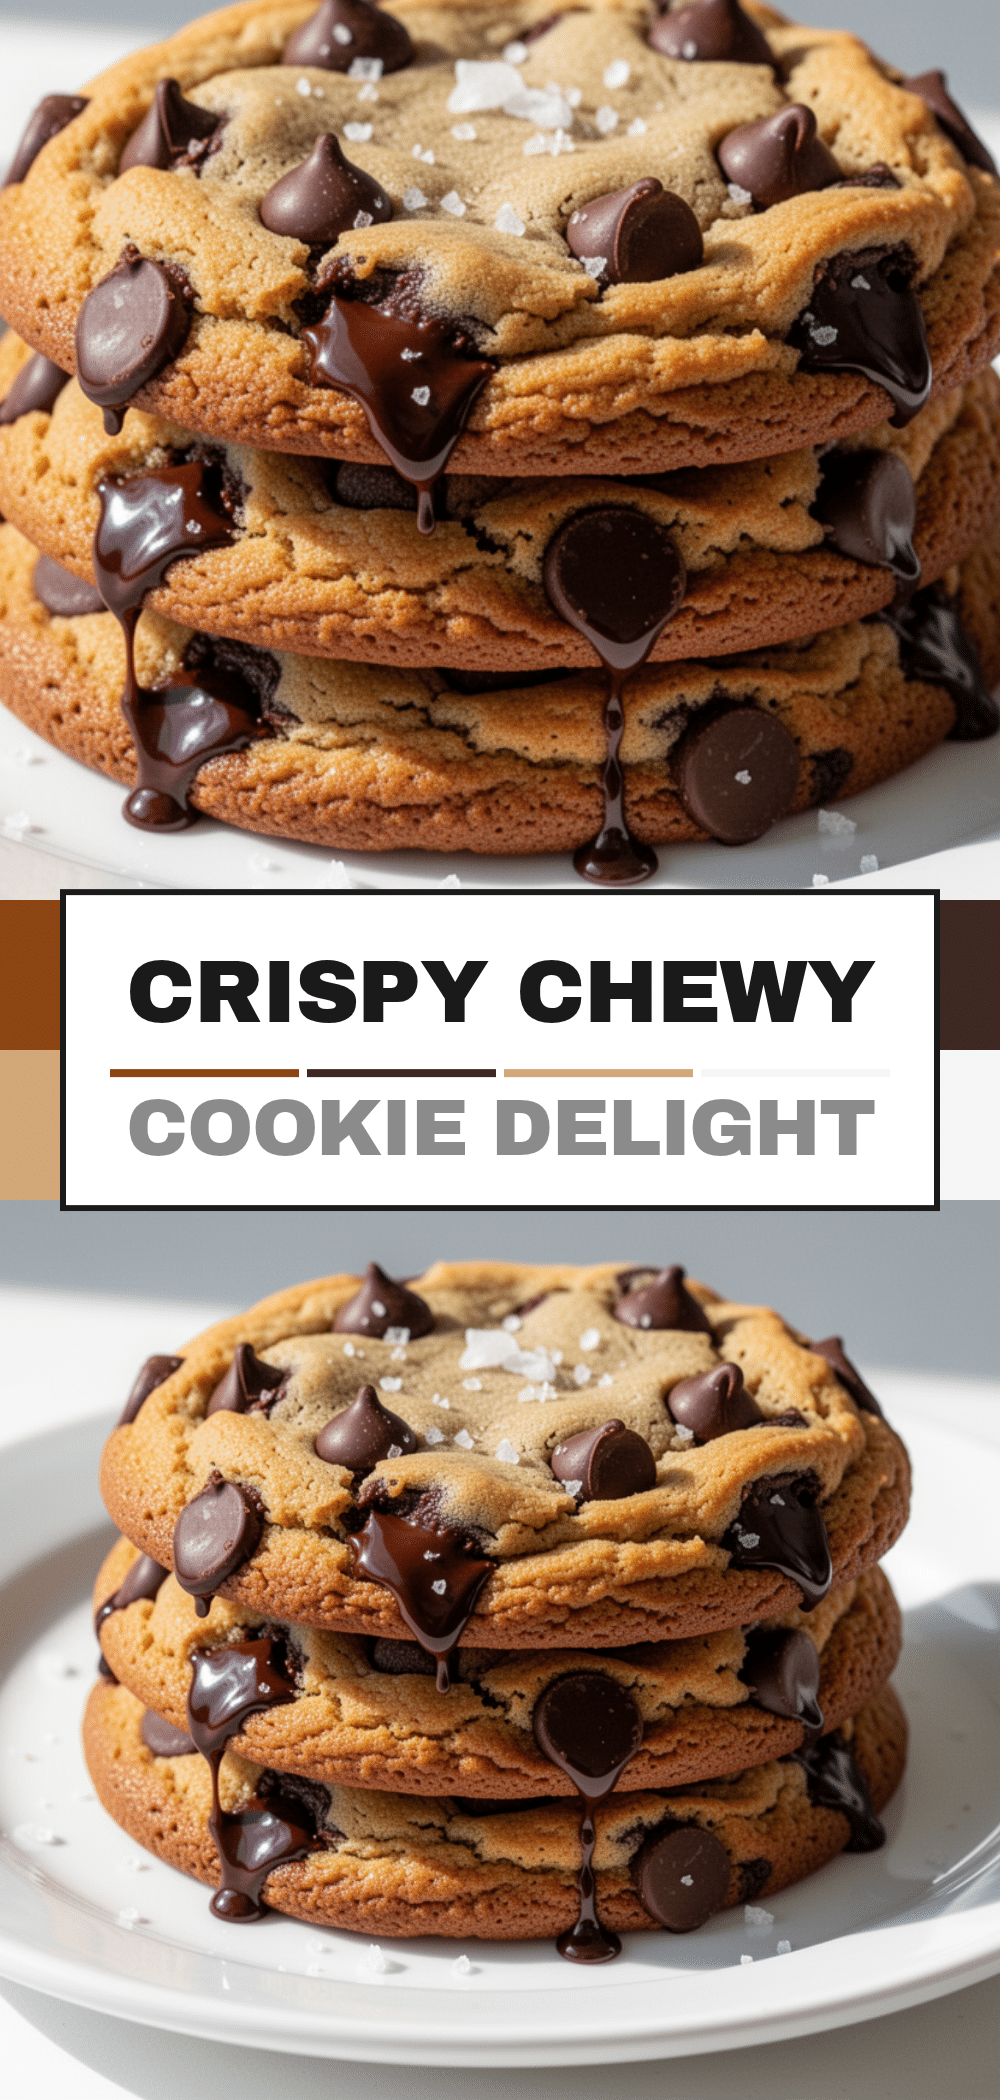
Pin This Recipe!
Sourdough Discard Cookies: Easy Best Recipe
- Total Time: 32-34 minutes
- Yield: 24 cookies 1x
Description
These sourdough discard chocolate chip cookies are incredibly forgiving, tender, and chewy. The acidity in the discard creates a complex flavor and ensures the cookies stay soft for days, making them the perfect way to use up starter waste.
Ingredients
- 1 cup (240g) sourdough discard (unsalted, unfed)
- 1 cup (226g) unsalted butter, room temperature
- ½ cup (100g) granulated sugar
- 1 cup (200g) light brown sugar, packed
- 1 large egg, room temperature
- 2 teaspoons vanilla extract
- 2 ½ cups (315g) all-purpose flour
- 1 teaspoon baking soda
- 1 teaspoon fine sea salt
- 2 cups (340g) semi-sweet chocolate chips
- Flaky sea salt (for topping)
- Optional: ½ cup chopped walnuts or pecans
Instructions
- Preheat oven to 350°F (175°C). Line two baking sheets with parchment paper.
- In a large bowl, beat the softened butter, granulated sugar, and brown sugar on medium-high speed for 3 minutes until pale and fluffy. Scrape down the sides.
- Add the egg and vanilla extract; mix until combined. Add the sourdough discard and mix on low speed just until incorporated.
- Reduce mixer speed to low. Add flour, baking soda, and salt. Mix until just combined and no flour streaks remain. Do not overmix.
- Switch to a spatula and gently fold in the chocolate chips (and nuts if using).
- Scoop dough balls (about 2 tablespoons each) onto prepared sheets, spacing them 2 inches apart.
- Bake one sheet at a time in the center of the oven for 12-14 minutes, until edges are golden brown but centers look slightly soft.
- Let cookies sit on the hot pan for 5 minutes to set, then transfer to a wire rack to cool completely.
- Sprinkle with flaky sea salt while still warm.
Notes
For best texture, chill the dough for at least 30 minutes before baking. Store cookies in an airtight container with a slice of bread to keep them soft for up to 5 days. Dough can be frozen and baked from frozen, adding 1-2 minutes to bake time.
- Prep Time: 20 minutes
- Cook Time: 12-14 minutes
- Category: Dessert
- Cuisine: American
Nutrition
- Serving Size: 1 cookie
- Calories: 180
- Sugar: 16
- Fat: 9
- Saturated Fat: 5
- Carbohydrates: 24
- Fiber: 1
- Protein: 2
Keywords: sourdough discard, chocolate chip cookies, baking, easy dessert, sourdough recipes, chewy cookies


